|
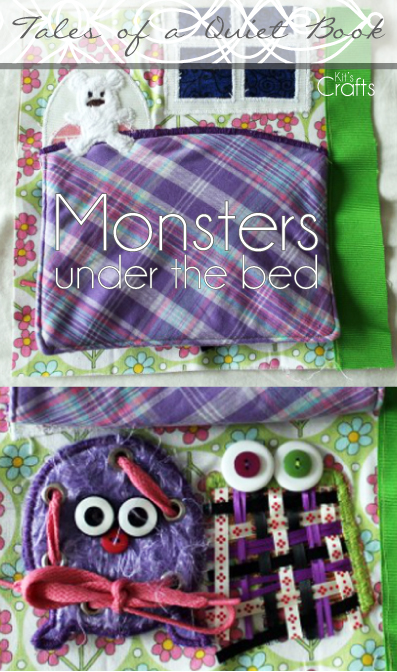
Most of the lace up quiet book pages include a shoe and weaving pages are usually pies or just strips of felt. I wanted both of these pages, but I couldn't find anything that I really liked. While perusing quiet books on Etsy to gain inspiration, I came across the Monster Album. A couple of days after first seeing this little book, it hit me, monsters under the bed!
0 Comments
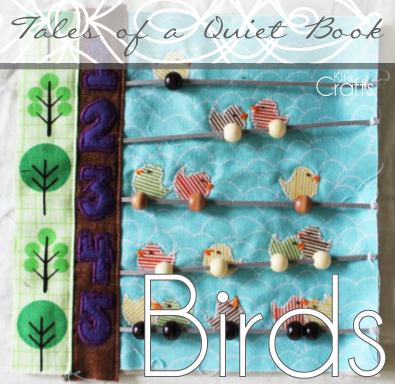
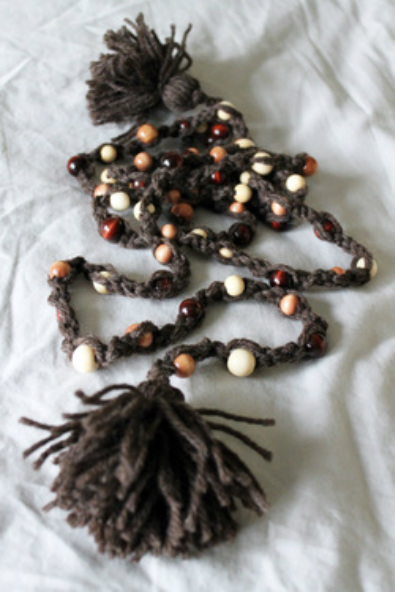
This is a page I made for a quiet book 2 years ago. Since then, it has held up pretty good, until last month when my toddler started to rip the leather cords I used to hold the beads. It occurred to me that perhaps this issue could have been averted had I used a different material, so here is my updated version.
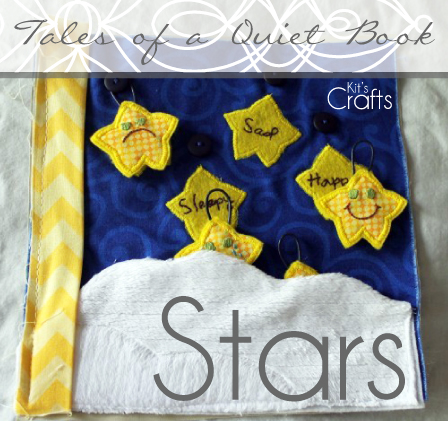
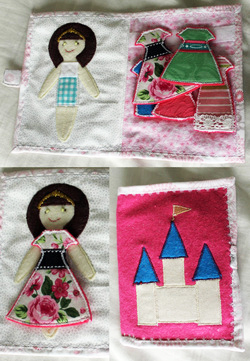
Two years ago, I made a quiet book for my daughter and the pages were my first posts to this website. Since then the quiet book has actually stood the test of the toddler. However, there are a couple of things I would do differently if I were to make the book again. Over the next little while I plan to update those previous posts. To see the other pages as well as a list of tips, visit my Quiet Book page.
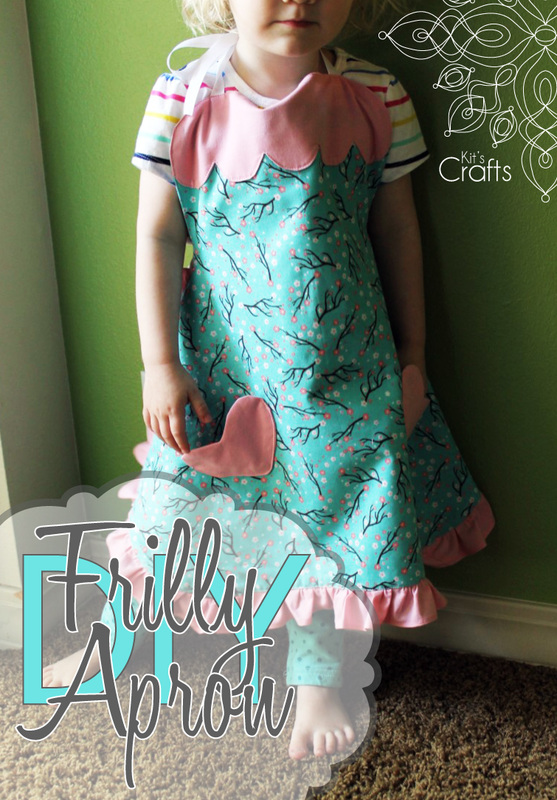
It is no secret, I love to bake. I also love spending time with my family so it only makes sense to combine the two. My daughter is still a little too young to do too much, but I will usually pull up a chair and let her dump the cups of ingredients into a bowl. In my fury of sewing over the last month I felt it necessary to make a lovely little apron for her. It turned out a bit big, but that is better than too small.
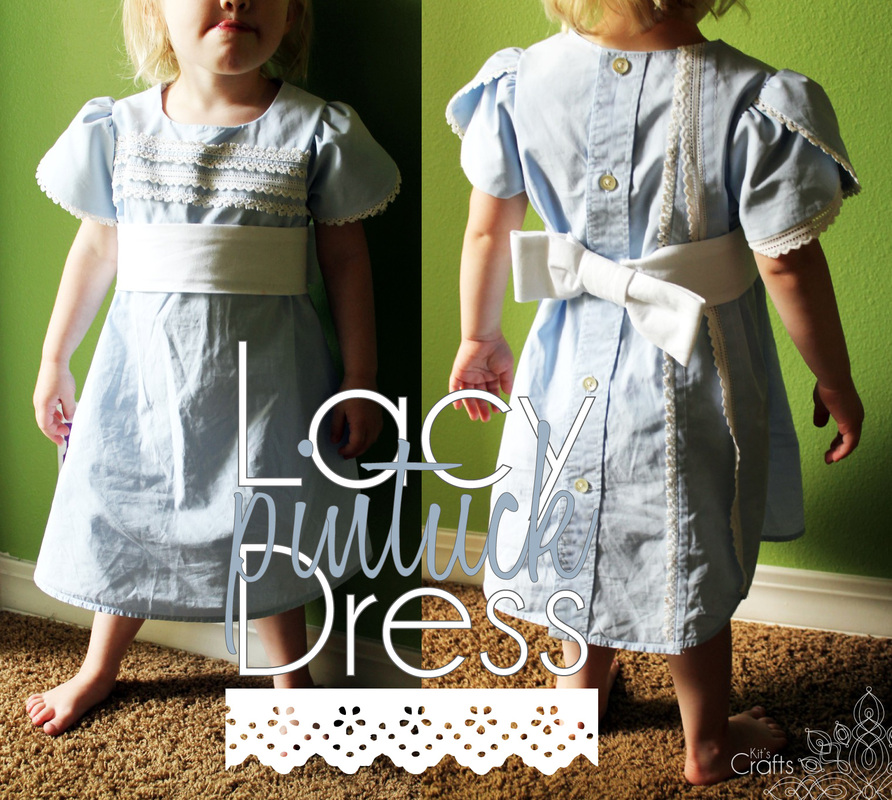
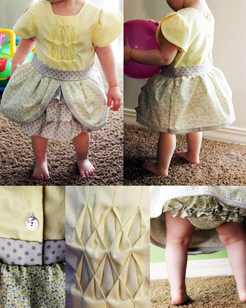
The idea of drafting a pattern used to terrify me. I always thought of pattern making as something that only professionals could do. Then, a little over a year and a half ago, I was looking to turn a men's dress shirt into a baby dress and stumbled upon The Metro Dress by Shwin & Shwin. Their website is chock full of wonderful patterns as well as instructions on various sewing techniques and even how to draft your own sewing patterns. I thought back to The Metro Dress last month when I saved one of my husband's dress shirts from the good will pile. Below is the upcycled version of said shirt.
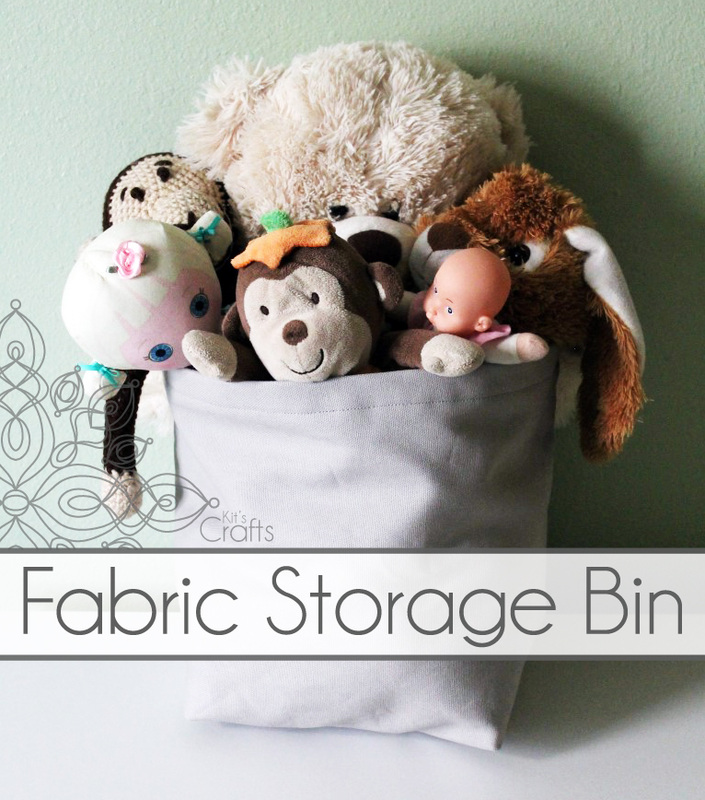
Nothing is more essential for a child's room than storage and it is always helpful to find an adorable solution. I was on Pinterest a few weeks ago and stumbled upon the perfect tutorial by Make It and Love It. I used a basic gray duck cloth because that is what I had around, but how cute would this be in a bright pattern?! Anyway, today is a shout out to the tutorial for this lovely little bin.
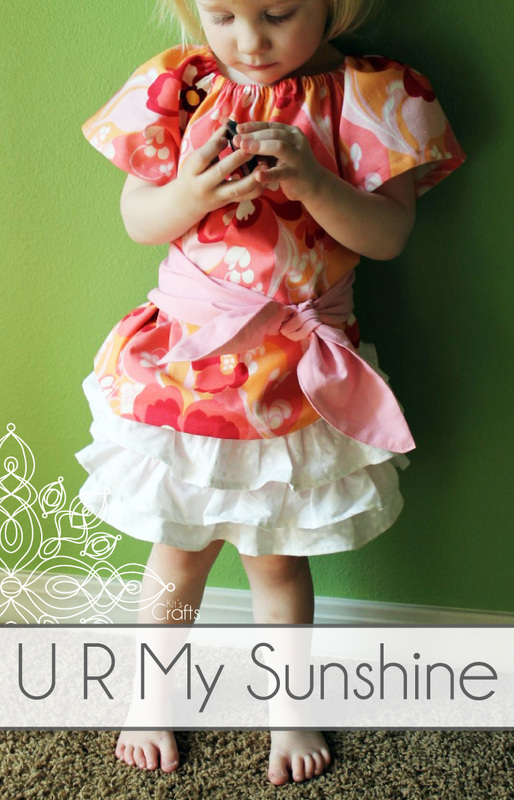
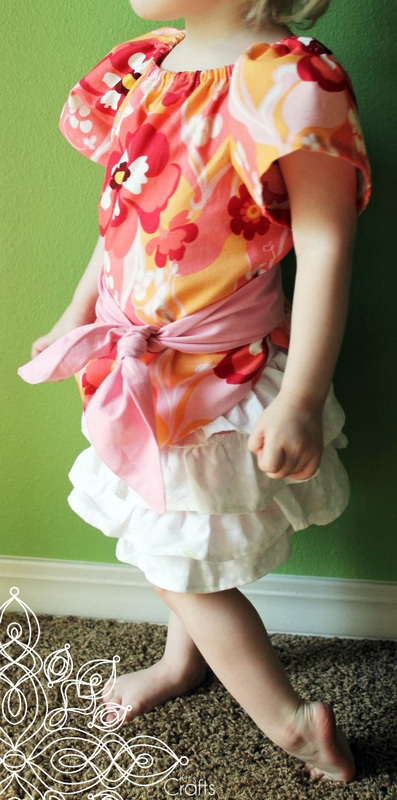
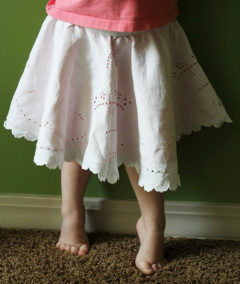
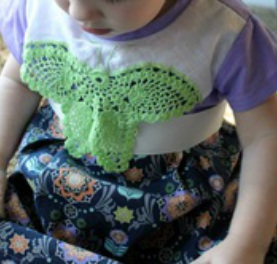
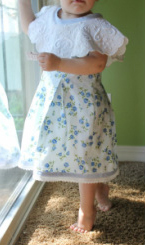
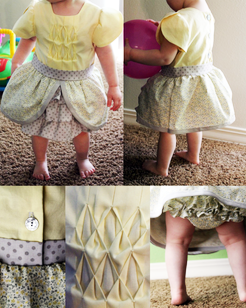
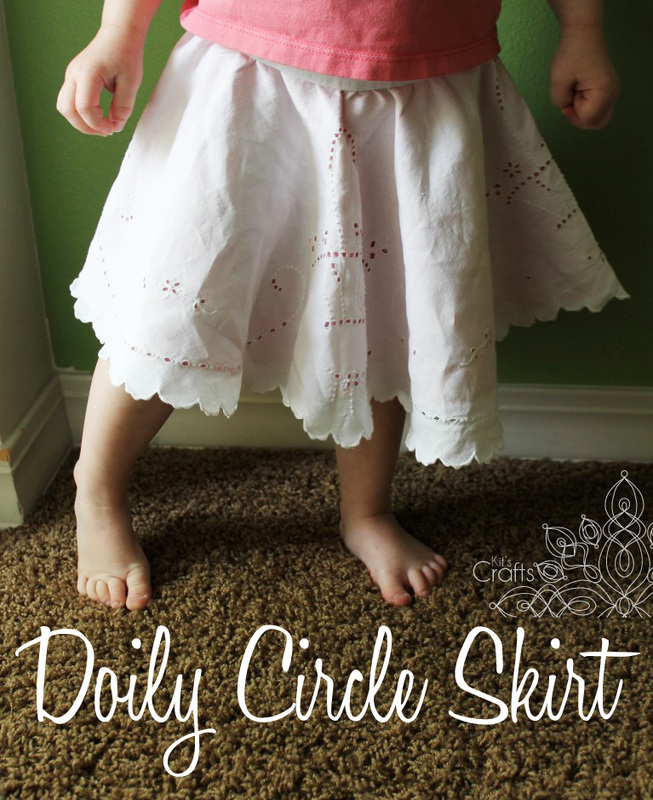
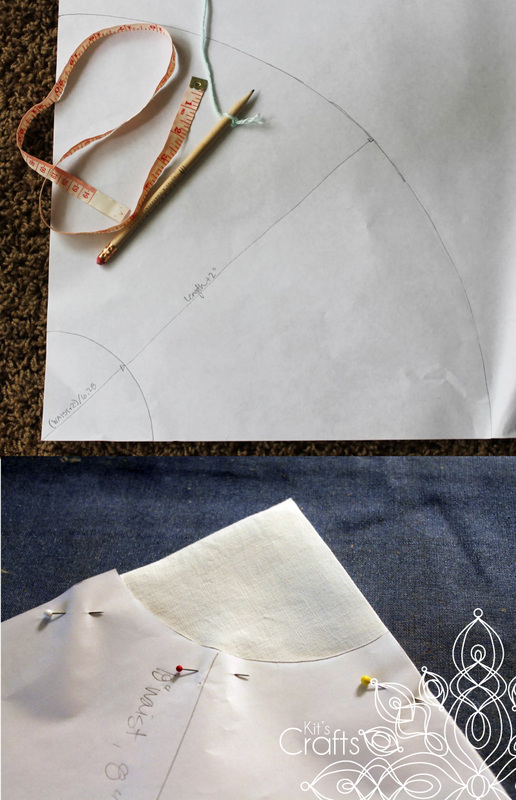
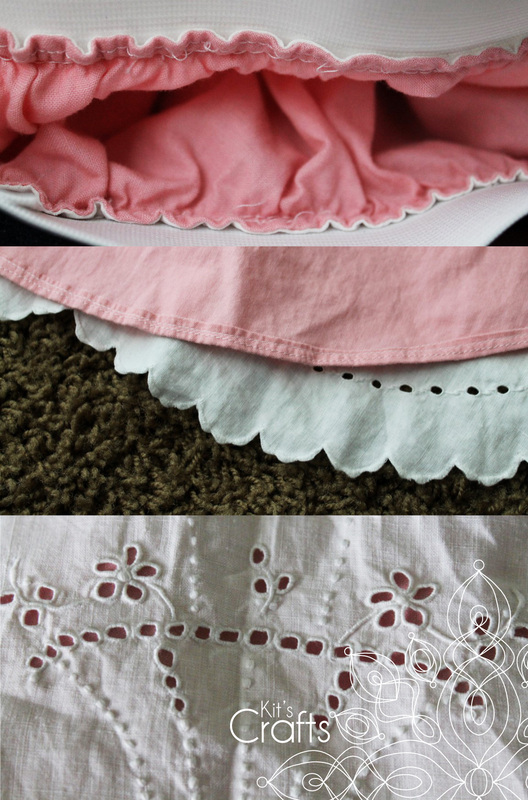
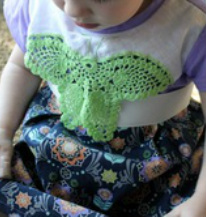
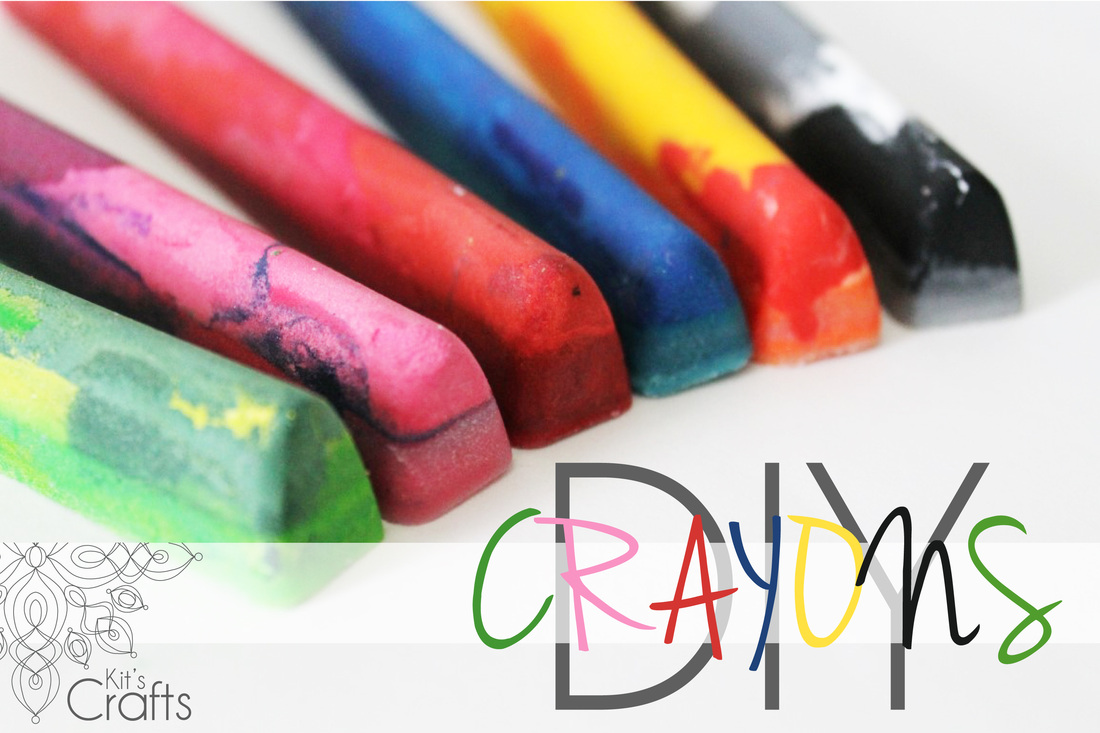
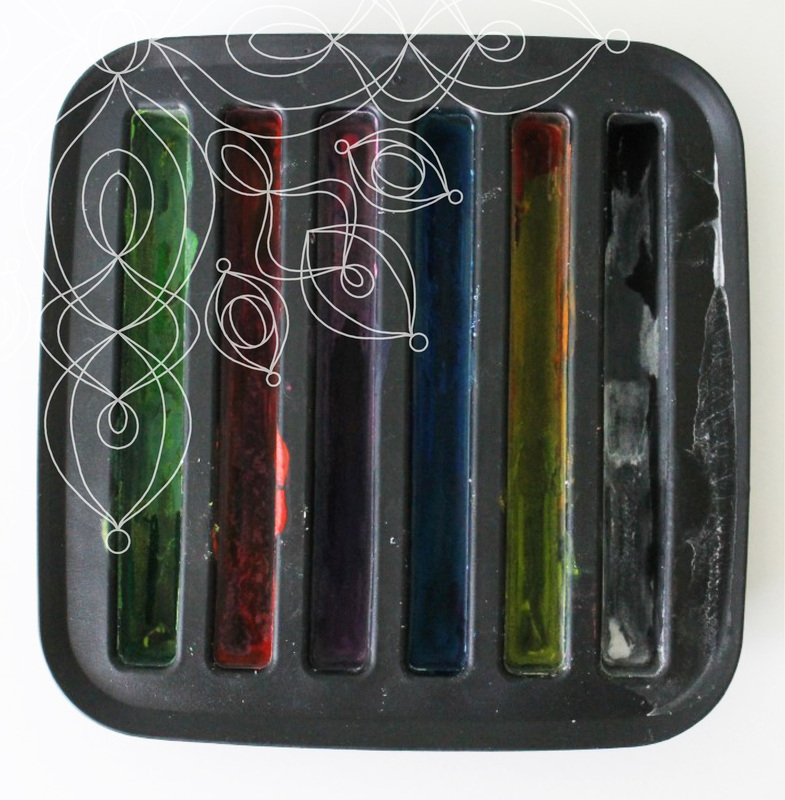
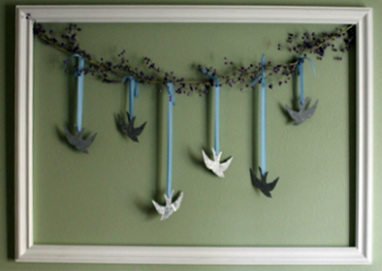
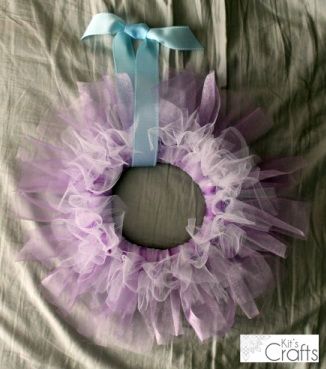
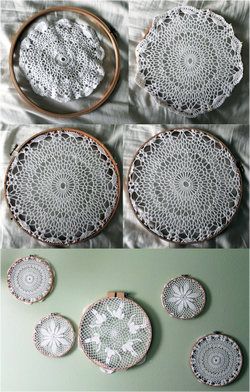
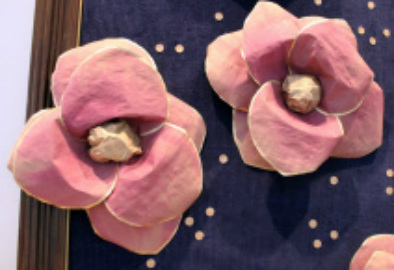
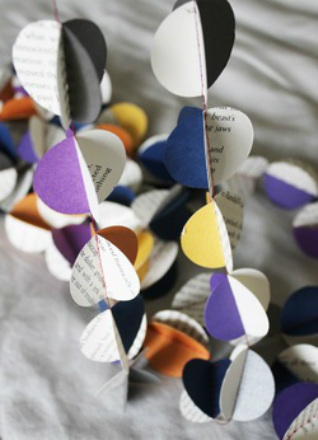
Today's post is a shout out to a wonderful pattern and tutorial by Sewing in No Mans Land. I found this lovely little dress on Pinterest a few months ago and knew it had to happen. Below is my version in which I used fabric remnants. You might also like:There are so many crafting mediums I enjoy, but I tend to always go back to a few trusty standbys; namely, knitting, crochet and sewing. Generally, I tend to rotate through the different techniques about every month and a half. However, when I found out last February that I was going to do the Beehive Bazaar, I went into production mode with knit and crochet, so my sewing machine did not leave its' case for quite a while. Apparently, my crafting addiction needed to make up for lost time because in the last two weeks, I sewed this skirt, a dress, a canvas container, a frilly apron and a large tote. Not to mention the 3 projects I have in mind that I still want to sew up. Don't, worry, I will blog about them all and share links to tutorials. This large doily was part of a stack of doilies and lace trims my grandmother gave me about a year ago. To make the pattern for this skirt I primarily followed a tutorial over at Made, which was so great, I didn't feel that it was worth re-doing. The only deviation from the tutorial is to add the doily on top. Materials: Large piece of paper (or a few letter sized taped together) Pencil Ruler About 1 yard of fabric (depending on how large the skirt will be) Sewing machine/thread/pins/scissors Large Doily Wide Elastic Directions: To make the pattern, go to this tutorial over at Made. Keep in mind how long the doily is and whether you want the skirt to extend past the bottom, just reach it or not hit the hem at all (like I did). Once you have the pattern drawn up, cut it from your fabric as described in the tutorial, then create a rolled hem along the bottom edge of your fabric. Fold your doily in half and iron the fold, then fold it in half again and iron the fold. Now, line up your pattern to the folded edge of the doily and cut the hole for the waist. Unfold the doily and lay it right side up on the table, then place your fabric skirt on top of the doily, right side up as well. Pin around the waist, then sew at your determined seam allowance. Then bring the doily through the waist hole and on top of the fabric skirt and iron along the seam. Lastly, go back to the tutorial to add in the waist band. You might also like:I'm not entirely sure how it happened, but my daughter acquired a TON of crayons over the last year or so. This wouldn't be that big of a deal except that every time she got the crayons out she had to dump them all onto the table so they rolled all over. Granted, she would eventually line them up then tell me she put them to bed (picture at the end), still, clean up was a pain. To solve this, I decided we would melt them down into larger crayons. You can use various molds to make these crayons. Most people I have seen online used old muffin tins. I used an ice cube tray I found at IKEA for $1. Whatever you use, the crayons will ruin it, unless you line the mold with foil or something. The picture below is of my mold after removing the crayons. Materials: Mold (see paragraph/picture above) Crayons, unwrapped and broken into pieces no larger than 1" Baking tray lined with foil Directions: Preheat oven to 225 degrees. Place crayons in the mold then put the mold on top of the foil lined tray, then put in the oven. "Bake" the crayons until fully melted, about 20 minutes. Remove from oven and allow to cool to room temperature. Place the mold in the freezer for about 10 minutes then remove the crayons from the mold. You might also like:In my last post, on Tuesday, I shared some tutorials of crafts that kids can help make. Today's post is in the same thread as I am sharing some decor items that kids can help make. Any of these would be great as holiday or permanent accents in the home. You might also like: |
Hey there! I'm Kristin, aka Kit. Here is just a peek into my crafting mind. I hope you find something to spur your creativity!
Kit's Crafts ShopPopular Posts Featured HereCategories
All
Archives
July 2020
|




 RSS Feed


