
If you have read my bio, you know that I LOVE to create things. Even as a child, I was always making things and starting new projects. So, today, I thought I would share some tutorials that you can do with the children in your life. Of course, all of these projects should be done with adult supervision. Please share some of your favorite websites for kid crafts in the comments!
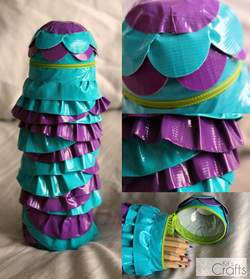
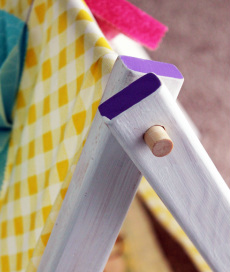
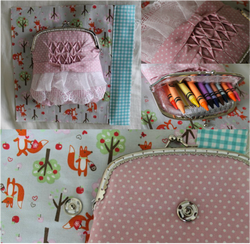
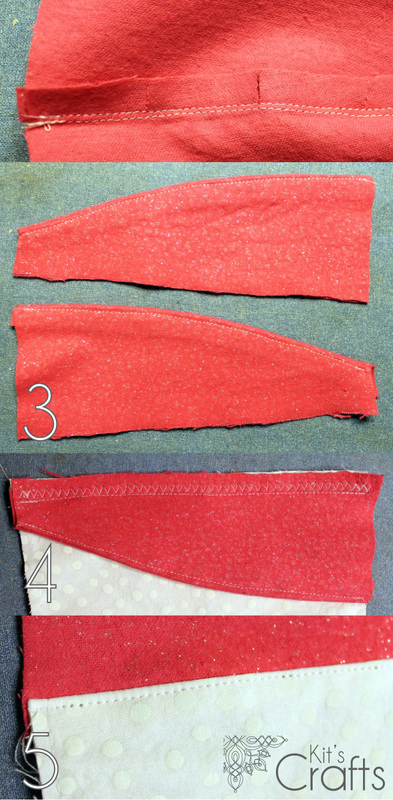
Upcycled Pencil Case with duck tape ruffles
|

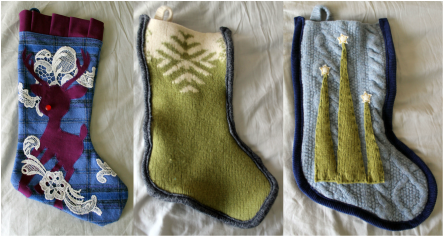
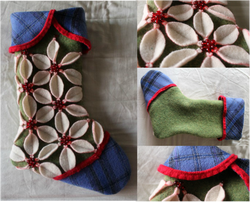
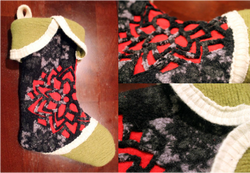
You might also like:
| 
| 
| 
|


 RSS Feed


