Mirror
This is yet another rather simple page. The inspiration for this page came from Orange Crafts. The author created a page with flaps that folded back to reveal a smiling monster. I loved the idea but decided to have a mirror instead of a monster. I had some trouble at first locating a plastic mirror but alas, one day while looking for something entirely different on the Joann's webpage, I found it. I went that day and picked it up.
Materials Needed:
* Fabric (remember to prewash all fabrics)
* 9"x9" of reinforcement
* Plastic Mirror
* Glue gun and glue stick
* Fabric (remember to prewash all fabrics)
* 9"x9" of reinforcement
* Plastic Mirror
* Glue gun and glue stick
Flaps:
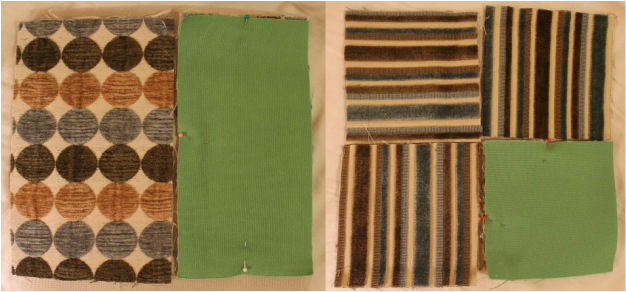
* Cut four rectangles of fabric (two of the front fabric and two of the back fabric) with the following dimensions: 4 3/4" x 5 1/8", 4 3/4" x 4 3/8", 4 1/2" x 7 1/4" (You should have 12 rectangles)
* Cut two rectangles of fabric (one of the front fabric and one of the back fabric) with the following dimensions: 4 7/8" x 8", 4 1/8" x 8"
* Using the template, with the smaller rectangles first, place the front fabric right side up on the page and place a pin on the sides that need to be sewn
* Place the back fabric of the rectangles over the fronts with right sides together and pin the sides that need to be sewn, then sew the two layers together with a 3/8" seam allowance
* Do the previous two steps for the larger rectangles
* Turn the rectangles right side out and iron
* Sew around the edge for a finished look
Mirror:
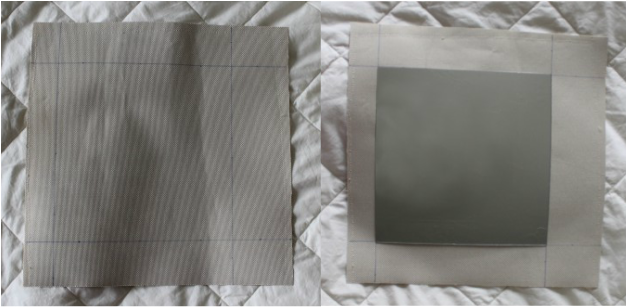
* Cut your mirror into a 6" square
* On your 9" square of reinforcement, measure and mark 1 7/8" from one side (this will be the binding side), then from the opposite side, measure and mark 1 1/8", from the top and bottom, measure and mark 1.5"
* Put a few lines of glue in the middle of the square you just made then center your mirror and press on to attach
Mirror Frame:
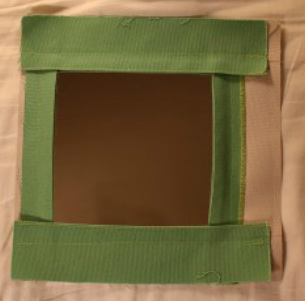
* Cut two 9" x 4" strips, one 9" x 4 3/4" strip and one 9" x 3 1/4" strip
* Fold each of these strips in half lengthwise and iron
* Sew along the fold for a finished look
* Place each strip on the page in the appropriate spot (there should be a half inch overlap of the mirror), then pin and sew to page
Finishing:
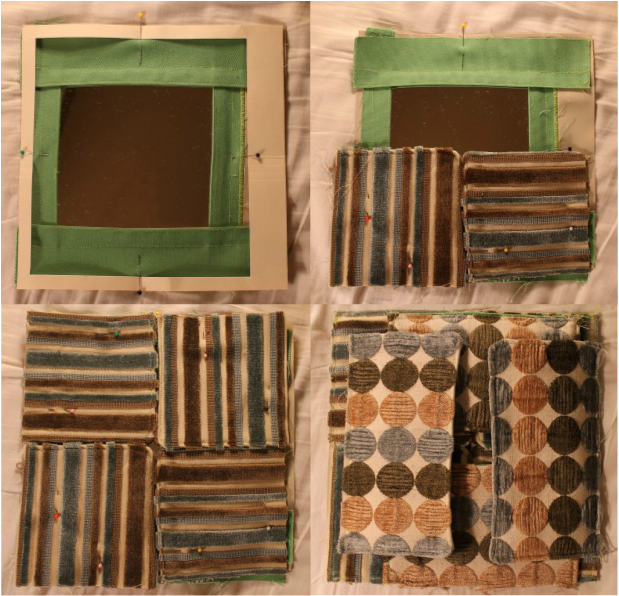
* Using the template, find the centers of the opening
* Line up the small squares on the page according to these centers then pin and sew around the edge of the page
* Again, using the template, center the large rectangles in the opening, then pin and sew around the edge of the page (Once again, I was trying to salvage a scrap which is why there is such a big gap in the center, yours should meet both the edge of the page and at the fold side)
* Attach the binding to the appropriate side


