Basic Information
I must admit that although I have made many things using the sewing machine I bought over 10 years ago, I am no seamstress. My directions are based on what worked for me, but it is probable that there are better methods. Rest assured, where applicable, I will link you to any tutorials/websites that I found helpful. Anywho, here is the general plan of attack:
* Start with the more complex pages. You will most likely get burned out and having brainless pages for the end will be more encouraging.
* I do not give amounts for the fabric because in most cases you can use scraps. What I suggest doing if you don't have a scrap bin started, is to go to the fabric store with two or three pages in mind and buy an 1/8 of a yard of the fabrics you would like. Also, plan to use these fabrics for the rest of the book. For the backgrounds, ask for 10".
* The size of each page: 9"x9" (basic layout)
* For the inside of the pages and reinforcement of moveable pieces, we used a polyester blend that is basically a dense plastic, however, the company we bought it from went out of business, so I suggest using a heavy weight interfacing or thicker felt. For all pages, unless otherwise noted, you will sew through this layer and the background fabric to attach things to the page.
* For the edges, a 1/2" blanket binding
* Obtain felt. I suggest buying sheets of felt as you need them rather than getting a bunch by the yard.
* Use Steam a Seam (fusible webbing) instead of pins for ease.
* For the binding side, use a 1 1/2" border on that side
* Make template out of card stock or a manila folder to layout pages. Bear in mind that to create a complete page, you need one with the
binding on the right side and another with the binding on the left. (Figure out the front and back of each page before starting)
* Most of the pieces are sewn together or to the page using a satin stitch on a sewing machine to prevent fraying.
* Remember to pre-wash all fabric before cutting
* When printing patterns, UNCHECK THE FIT TO PAGE box in the printer window.
* When cutting the pattern from felt or other thick fabrics, first cut the outline from paper, then use a couple of bobby pins to hold it in place and adjust them as needed. Oddly, the bobby pins are more accurate than straight pins (my good friend Stephanie gave me this tip).
* If you do not have a rotary cutter and self healing mat, I suggest either buying or borrowing one.
I would love to see pictures of your interpretation of any of these pages and I would be happy to answer any questions if you would like to email me at [email protected].
Page Bindings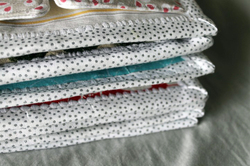
Finish off your adorable Quiet Book pages with a nice binding
|
The Cover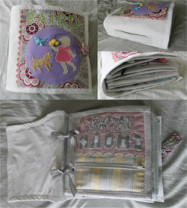
Creating a cover to bind all of the quiet book pages together.
|
Babushkas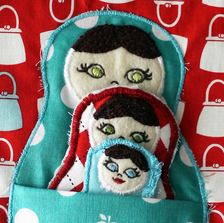
Learning the difference between small medium and big has never been more adorable then these cute fabric nesting dolls
Birds on a Wire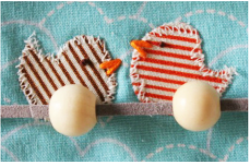
Count cute little birds on a wire using wooden beads
Braid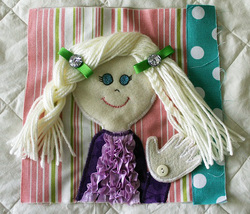
Braid the girl's hair and wave her hand
Bugs & Flowers (buttons or snaps)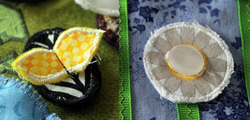
Improve your child's dexterity with this button or snap page
Crayon Purse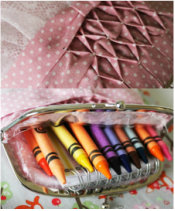
Make a cute little purse to contain a small notebook and some crayons
Cupcake Color Match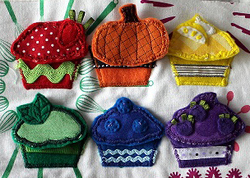
Help your child learn colors with this adorable cupcake page
Dress Up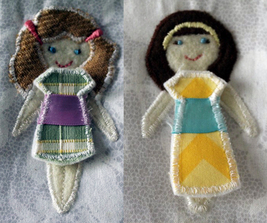
What girl doesn't like to play dress up? Why not incorporate this playtime into a quiet book?
|
Magnetic Shapes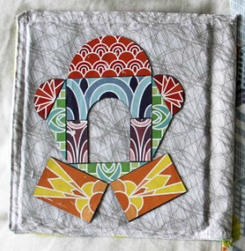
Turn classic block shapes into a fun 2D version and help your child learn their shapes with these brightly colored magnets
Mirror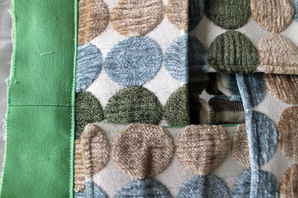
Unfold the flaps to find a mirror inside
Monsters Under the Bed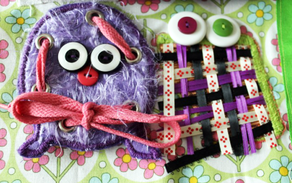
Friendly monsters hide under a bed just waiting to be played with
Name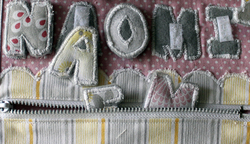
Help your child learn to spell his/her name with this cute page that features a zippered pocket
Stars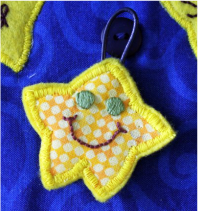
Stars with faces are matched to words on the page using buttons and loops
Woodland Creatures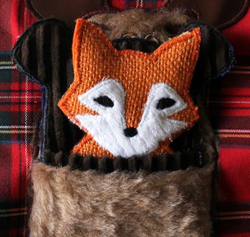
Cute little woodland friends help to teach the difference between big, medium and small
|
Dress Up Mini Quiet Book
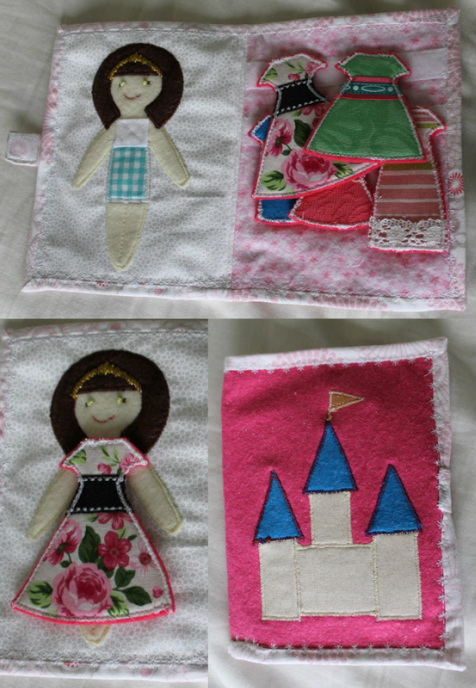
If you are overwhelmed by the idea of creating a whole huge book, just make a mini version of your favorite pages. Here is an example of the Dress Up Page as a Mini Quiet Book.

