
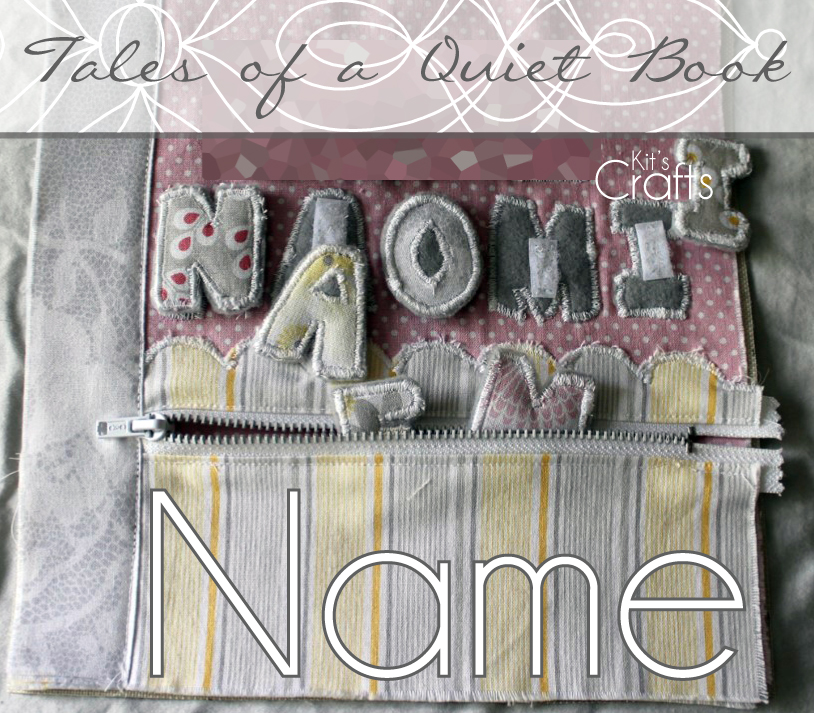
Just like the Babushkas Page of a couple weeks ago, this page doesn't need any construction updates, just photo updates. It is actually the first quiet book page I made as, the name page is one of the most classic quiet book pages. This particular page does double duty, however, because it features a zippered pocket to store the letters. You can download a pattern for the pocket that gives the option of a scalloped top, or a zig-zag top. To create the name, make a pattern in Word (I used Janda Manatee Bubble for my font on this page).
For more information about this specific book as well as more pages and some tips visit my Quiet Book page.
Materials Needed:
* Fabric (remember to pre-wash all fabrics)
* Felt for the letters on the page and the backs of the loose letters
* 7" zipper
* Velcro
* Steam a Seam
* 9"x9" of reinforcement and some for the medium and small
* Pattern, remember to UNCHECK the fit to page box
Directions:
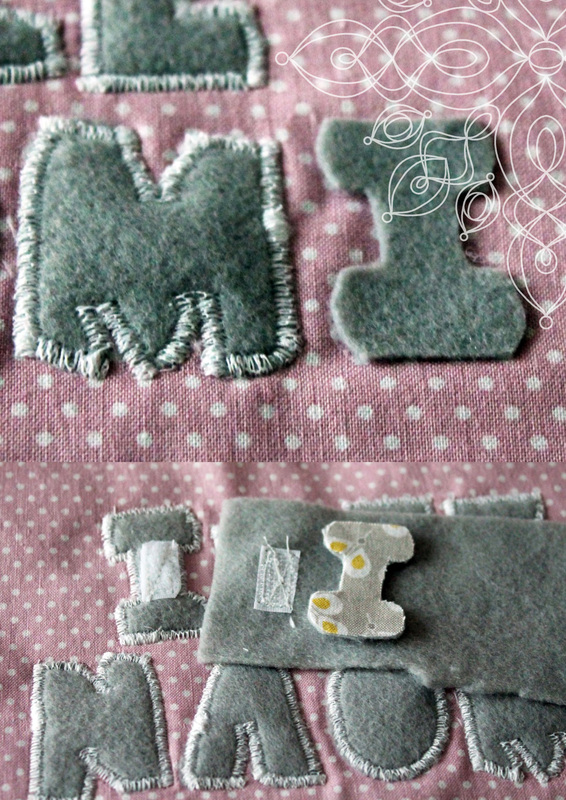
1. Start by cutting your letters. You will need 2 felt letters, 1 fabric letter and 2 Steam a Seam letters.
2. Using a cardstock template, place your letters on the page, then iron onto page and satin stitch around the edges of each letter.
3. Cut a small portion of the velcro to fit on each letter and sew the soft side to the letter on the page.
4. Iron the fabric letter to the remaining felt letter and satin stitch around any holes on the inside of the letters.
5. Sew the rough part of the velcro to some felt then satin stitch the fabric/felt letter to the felt positioned on the opposite side of the velcro.
Materials Needed:
* Fabric (remember to pre-wash all fabrics)
* Felt for the letters on the page and the backs of the loose letters
* 7" zipper
* Velcro
* Steam a Seam
* 9"x9" of reinforcement and some for the medium and small
* Pattern, remember to UNCHECK the fit to page box
Directions:
1. Start by cutting your letters. You will need 2 felt letters, 1 fabric letter and 2 Steam a Seam letters.
2. Using a cardstock template, place your letters on the page, then iron onto page and satin stitch around the edges of each letter.
3. Cut a small portion of the velcro to fit on each letter and sew the soft side to the letter on the page.
4. Iron the fabric letter to the remaining felt letter and satin stitch around any holes on the inside of the letters.
5. Sew the rough part of the velcro to some felt then satin stitch the fabric/felt letter to the felt positioned on the opposite side of the velcro.
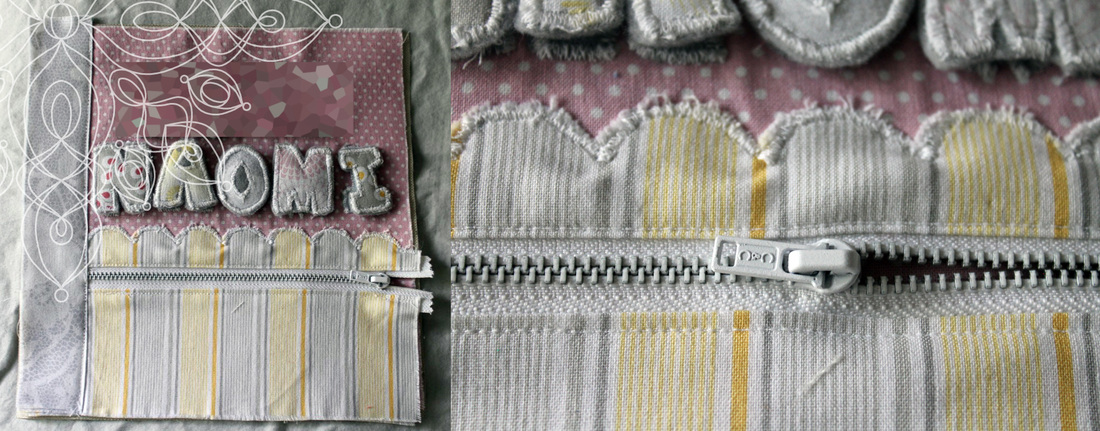
6. Now to the zippered pocket. You will be attaching the zipper to the fold side of each piece. (FYI, I fudged this, because I do not have a zipper foot.)
7. Using the card stock template again, place the pocket on the page and position the zipper so that the opening is about 1/2" from the border and pin to pocket top.
8. Sew as close to the edge of the fold as possible.
9. Do steps 7 and 8 for the bottom of the pocket.
7. Using the card stock template again, place the pocket on the page and position the zipper so that the opening is about 1/2" from the border and pin to pocket top.
8. Sew as close to the edge of the fold as possible.
9. Do steps 7 and 8 for the bottom of the pocket.
To finish off the page, cut a rectangle (3"x9") of fabric for the binding side, fold in half length wise and iron, then position on the page and sew along the folded edge to page.
You might also like:
 |  |  |  |


 RSS Feed


