|
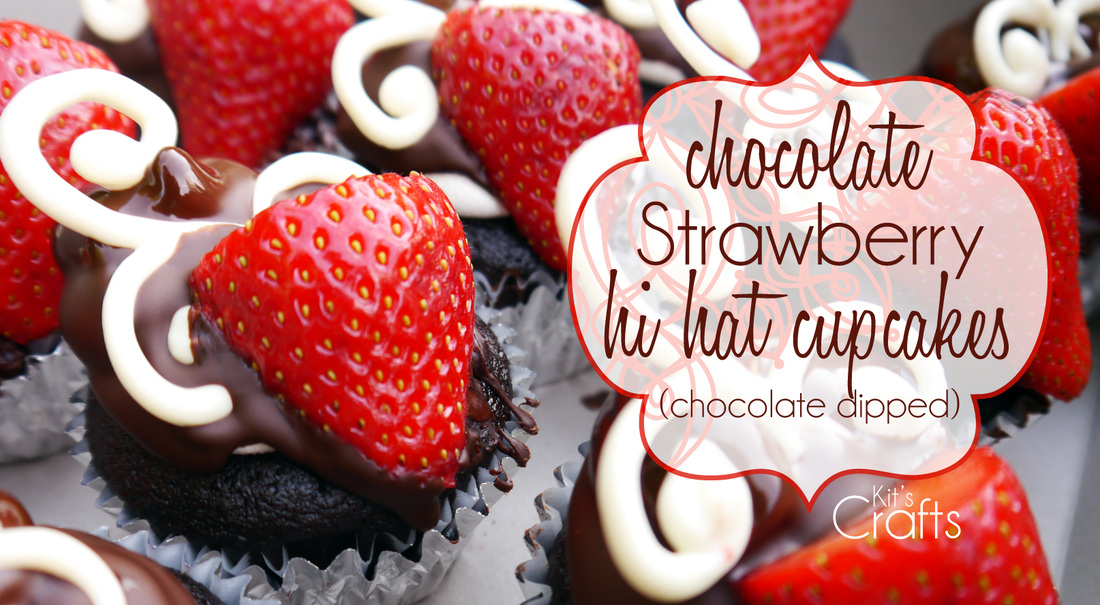
This year and last year my husband's summer office party included a mini cupcake wars. Last year, I made the Fancy Pants Cupcakes, which were amazing! This year I decided I would try my hand at hi hat or chocolate dipped cupcakes. I am proud to say that these cupcakes won first prize! They were gone before my husband and I got to the cupcake table. Try them out and let me know what you think in the comments.
0 Comments
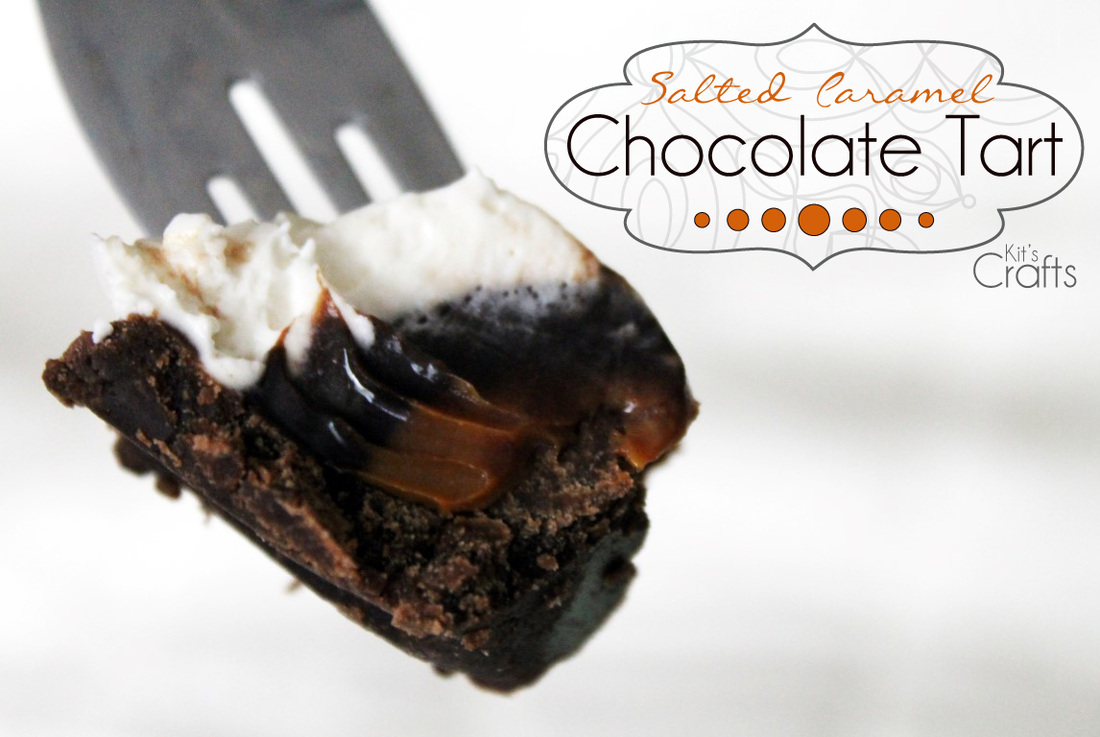
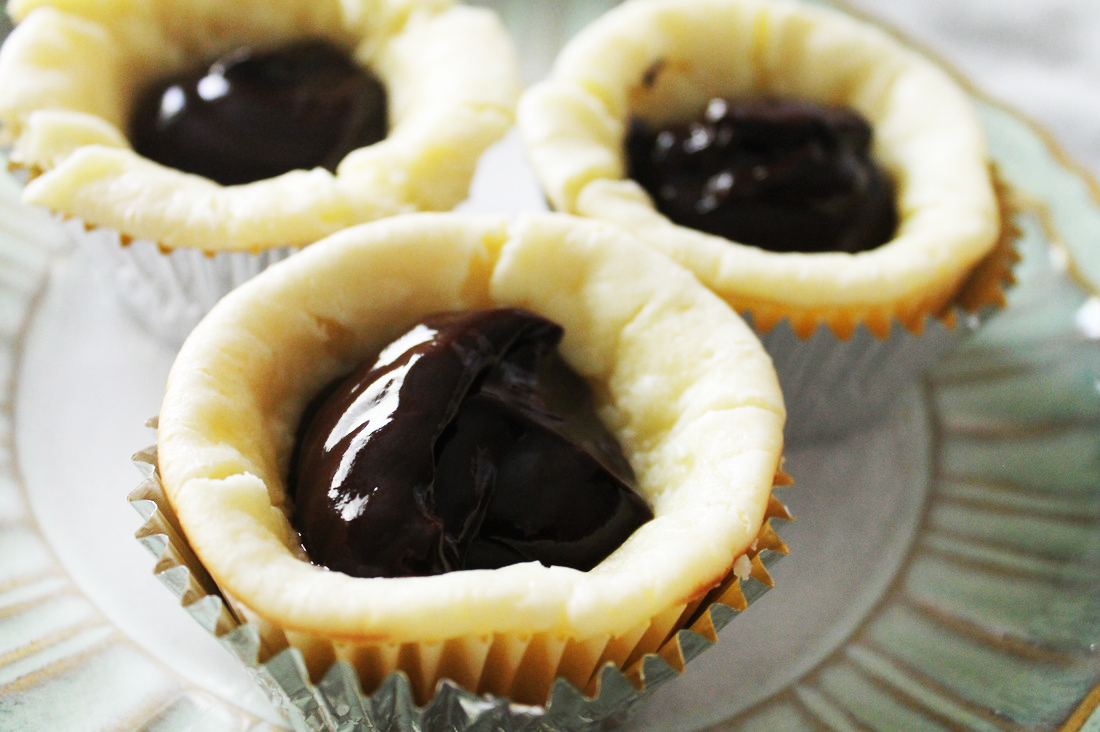
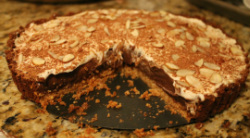
The inspiration for this AMAZING dessert came from Tarte au Chocolat noir et Caramel on Mon petit bistrot, a French blog. I simplified the original recipe and added a cheesecake top to soften the decadence. I also added coarse salt to the caramel layer, again to balance the flavor.
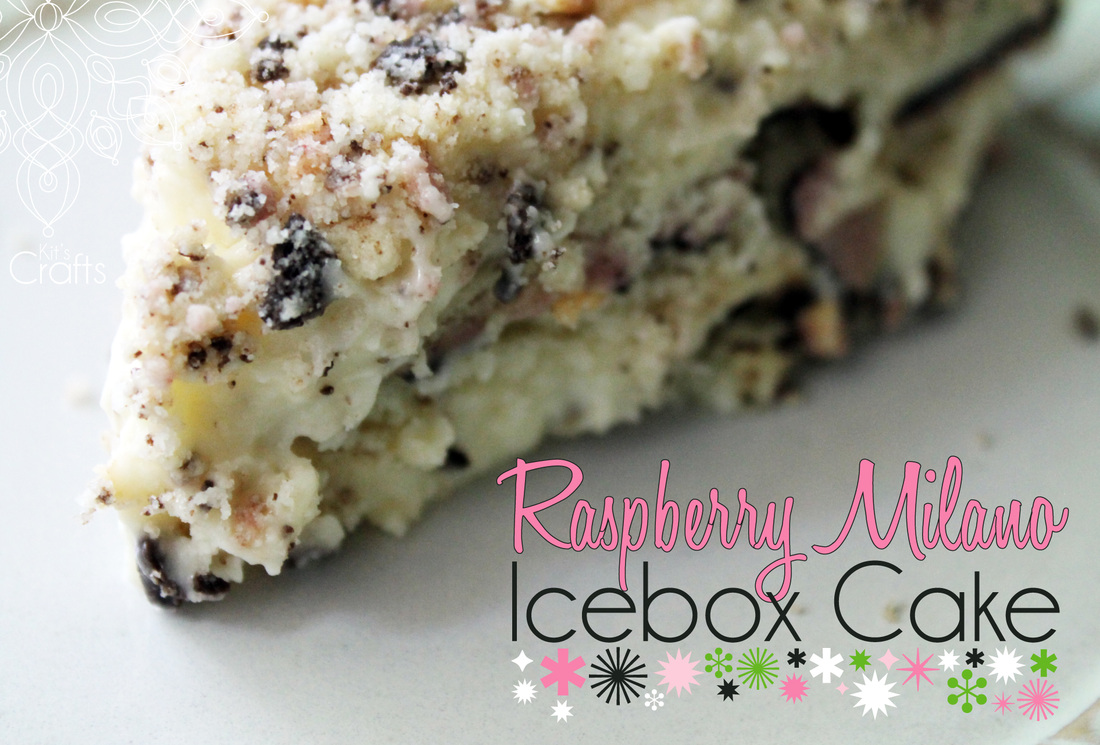
If you have never made an icebox cake before, let today be the day to try something new. It is perhaps the easiest cake ever. Essentially you layer cookies with whipped cream or pudding then place it in the fridge overnight and the cream seeps into the cookies making them soft. It is like cookies that are already dipped in milk. So amazing!
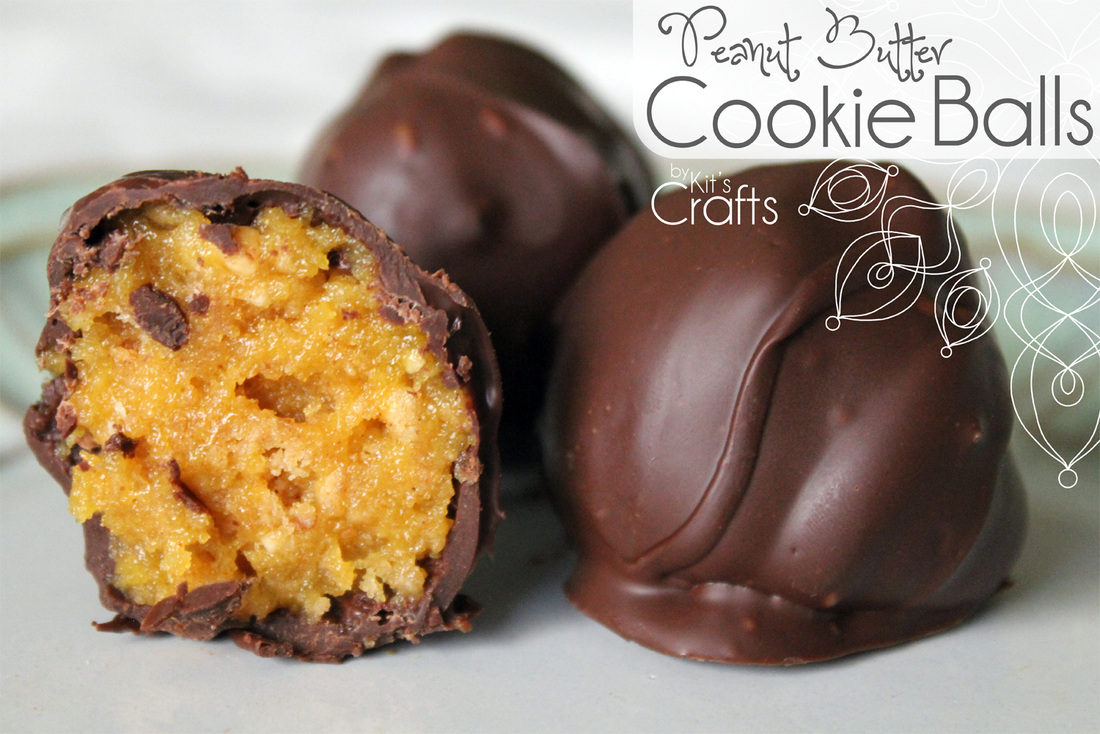
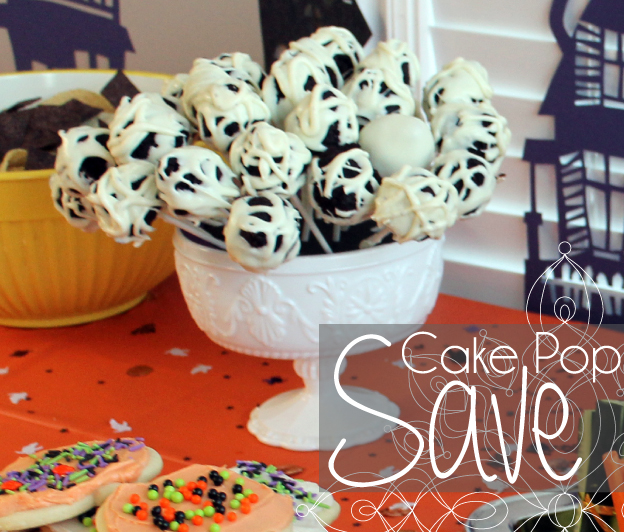
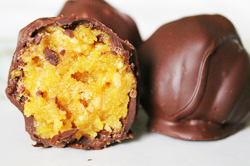
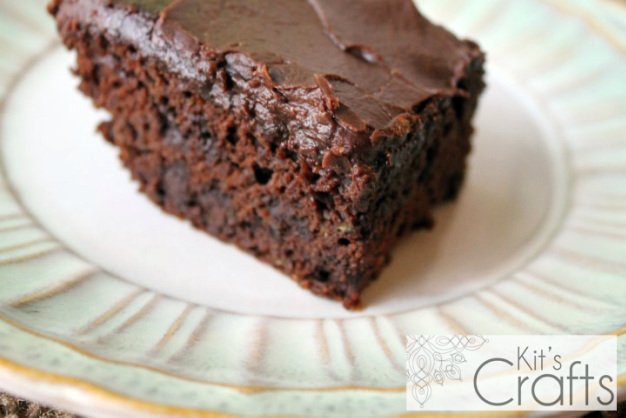
Last week I made some strawberry bars, which use 4 egg yolks and I just couldn't bring myself to throw the whites away. So, I made these meringue kisses and dipped them in chocolate. They are soooo good! Makes about 48 kisses. Ingredients: 4 large Egg Whites 1 teaspoon Cream of Tarter 1/2 cup Powdered Sugar 1/2 cup plus 2 tablespoons Granulated Sugar 1 teaspoon Almond Extract 1/2 teaspoon Vanilla Extract 2 cups Chocolate Chips Directions: Preheat oven to 225 degrees. Line 2 baking sheets with parchment paper. In a metal bowl, either in a stand mixer with a whisk attachment or hand-held beaters, whisk the egg whites until foamy, then add in the cream of tarter and mix until fluffy. Very slowly pour in the sugars while beating the whites then the almond and vanilla extracts. Continue beating until firm, glossy peaks form. Using a rubber spatula, gently spoon the meringue into a pastry bag with a large star tip (Wilton 2D or 1M) or a ziplock bag with the tip cut off one corner. Pipe little kisses onto the prepared baking sheets about 1/2" apart. They can be closer, because they don't rise much, but you don't want them to touch because they will stick to each other. Carefully place the baking sheets in the oven and bake for 1 hour, then, without opening the oven, turn off the heat and let the cookies cool over night in the oven. Melt the chocolate chips in the microwave or in a double boiler. Once all of the chips have melted, dip half of each of the kisses in the chocolate and place on a baking sheet lined with wax paper. DO NOT put the kisses in the fridge. Once the chocolate has cooled, store in an air tight container for up to 3 days (although they are best eaten the day they are made). You might also like: Move over cake balls/pops and make room for the cookie ball! That's right people, the cookie ball. Funny thing, this recipe came about as a result of not having to gone shopping, but needing to make a dessert. I knew I had vanilla pudding in my cupboard and peanut butter cookies in my freezer. At first I was thinking of making some kind of cookie custard, but then I discovered a round up of cookie ball recipes over at Snack Works and my decision was made! Ingredients: 1 package Instant Vanilla Pudding Pinch of Chili Powder 3/4 cup Milk 12 - 14 Crushed Peanut Butter Cookies (Nutter Butters would be awesome!) 1 package Semi Sweet Chocolate Chips Plastic fork with two middle tines removed Directions: Combine milk, pudding and chili powder. Stir in crushed cookies. You should have a very sticky dough. Roll dough into about 20 balls. Place balls on a cookie sheet lined with wax paper. Place balls in the freezer for 1 hour. Melt chocolate in the microwave or over a double boiler. Place 6 - 8 balls in the chocolate and carefully stir until balls are covered. Use the 2-tined fork to remove each ball and place back on the wax paper. Continue the last step until all balls are covered. Let chocolate set. You can put the balls in the fridge to speed up the process. You might also likeDo you ever go to make something that seems really straightforward and everyone you know who has tried it talks up the simplicity of the project? So you go at it with a head full of confidence thinking, "I'm crafty, I make stuff, I got this" only to find that what you are trying to do is much more difficult then you thought. Enter the cake pop. Pretty much everyone I know has made cake pops and I have seen them all over the web. So, when my husband's family decided to do a Halloween Party, I thought, "Perfect, I will make cute little ghosts!" I gathered my supplies, baked up a box cake, watched a tutorial online and went fearlessly to work. Apparently, I overestimated my abilities. When it came to dunking, my ghosts kept falling off into the chocolate. I ended up drizzling them instead (what a mess!), which "saved" them, however, I made the little guys too big and they kept falling off the sticks throughout the little soiree. Here is the lesson: Cake pops are tricky! You need to have the perfect ratio of frosting to cake, DO NOT over heat your chocolate, and (perhaps the biggest failure) DO NOT make them too big. I am sure there are other things I did horribly wrong, and, since my husband lovingly told me to try them different the next time (as if there would be one) I would love to hear your suggestions! You might also like I don't know about you, but it seems like every time I buy bananas, the majority of them go bad before my family gets a chance to eat them. All growing up, when our bananas went bad, the go to recipe was banana bread. I like banana bread as much as the next kid, but a few weeks ago, I had some aging bananas and was looking for something a little more sweet. That is when I came across marvelous blog Inside BrewCrew Life where a recipe for Banana Caramel Cookies was featured. I made them that night and was completely delighted! It occurred to me that this could be the base for any type of cookie. So, I modified the recipe slightly and now I am sharing it with you. The great thing about this recipe is that it is very adaptable for whatever you flavor tickles your fancy and the banana flavor isn't overpowering, which also makes it a delightful recipe! Ingredients: 1/2 cup Butter, softened 2 Bananas, smashed 1 teaspoon Vanilla 1/4 cup Flour 1 Cake Mix, flavor of your choice Any add-ins of your choice (chocolate chips, nuts, craisens, toffee bits etc.) Directions: Preheat oven to 350F and line a baking sheet with parchment paper. Combine the butter and bananas with a hand mixer or in the bowl of a stand mixer until well blended. Stir in the vanilla. Add in the flour and cake mix, until just combined. Then add any extras you would like. Drop dough onto prepared baking sheet from a spoon to form 1" to 1.5" dollops with about 2" in between. Bake for 10-12 minutes or until the edges of the cookies look slightly browned. Let cool for a few minutes on the baking sheet before transferring to a cooling rack to reach room temperature. Makes about 25-30 cookies. You might also like:Where I partied: I LOVE the harvest season! I don't have a garden, but my in-laws always grow way more veggies then they need, so I lovingly reap the rewards. Last week, I got a few zucchinis, so of course I had to make zucchini brownies. However, I thought I would try something new and replace the sugar with honey and the oil with yogurt. The yogurt makes the brownies more cakey and the honey makes them more moist, hence why this is a recipe for a cake. This recipe is loaded with chocolate (which makes it not so healthy) but I figured the zucchini, honey and yogurt make it somewhat healthy, hence the name. Anyway, share links to recipes you make every year during the harvest season in the comments! Cake Ingredients:
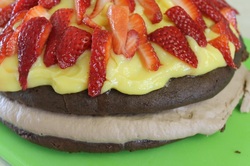
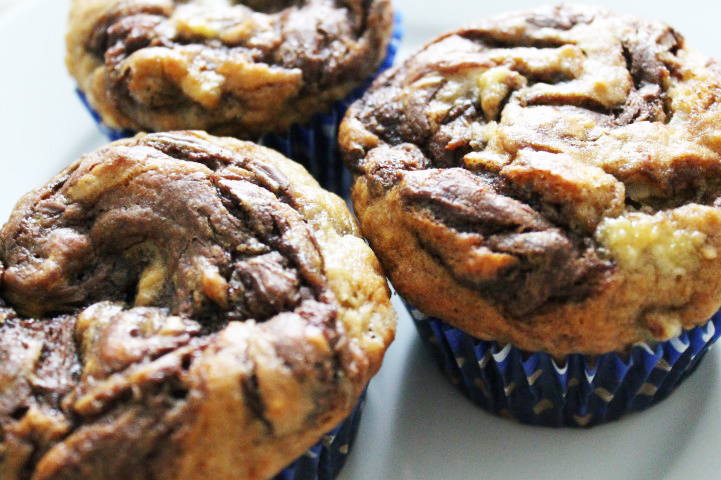
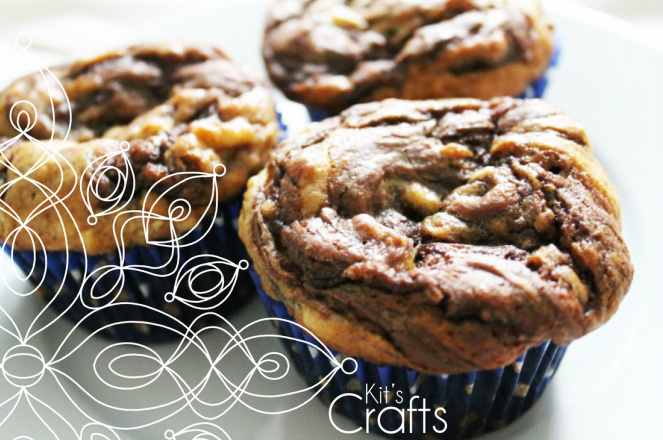
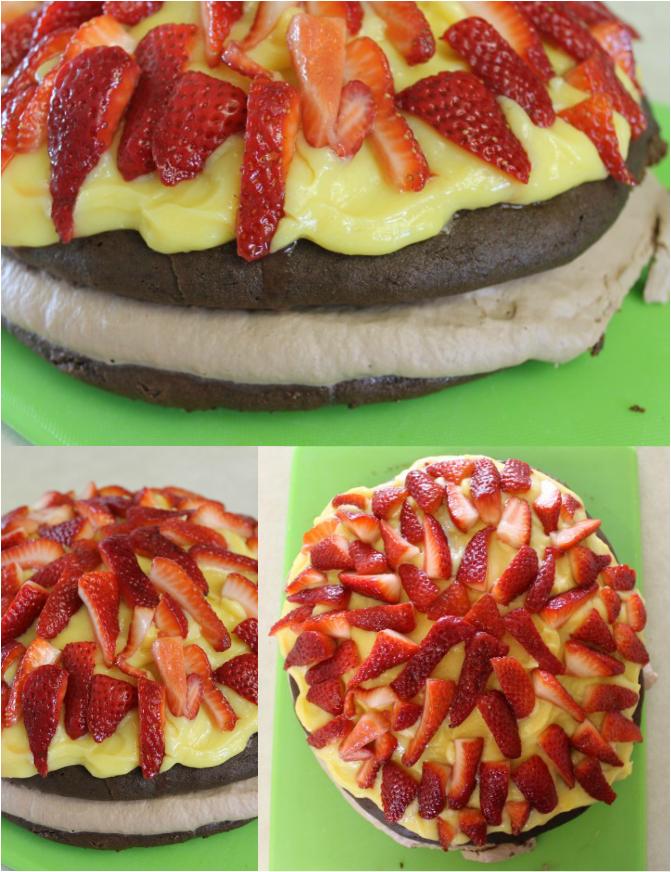
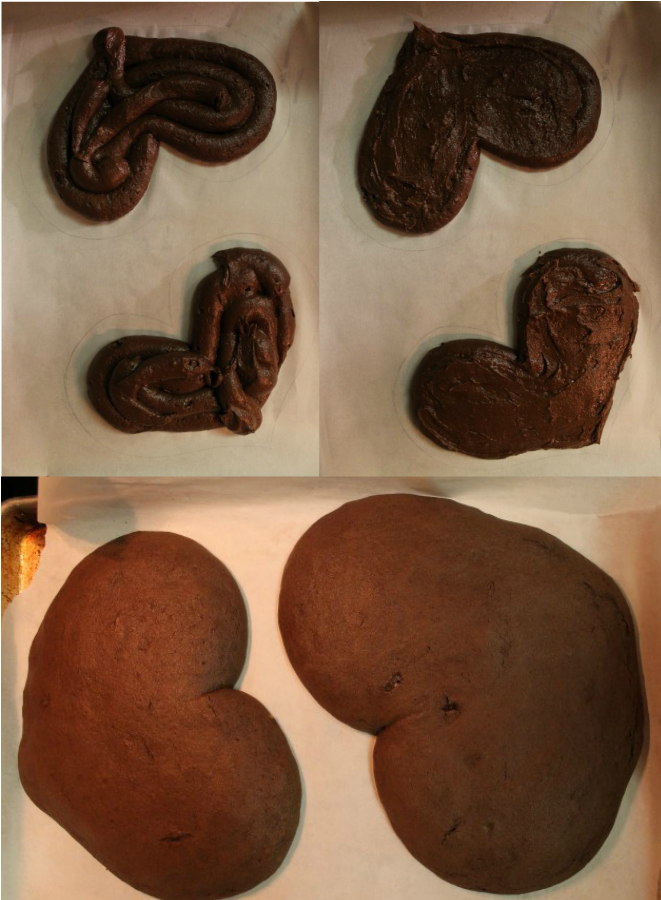
2 cups All-Purpose Flour 1/2 cup Unsweetened Cocoa Powder 1 1/2 teaspoons Baking Soda 1 teaspoon Salt 1/3 cup Plain Yogurt or Greek Yogurt 1 1/3 cups Honey (preferably local) 2 teaspoons Vanilla Extract 2 cups Shredded Zucchini 2 cups Milk Chocolate Chips Icing Ingredients: 1/4 cup Butter 6 tablespoons Unsweetened Cocoa Powder 2 cups Confectioners' Sugar 1/4 cup Milk 1/2 teaspoon Vanilla Extract Directions: Preheat oven to 325 F. Grease and flour a 9" x 13" baking pan. In a medium bowl, combine flour, 1/2 cup cocoa powder, baking soda and salt. Set aside. In a large bowl, mix together yogurt, honey and vanilla until well blended. Stir in the flour mixture. Fold in the zucchini and chocolate chips, then spread evenly into prepared pan. Bake for 30 to 35 minutes or until the cake springs back when gently touched. Place on a cooling rake until room temperature. While the cake is cooling, prepare the icing by first melting the butter in a small saucepan. Whisk in the remaining cocoa powder, then set aside. In a medium bowl, combine the confectioners' sugar, milk and vanilla until well blended. Stir in the butter mixture then spread over the cooled cake. P.S. as a little tip, I usually get WAY more zucchini then our little family needs, so I send it through the grater on my food processor then freeze it in 2 cup increments so I can make stuff throughout the year! Let's be honest. Few things are not made better by adding Nutella. I have to admit that my life in general was made better by the addition of Nutella. It is such a versatile condiment! Things that are normally considered a meal are made into dessert by this luscious spread. You can imagine my delight when I came across a Nutella Swirl Banana Bread the other day when I was browsing one of my favorite communities, Cakes & Baking - The Cadbury Kitchen. When I went to make it, I decided I was more in the mood for muffins (easier to limit myself then continuing to cut a tiny slice...). I found a great recipe over at The Fig Tree, which I didn't change. The only thing I did different was to add toffee bits, which was a GREAT decision. You might also like:A while back I was watching The Chew and they made a Whoopie Pie Cake. It looked so good that I made it the next day to share with friends. The cake itself was delightful, but the frosting inside was way too rich, so I decided to improvise. I made it for Valentine's day and replaced to frosting with pudding, which was a much better improvement. I cut the recipe in half because it was just so much cake and I tweaked the pudding a bit to make it more flavorful and added berries. Also, I did a layer of Nutella whipped cream frosting. My progress pictures are of the Valentine's cake in the shape of a heart, but the finished product is of the one I made this weekend for my husband's family. You can really make this into any shape you like, I think the next time I may try making a star... Cake Ingredients:
1 ½ cups All-Purpose Flour ½ cup Unsweetened Cocoa Powder ½ teaspoon Baking Soda ½ teaspoon Salt 6 tablespoons Butter (room temperature) ¾ cup Granulated Sugar 1 Large Egg ¾ cup Milk Preheat oven to 425 degrees. Trace two 8” circles (or hearts or stars or whatever shape you like) onto parchment paper. Flip the parchment paper over and place on a baking sheet. In a medium bowl, whisk together the flour, cocoa powder, baking soda and salt and set aside. In a stand mixer fixed with a whisk attachment or in a large bowl with a hand mixer, combine the butter and the sugar until fluffy. Mix in the egg then the milk. In two batches, hand mix in the flour combination. It should resemble frosting. Spoon batter into a piping bag (you don’t need a frosting tip) and pipe into the shapes on the parchment paper about ½” shy of the border, then smooth out the batter. Bake on the middle rack for 8 – 10 minutes or until spongy. Let cool on pan for 5 minutes then transfer the cakes and the parchment paper to a cooling rack to cool to room temperature. White Chocolate Ingredients: 1 3.5 oz Vanilla Pudding and Pie Filling Mix 1 cup White Chocolate 1 ½ cups Milk 1 cup Berries (Blueberries, Raspberries, Cut Strawberries) Place the white chocolate and ½ cup of the milk in a microwave safe bowl and heat for 1 minute, stirring after 30 seconds. Stir well after the 1 minute, the chocolate won’t be completely melted, but as you stir it should become smooth. In a medium bowl, combine the pudding mix and the remaining cup of milk. Whisk in the white chocolate mix. Place in fridge for at least ½ hour. Whipped Cream Nutella Frosting: ½ teaspoon Unflavored Gelatin Powder 2 tablespoons Cold Water 1 cup Whipping Cream 2 tablespoons Confectioner’s Sugar 2 tablespoons Cream Cheese (room temperature) 3 heaping tablespoons Nutella In a small bowl, sprinkle the gelatin powder over the cold water. Put 2 tablespoons of cream in the microwave for 30 seconds to scald, then whisk into the gelatin powder and water until the gelatin is completely dissolved. Place in the fridge for 10 – 15 minutes; until it is the consistency of egg whites. Meanwhile, beat the remaining whipping cream and sugar until soft peaks form. Whisk in the cream cheese and nutella, then whisk in the gelatin mixture. Assemble cake: Place one cake on plate, layer the Nutella frosting then place the remaining cake on top. Loosen up the pudding with a whisk and layer on the cake. Arrange berries in the pudding layer. Refrigerate until ready to serve. |
Hey there! I'm Kristin, aka Kit. Here is just a peek into my crafting mind. I hope you find something to spur your creativity!
Kit's Crafts ShopPopular Posts Featured HereCategories
All
Archives
July 2020
|






 RSS Feed


