|
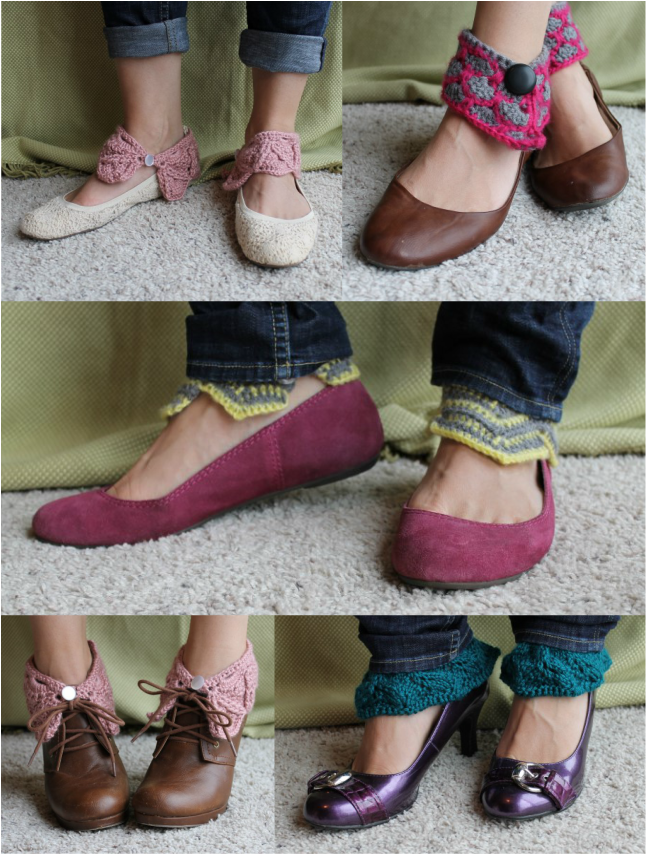
Hi there friends! So, I have been a little heavy on the baking posts and a little light on the craft posts lately. There is a reason for this. I am trying to get my patterns tested before offering them to you. This post is just to give a sneak peak at what is upcoming in the next month or so. If you want to get in on testing these out, join the Free Pattern Testers group on Ravelry. Anyway, below are some photos of patterns I will have for sell hopefully sometime this summer. Also, I will most likely be selling the finished products over at Etsy for those of you who love the craft but not the process.
8 Comments
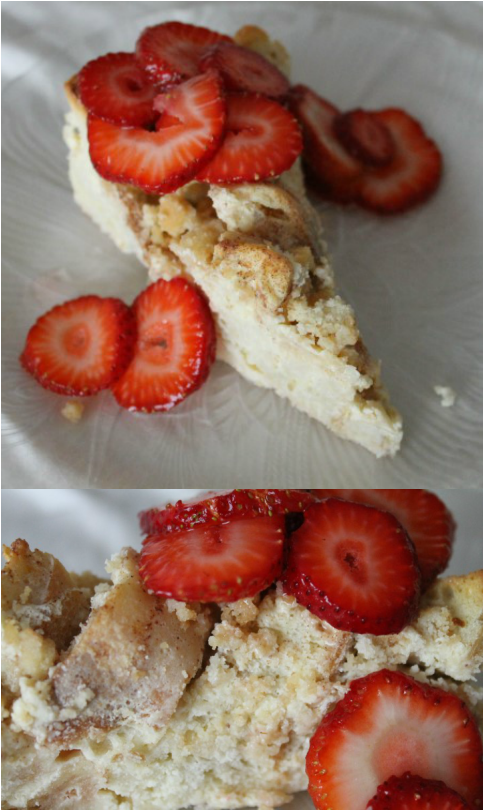
On Mothers' Day, my husband made me stuffed French toast for breakfast, which means he bought a loaf of bread. The left-overs of this loaf sat out for a couple of days until it became rock solid. I didn't want to just throw it out so I search the web for a great bread pudding recipe that would not require me to go to the store for ingredients. Most bread puddings are really fussy and require cream (which I didn't have), so I started to look for one that had cream cheese in it. That is when I landed at Mission: Food and found a recipe for perfection. It was so good, I went out and bought another loaf just to make it again that weekend. There are so many great things about this recipe, it isn't fussy, it only takes 30 minutes to bake and the best part is that you line the cake pan with parchment so there is no mess and it slides right out. Seriously, Victoria, you made my week! (P.S. I did sprinkle some cinnamon over the bread before I poured the pudding over the bread just as a throw back to traditional bread pudding.)
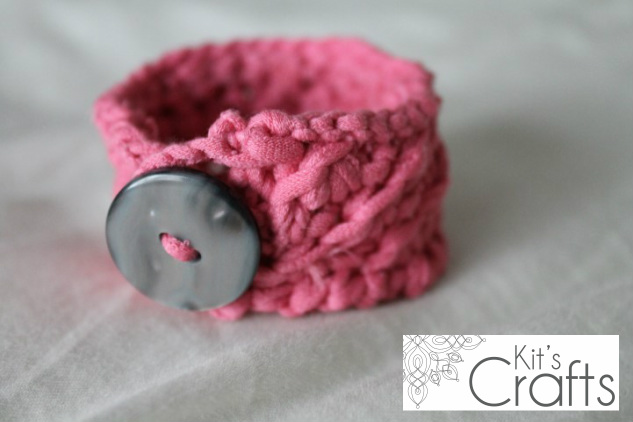
Alright, as promised, here is my next post which is another t-shirt yarn bracelet, but unlike the Cluster and the Circle, this one is knit instead of crochet. However, just like the others it is a really quick project. Enjoy! This bracelet was written using US standards. The yarn for this bracelet is made from a T-Shirt cut into one long continuous ½” strip. Here is a tutorial on how to make tarn. Although this bracelet is pretty easy to knit up, working with tarn can be tricky. If you are using purchased tarn, check the width of the tarn. The original was knitted with tarn that is ½” wide. Gauge: In stockinette stitch, 2” = 9 stitches X 14 rows, however, this may vary based on the thickness of the T-Shirt you use, as well as how close you cut to ½” for your strip. Sizes: Small, approximately 6” long (Medium, approximately 7” long) (Large, approximately 8” long) Materials: * 10 - 15 Yards T-Shirt Yarn (WPI = 7) * Size 6 Needles * Yarn Needle * 1 Button at 1” diameter or 2 buttons at ½” diameter * D Hook Only $3.00 for a PDF download. Hi friends! So below is a picture of the next pattern I plan on posting. Right now, I am having it tested in the Ravelry Free Pattern Testers Forum. For now, though, go enter to win the Red Heart Yarn Prize Pack by clicking on the button below my pic.
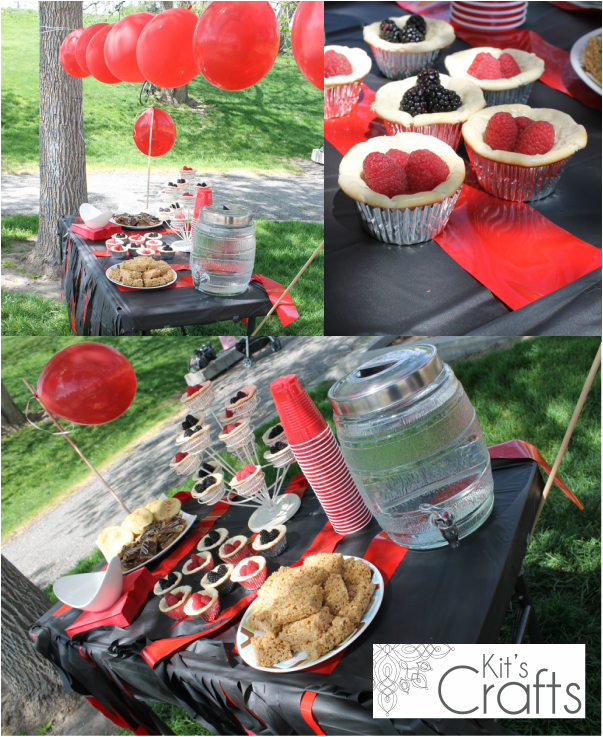
My lovely husband graduated with his Master's a couple weeks ago (YAY!!!). On the same day, the husband of a friend graduated as well. We decided to throw them a joint surprise party to celebrate. As anyone who has graduated college or had a spouse graduate knows, funds are quite low. The budget we set was a grand total of $20 for decorations. I am happy to report that we came in at $11. We planned for the party to be mid afternoon so we wouldn't need to serve a meal and we served finger food desserts so that we wouldn't need forks or plates. Below are the results. List of Materials:
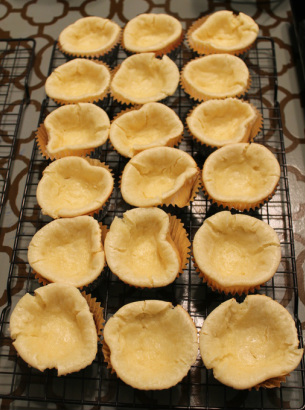
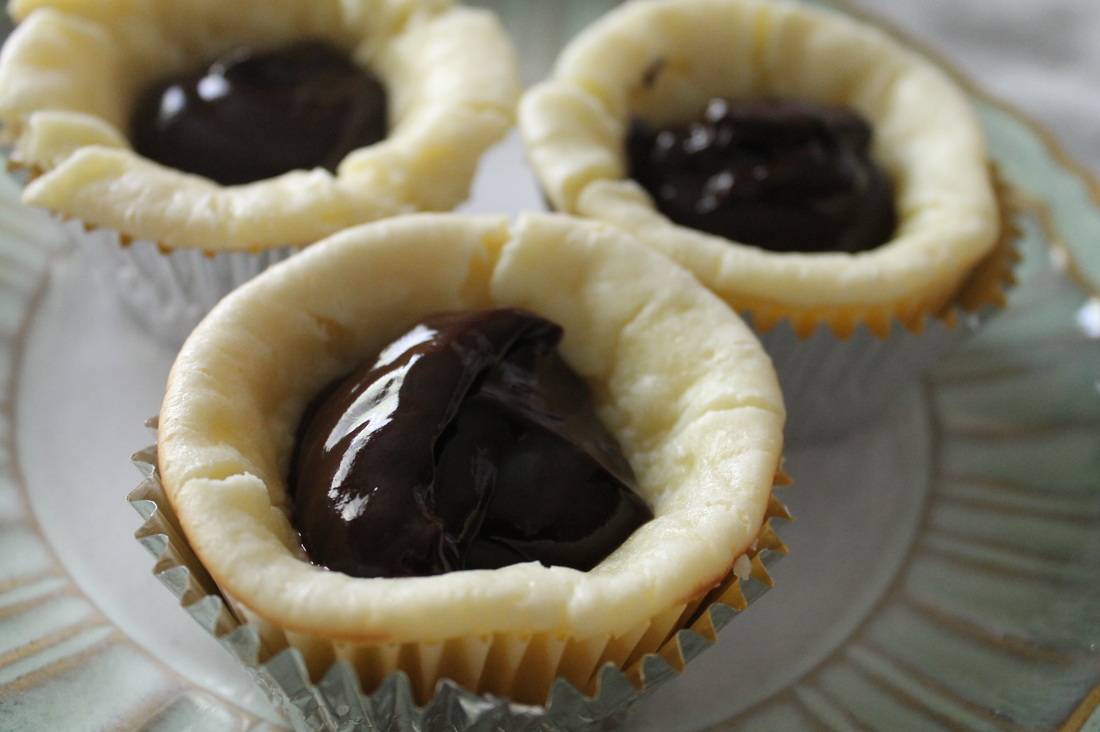
Ribbon from the stash Plastic table cloth from the dollar store Cups, Balloons and Napkins from Zurchers Borrowed Table Borrowed Water Jug Desserts: Store-bought Snickerdoodles and Chocolate Peanut Butter Bars Cookie Butter Rice Krispies Cheesecake Cupcakes with Berries We threw the party at a local park near a playground, which was great because the kids just played while the adults chatted. We didn't reserve it or anything, just set up between two trees. It was great! Also, if you are wondering about the dowls on each side of the table, my big idea was to string the balloons and another row of fringe between them but it was too windy, so we opted just for the balloons between the trees. I made these for a party today. I posted the recipe sometime ago, but with chocolate ganache instead of berries, which is delightful. Anyway, I felt like giving this cheesecake cupcake recipe a shout out because they really are that good. Cupcakes:
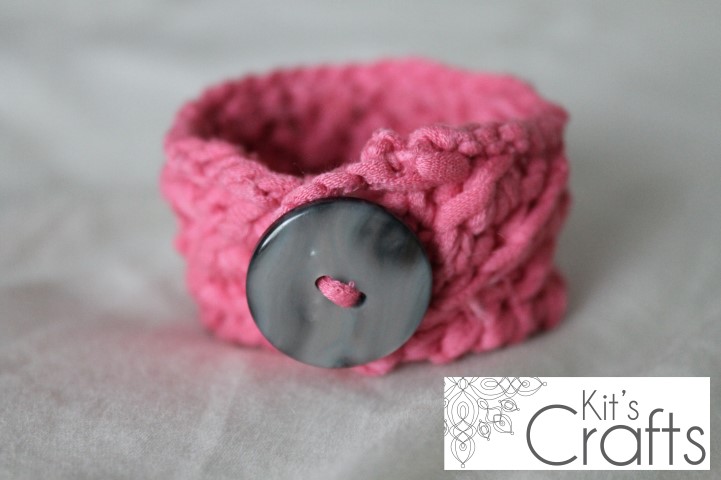
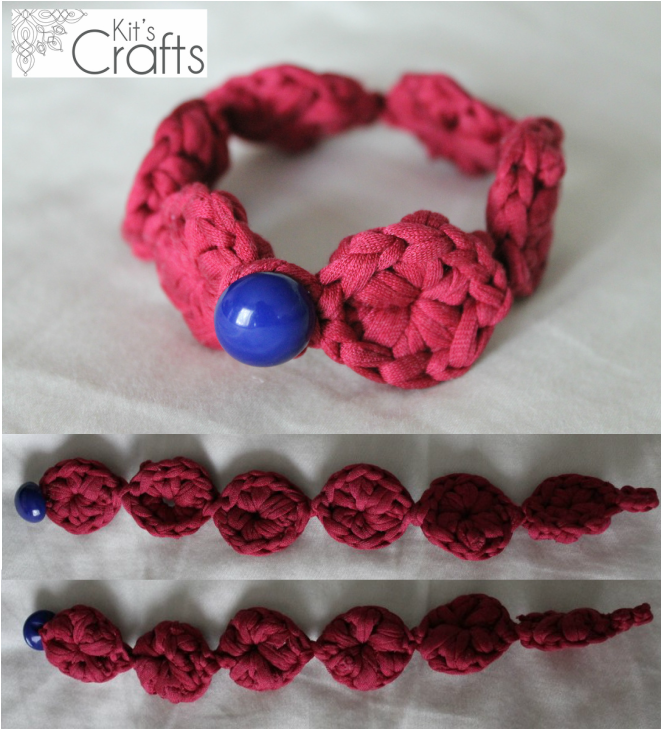
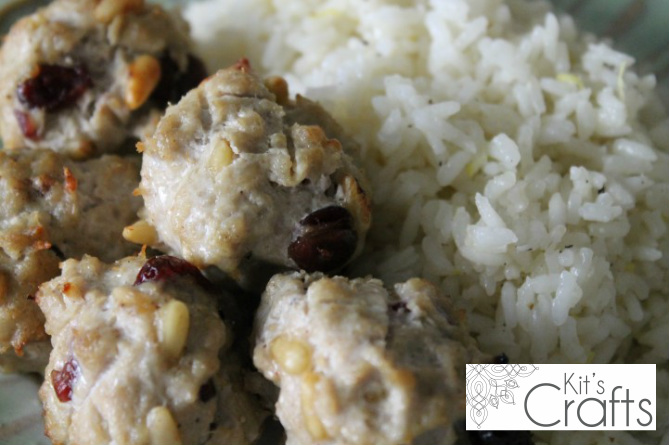
4 pkg. (8 oz. each) Cream Cheese, softened 1/2 cup Sour cream 2 cup Granulated Sugar 2 tsp. Vanilla Extract 4 Eggs 24 Vanilla wafers 12 - 18 ounces Raspberries or Blackberries Heat oven to 350°F. Lightly grease the top of 2 12-cup muffin pans. Place a paper cupcake liner in each cup. Place a vanilla wafer, flat-side down, in each muffin cup. Beat cream cheese with a hand-held electric mixer until fluffy adding one package at a time. Add sour cream and beat until well incorporated. Add granulated sugar and vanilly extract, beating well. Add eggs, one at a time, beating well after each addition. Spoon cream cheese mixture over wafers, filling the cups up to the top. They will get puffy, but shrink up when cooling and the centers will cave in forming a cup. Bake for 10 minutes then rotate the pan, then bake for another 10 minutes or until they are no longer jiggly in the center. Let the "cups" cool to room temperature, then, then put the cooling rack right side down on top of them and carefully flip to slide the "cups" out of the pan. Quickly flip the "cups" right side up. When cool, fill each cupcake "cup" with berries. If you are making these in advance, store in the fridge. Here is another quick project to add to the collection. It is a bracelet made from t shirt yarn or tarn. I have a tutorial on how to make this yarn. The pattern is for sell on Ravelry. Gauge: In single crochet, including foundation single crochet, 2” = 9 rows x 10 Stitches Sizes: The size for this bracelet is adjustable. Each circle is approximately 1” in diameter, add more for longer bracelets and less for shorter bracelets. Materials: 10 – 15 Yards T-Shirt Yarn (WPI = 7) D Hook Yarn Needle Tapestry Needle 1 Button at 1/2” diameter Only $3.00 for a PDF download. This is one of those recipes that has been in the rotation for a while now. The combination of ingredients is not something that I would of thought of on my own, in fact I found the meatball recipe in a Real Simple magazine quite some time ago. They paired the meatballs with sautéed chard, but I have to be honest, the chard was gross. So, I swapped out the chard for lemon rice, which created a very light and filling dish.
Position oven rack approximately 6"-8" from broiler. Preheat broiler. Line a cookie sheet with tin foil and place a cooling rack on top of the cookie sheet.
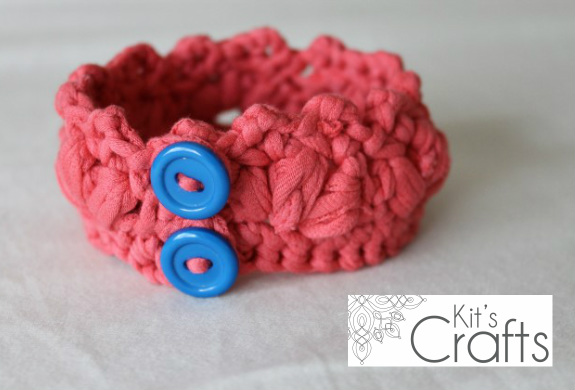
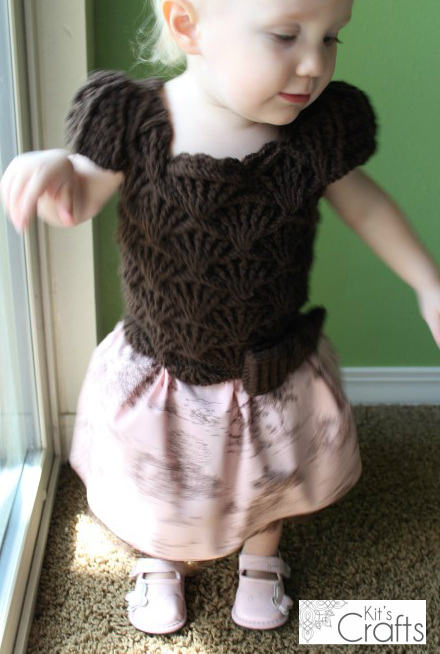
Combine all of the meatball ingredients in a medium bowl. Shape the meat mixture into walnut-sized balls and place on the cooling rack. Bake for 3 minutes then flip the meatballs with tongs and bake for another 3 minutes or until browned, but not burned. Melt the butter and olive oil in a large skillet over medium heat. Once the bubbling subsides, add the garlic and cook only until fragrant, 30-60 seconds. Spoon in the rice and stir. Add in the lemon juice and zest and the salt and pepper (go heavy on the pepper), then stir to combine. In an effort to save money, I have been looking at alternative materials to crochet and that's when I came across tarn or t-shirt yarn. The yarn for this bracelet is made from a T-Shirt cut into one long continuous ½” strip. Here is the tutorial for creating t-shirt yarn. Just a couple of notes about tarn; not all tarns are made equal (obviously) and the type of T-Shirt you use can greatly affect the outcome of your bracelet. I originally made this using a thinner shirt that was 60% cotton and 40% synthetic. Generally, I have found that the pure cotton tarns stretch and will give you a greater quantity, but are also harder to work with. That being said, if you are using a typical, run of the mill, 100% cotton T-Shirt, go down a size and use a G hook. This may still be tough, if you go up another size hook, go down another size for the bracelet. Also, practice a bit to get the hang of the tarn if you have never used it before. This pattern uses a foundation single crochet. If you are not familiar with this stitch, check out a great tutorial by future girl. Gauge: In single crochet, including foundation single crochet, 2” = 9 rows x 10 Stitches Sizes: Small, approximately 7” long (Medium, approximately 7 ½” long) (Large, approximately 8” long) Materials: 10 – 15 Yards T-Shirt Yarn (WPI = 7) D Hook Tapestry Needle 2 Buttons at 1/2” diameter Only $3.00 for a PDF download. A couple months ago I was at Hancock Fabrics and came across the cutest toile fabric in the remnant bin. I couldn't resist despite there only being 1/4 of a yard, but that lovely fabric sat for at least a month before I was able to designate a cute enough project for it. So, here you go. It is a crochet dress with a fabric skirt. Essentially, I treated this pattern like I would treat a fabric dress, so I don't have an exact pattern, but rather a method. I'm not going to lie, there is a lot of measuring and math involved, but nothing too complicated. Materials: 1 Skein Loops & Threads Impeccable yarn in Chocolate G Hook 1/4 Yard desired fabric (pre wash and iron) 3/8 Yard matching lace (pre wash and iron) Fray Check Sewing machine, thread, pins Needle for hand sewing Method: To start with, I found a crochet chart for the pretty shell stitch at My Picot and I crocheted up the whole chart to determine how wide a repeat would be. Then I measured my daughter at her waist, chest and hips and used the largest measurement as a gauge for the circumference of the bodice. Ok, at this point I have the measurement/gauge of the chart (6.5") and I have the circumference/length that I need to make the bodice so it fits (19.5"). So, to determine how many repeats to make, I divided the bodice by the stitch (19.5"/6.5"=3). I was lucky that it came out to a whole number. If yours doesn't, round up. So, the chart requires 25 chains per repeat of the whole chart and I need 3 repeats of that chart to get my desired width, which means I need 25x3=75. And there you go, that is the base, 75 chains. I know this sounds like a lot of work, but it really is easy, just take your time. (P.S. this is crocheted from the bottom up) Now it is time to consider armholes. I went back to my daughter and measured from where I wanted the bodice to end to where I wanted the armhole to start (7") and just continued in the chart pattern until I reached that point. Then, I put the two sides together to form a circle and centered them and marked where I wanted the arm holes to start and end based on the chart repeats. I continued the chart until I reached a marker and turned back. After a full vertical repeat, I continued only half of the width to create the neck hole. Then, I picked up at the next marker and continued in this fashion to create the shape in the picture. To connect the shoulders, overlap the front and back shoulder of each side then slip stitch with your hook through both layers. Weave in all loose ends. I did go back and exaggerate the shells along the bottom by basically doing the shell pattern in the chart along the bottom. To make the sleeves, I kind of winged it, but here is what I wrote down, let me know if you need clarification: SC = Single Crochet DC = Double Crochet SK = Skip STS = Stitches FPDC = Front Post Double Crochet Starting with the left sleeve, pull up a loop 4 stitches to the right of the seam, SC, 5 DC around 2 stitches to the left of the seam, SK 2 stitches to the left of the seam, SC in next 2 STS, CH 1 turn Row 1: (FPDC, DC in the same DC)4X, FPDC, SK SC, SC in next 2 on the bodice, CH1, turn Row 2: (FPDC, DC in the same DC, DC in next ST) 4X, FPDC, SK 2 SC, SC in next 2 on the bodice, CH1, turn Row 3: (FPDC, DC in next 2 STS) 4X, FPDC, SK 2 SC, SC in next 2 on the bodice, CH1, turn Row 4: (FPDC, DC in the same DC, DC in next 2 ST) 4X, FPDC, SK 2 SC, SC in next 2 on the bodice, CH1, turn Row 5 &6: (FPDC, DC in next 3 STS) 4X, FPDC, SK 2 SC, SC in next 2 on the bodice, CH1, turn Row 7: (FPDC, DC in the same DC, DC in next 3 ST) 4X, FPDC, SK 2 SC, SC in next 2 on the bodice, CH1, turn Row 8: (FPDC, DC in next 4 STS) 4X, FPDC, SK 2 SC, SC in next 2 on the bodice, CH1, turn Row 9: SC, (SK 2 STS, 5 DC in next STS, SK 2 STS, SC in next ST) across Bind Off. Repeat for the right sleeve switching the right and left directions. Weave in ends For the buttons, SC along the side you would like to overlap. Then, determine how many you would like (I did 5) then divide the length of the side by that number. Place markers on the overlapping side at the length you just got. SC until 1 ST before each marker, CH 3, SK 3 STS, then SC until 1 before the next marker and repeat. When you reach the end, CH 1 and turn. (SC, SK 2 STS, 5 DC in the next ST, SK 2 STS) across, you may need to fudge the last shell. Bind off and weave in ends. Sew buttons to the appropriate side, matching them up with the button holes. Now for the skirt. Start by hemming both top and bottom of your fabric. Then, measure the width of your bodice (mine is 19.5") and minus this number from the width of your fabric (45" - 19.5" = 25.5") then minus 1" for the seam allowance. This is the amount of fabric that needs to be gathered. Now, divide the number you just got (24.5) by the number of places you want to gather your fabric or each of the valleys in between the shells (24.5/7 = 3.5). With right sides together, sew the two sides of your fabric together using a 1/2" seam allowance. Measure and mark, along the top of the skirt, the width of a shell (2.5")then the last number you calculated (3.5"). Baste the gathering widths about 1/4" from the edge, leaving long tails. Gather each of the basted areas. For the lace, cut 2 strips, perpendicular to the salvage edge, 8" wide and one that is 9". Go along one long edge with your fray check and let dry. Sew the 2 8" strips together along one of the short ends. baste along the side that is not fray checked and gather it until it is the same width as the 9" strip. Pin the gathered strip to the 9" strip, 1/2" down from the side that is not fray checked and sew. With right sides together, pin the side short sides of the 9" strip and the 8" strip together and sew with a 1/2" seam allowance. Find the middle of the 9" strip and mark with a pin. Baste along the top of the 9" strip from the seam to the pin, then cut the thread leaving a long tail then baste from the pin back to the seam. With the 8" lace layer facing the inside of the fabric skirt, gather the lace and fit it into the fabric skirt, matching up the pin with the center of the fabric skirt, and pin in place. Sew the lace to the skirt about 1/4" from the top. Button up the bodice, then fit the skirt into the bodice. You may need to adjust your gathers so they match up with the valleys in between the shells. Pin in place, then hand sew the skirt to the bodice being careful not to go all the way through the bodice. I entered this project in the All Free Crochet Stitch and Share. |
Hey there! I'm Kristin, aka Kit. Here is just a peek into my crafting mind. I hope you find something to spur your creativity!
Kit's Crafts ShopPopular Posts Featured HereCategories
All
Archives
July 2020
|










 RSS Feed


