
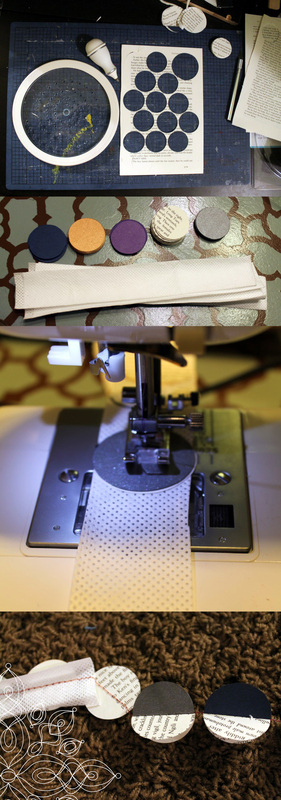
I decided to post today about the Swaner EcoCenter in Park City, Utah, as I will be selling some items in their gift shop. The EcoCenter is located on the Swaner Preserve, which is a protected habitat spanning more than 1,200 acres. The preserve and center are run by Utah State University (my alma mater). If you are thinking of going to Park City, make a stop here, there are guided tours as well as small exhibits that teach you about the different wildlife that the preserve protects. There is also a viewing dock on the roof that overlooks the expanse of the preserve. It is a great place to spend the afternoon and learn about how we can protect nature and create a more sustainable world. Did I mention that the EcoCenter gained the highest LEED certification possible? Pretty cool stuff...
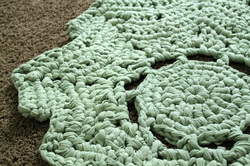
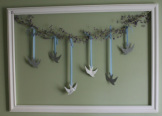
Anyway, once you have had a chance to check everything out, head on over to the gift shop. Below is a sampling of the items I made exclusively for the Swaner EcoCenter.
Anyway, once you have had a chance to check everything out, head on over to the gift shop. Below is a sampling of the items I made exclusively for the Swaner EcoCenter.
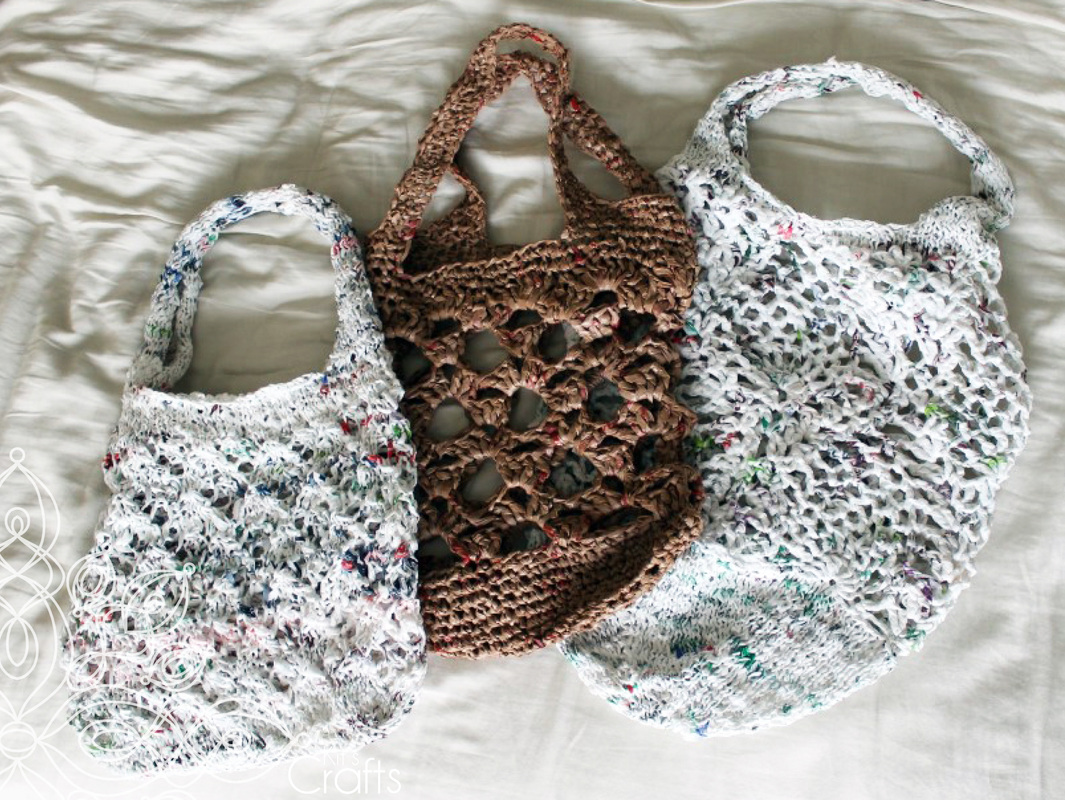
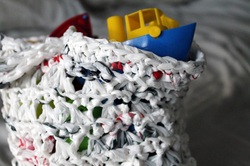
Market bags, knit and crocheted using plastic grocery bags.
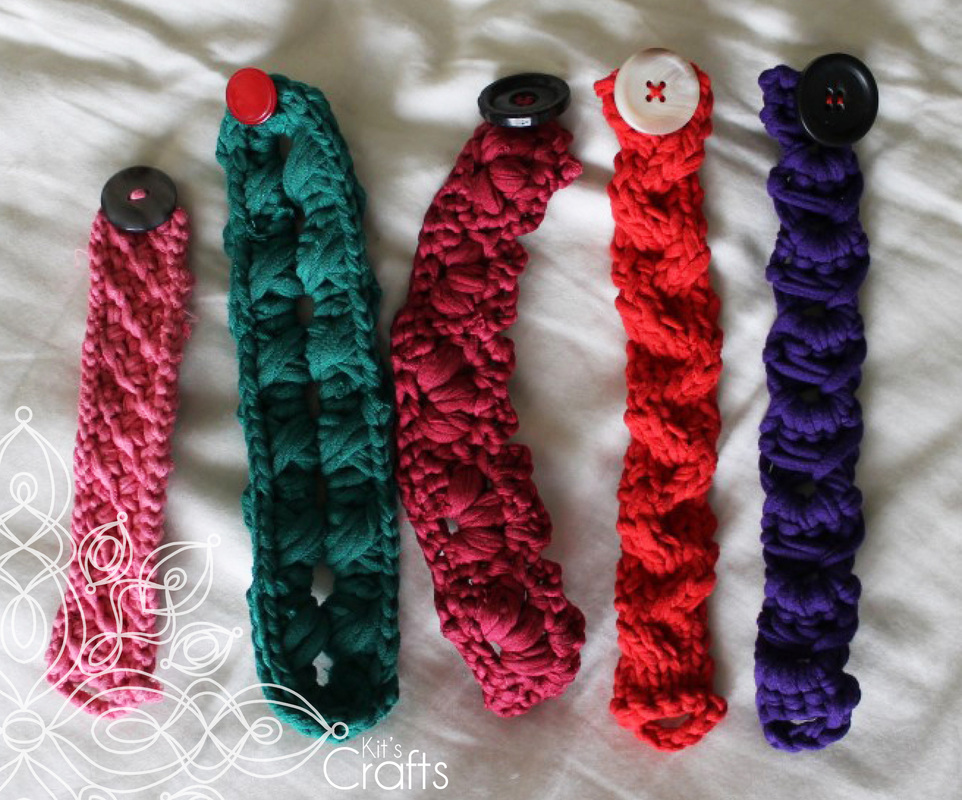
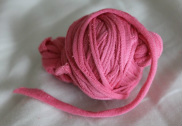
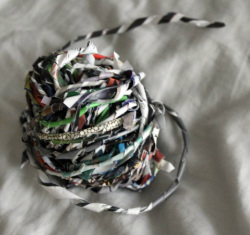
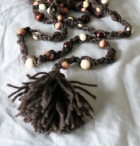
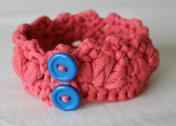
Bracelets, knit and crocheted using old T-Shirts
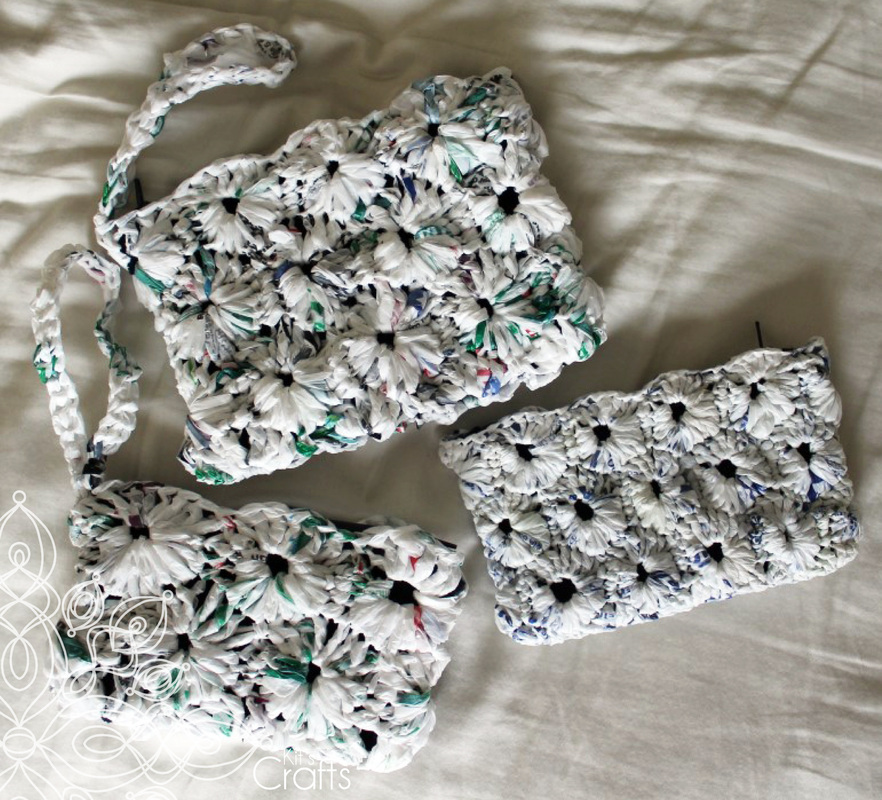
Wrist purses, knit and crocheted using plastic grocery bags, then lined with fabric from an old skirt
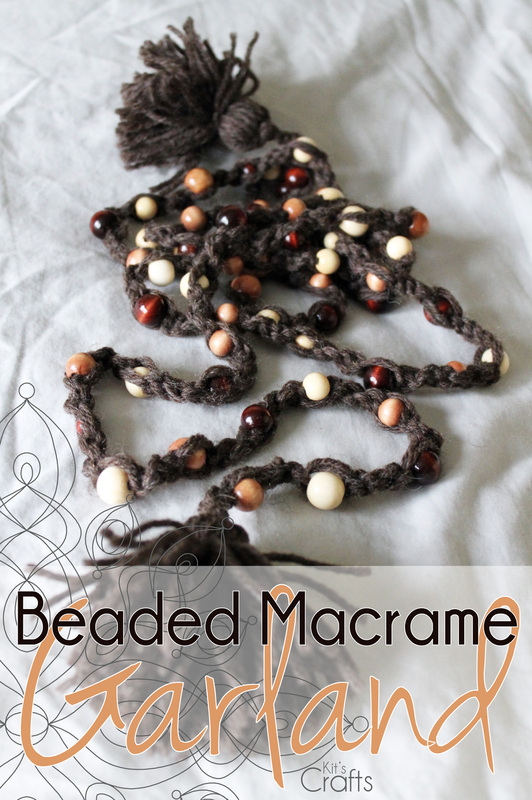
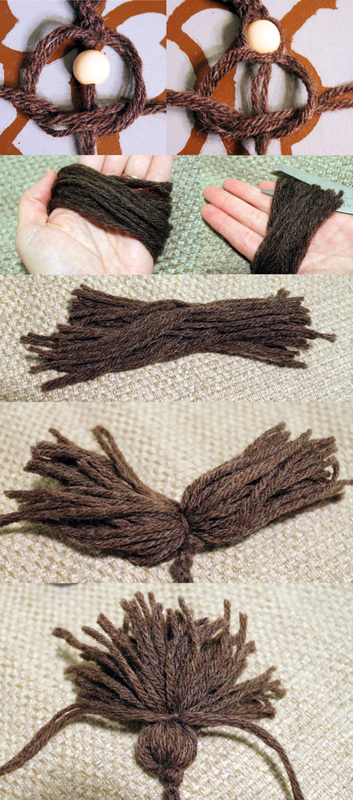
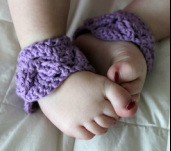
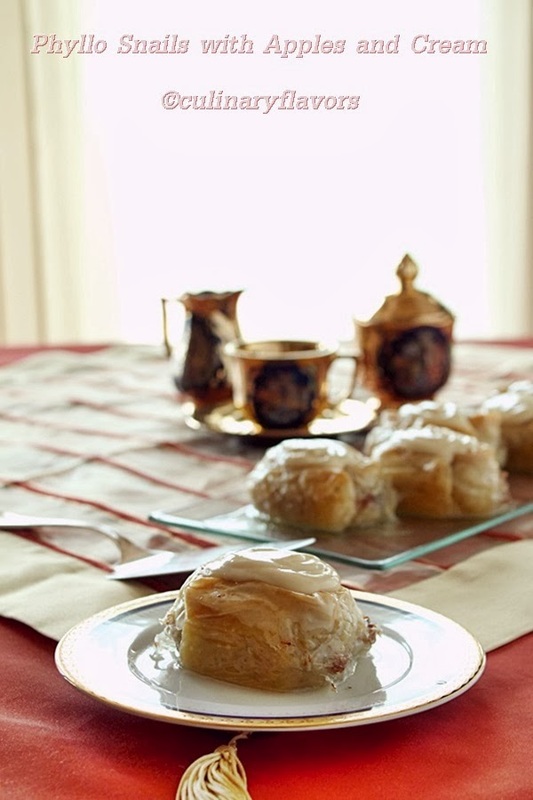
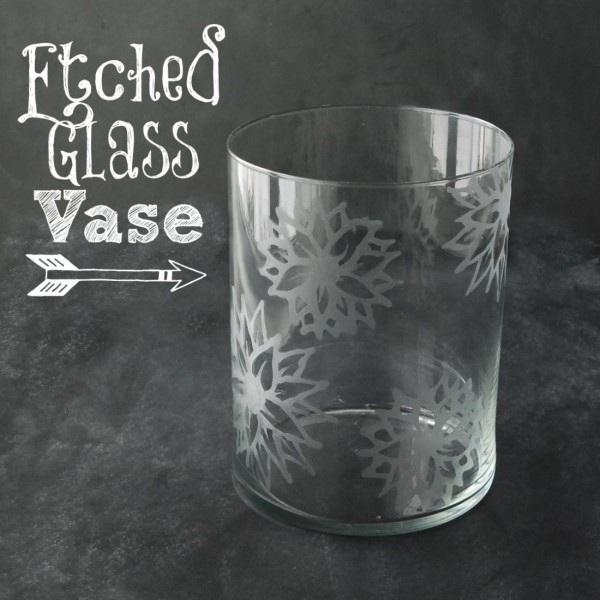
You might also like:

| 
| 
| 
|


 RSS Feed


