
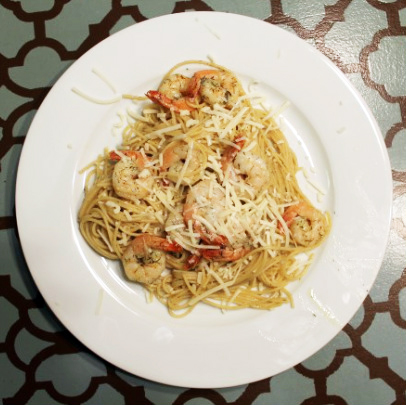
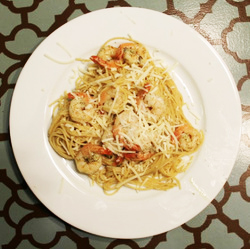
This is a dish I started making years ago. It is best on the grill in a tin foil pouch, but you can fry or broil it and it will still be good.
Serves 8
Ingredients:
1 14.5oz box spaghetti
1 pound frozen 41/50 shrimp, cleaned and peeled
1/2 cup olive oil (it seems like a lot, but this is your sauce)
4 tablespoons butter
2 tablespoons dried dill
1 tablespoon dried rosemary
2 large cloves garlic, minced
4 tablespoons lemon juice
Salt and Pepper to taste
Parmesan cheese for topping
Prepare spaghetti according to package directions.
To Fry:
While water is coming to a boil, but before you add the dry pasta, thaw the shrimp according to package directions. Once you have added the pasta, heat olive oil and butter in a frying pan over medium heat. Add dill, rosemary, garlic, salt and pepper. Fry until fragrant, only a minute or two, DONOT over cook. Add shrimp. Cook until shrimp is opaque. Remove from heat, add lemon juice and pasta. Sprinkle with parmesan before serving.
To Grill:
While water is coming to a boil, but before you add the dry pasta, thaw the shrimp according to package directions. Stir together the olive oil, dill, rosemary, garlic, lemon juice salt and pepper. In a large bowl, stir in the thawed shrimp. Make a bowl out of tinfoil and add the oil mixture. Once you have added the pasta to the boiling water, put the tin foil pouch on the grill and cook for about 5-10 minutes or until the shrimp is opaque. Combine the shrimp and pasta then sprinkle with parmesan before serving.
To Broil:
Preheat oven to broil with a rack in the top third of the oven. While the water for the pasta is coming to a boil and before you add the dry pasta, thaw the shrimp according to package directions. In a large bowl, stir together the olive oil, dill, rosemary, garlic, lemon juice salt and pepper. Stir in the thawed shrimp. Make a bowl out of tinfoil and add the oil mixture. Once you have added the pasta to the boiling water, put the tin foil pouch in the oven on a cookie sheet and cook for about 5-10 minutes or until the shrimp is opaque. Combine the shrimp and pasta then sprinkle with Parmesan before serving.
You might also like:
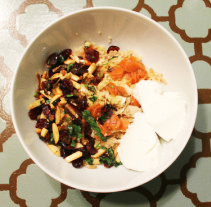 | 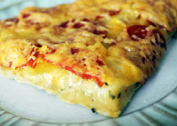 | 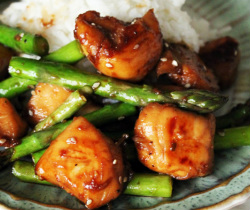 |  |


 RSS Feed


