|
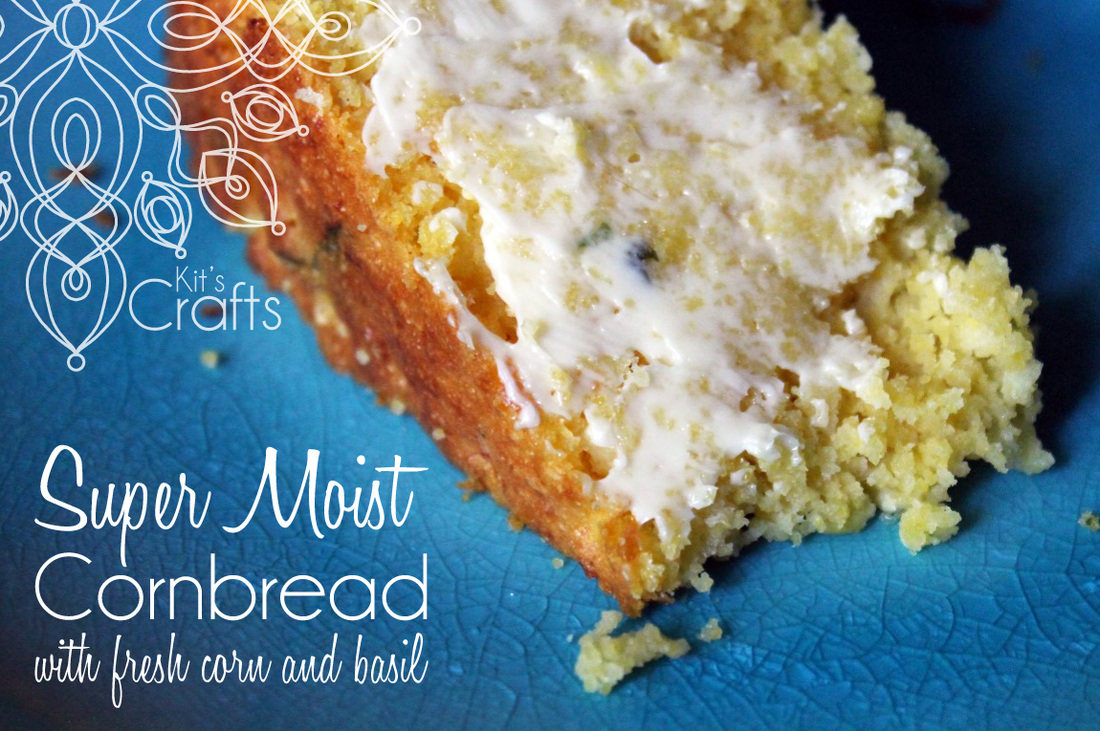
Whenever I go to a pot luck there are a couple of things I avoid. One of them is cornbread. Rarely have I find a cornbread that is actually moist and doesn't need a TON of honey butter in order to swallow the mealy square. Honestly, I have never made the stuff because I thought that cornbread is supposed to be dry and awful. Well, last weekend, my in-laws gave us a bunch of fresh corn and, to use some of it up, I thought I would try a fresh corn cornbread. Let me just tell you, all of my preconceived notions of cornbread have been completely dispelled. The Epicurious recipe I found for Fresh Corn and Basil Cornbread is so moist and delicious it is almost cake. No butter or honey butter needed (although it is still good with honey butter). Click on the photo below to link to the recipe. By the way, I baked the bread in the photo using a spring form pan as I don't have a 9" x 9" square pan.
0 Comments
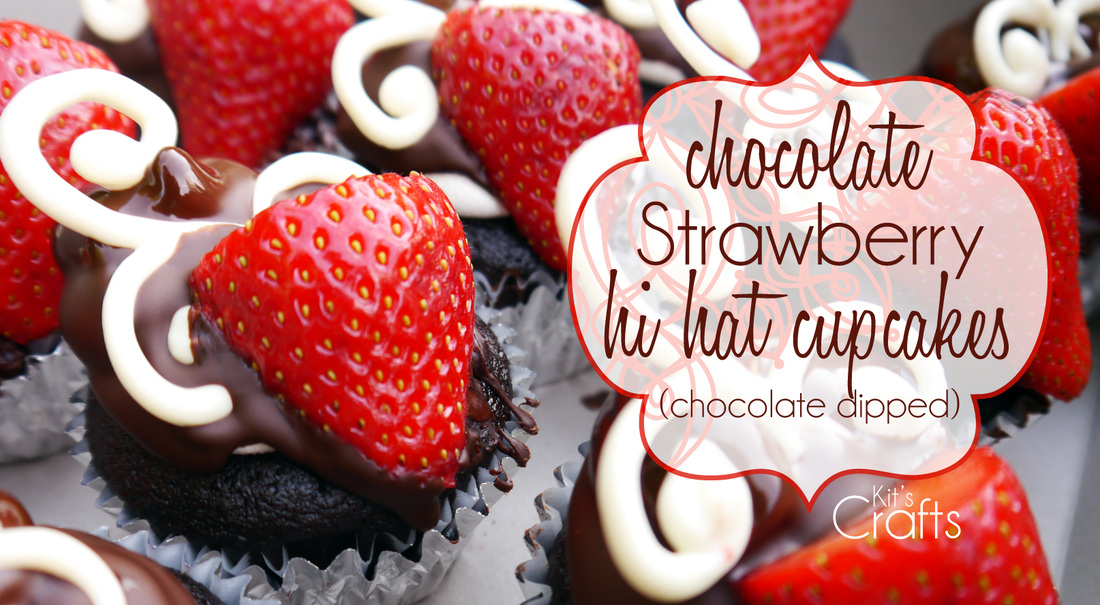
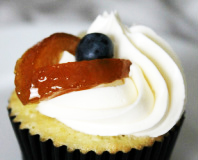
This year and last year my husband's summer office party included a mini cupcake wars. Last year, I made the Fancy Pants Cupcakes, which were amazing! This year I decided I would try my hand at hi hat or chocolate dipped cupcakes. I am proud to say that these cupcakes won first prize! They were gone before my husband and I got to the cupcake table. Try them out and let me know what you think in the comments.
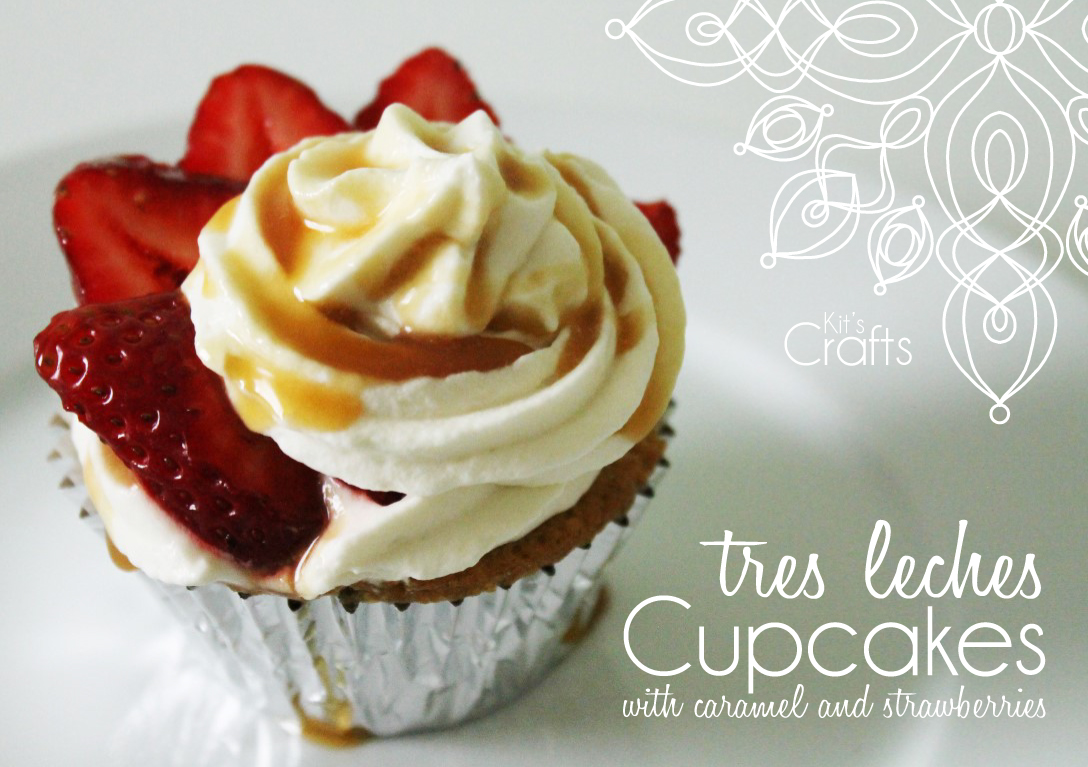
Last march, I shared a recipe for Tres Leches Cake with Strawberries and Caramel Sauce. I decided to see if it would be possible to turn this recipe into cupcakes. It turned out pretty amazing, if I do say so myself...
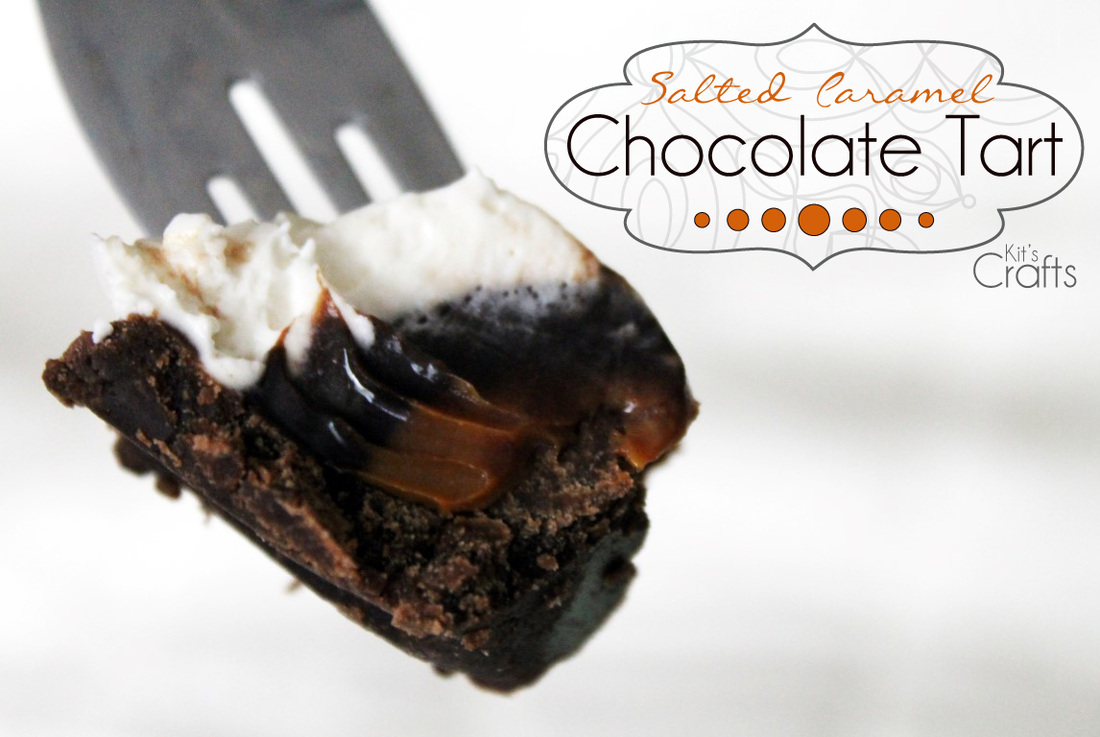
The inspiration for this AMAZING dessert came from Tarte au Chocolat noir et Caramel on Mon petit bistrot, a French blog. I simplified the original recipe and added a cheesecake top to soften the decadence. I also added coarse salt to the caramel layer, again to balance the flavor.
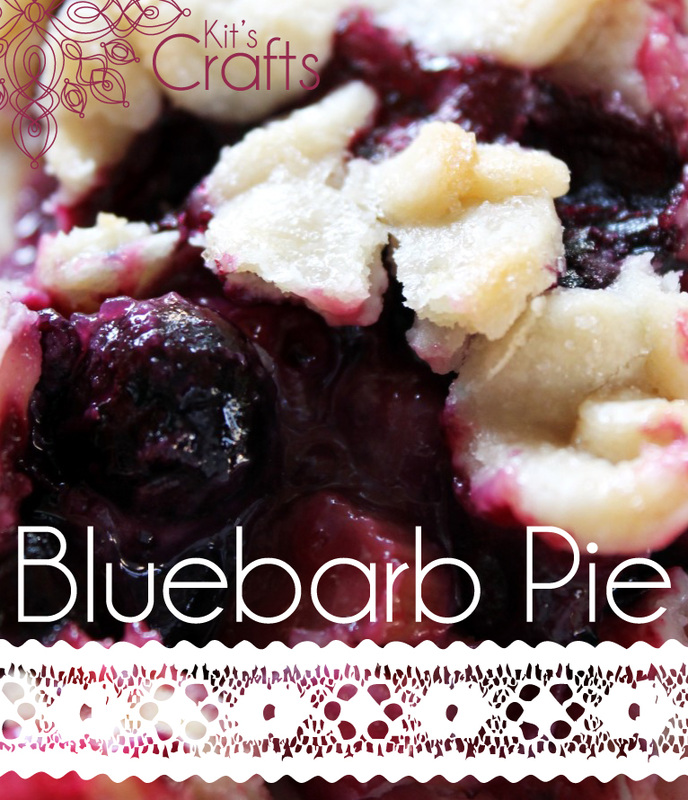
Last year, around this time, blueberries went on sale and I just so happened to have picked some rhubarb from my grandmother's garden. The result of these events was the Bluebarb Pie. I wrote the recipe down, but I didn't get any good pictures, so, this year, when blueberries went on sale again I had to make this pie. Luckily, I got some good photos this time around, so here is the recipe for you to bake at home!
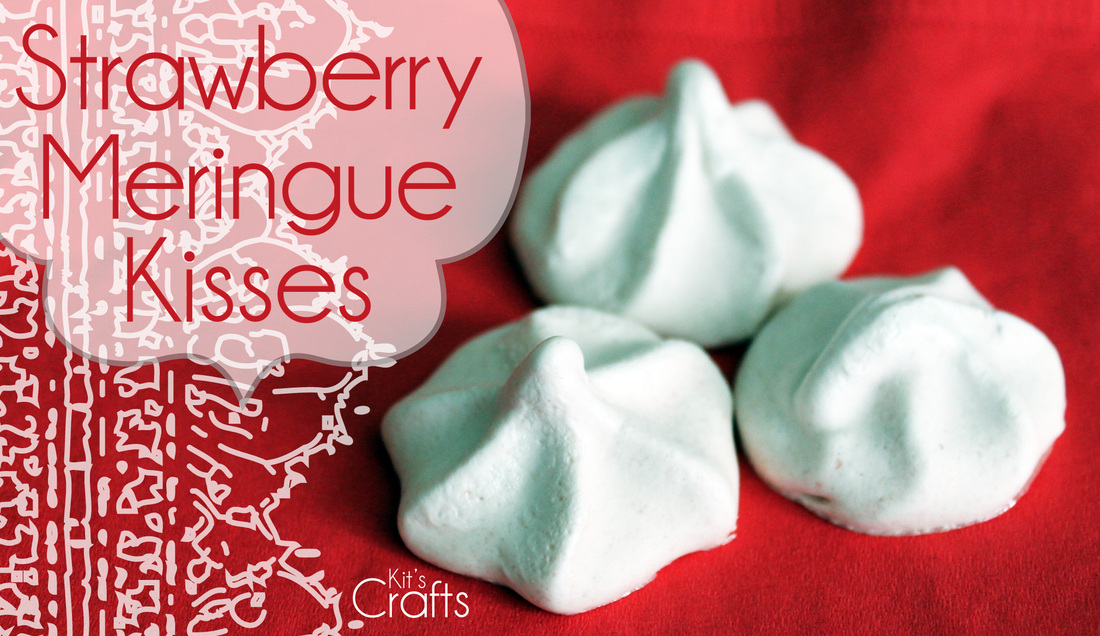
Back in may, I shared a recipe for Almond Meringue Kisses dipped in chocolate. They were such a hit, that I thought I would share a strawberry version of the same crispy little cookies. These bite-sized pops of sweetness are great as party favors or even at a wedding - if you are up for a lot of whipping!
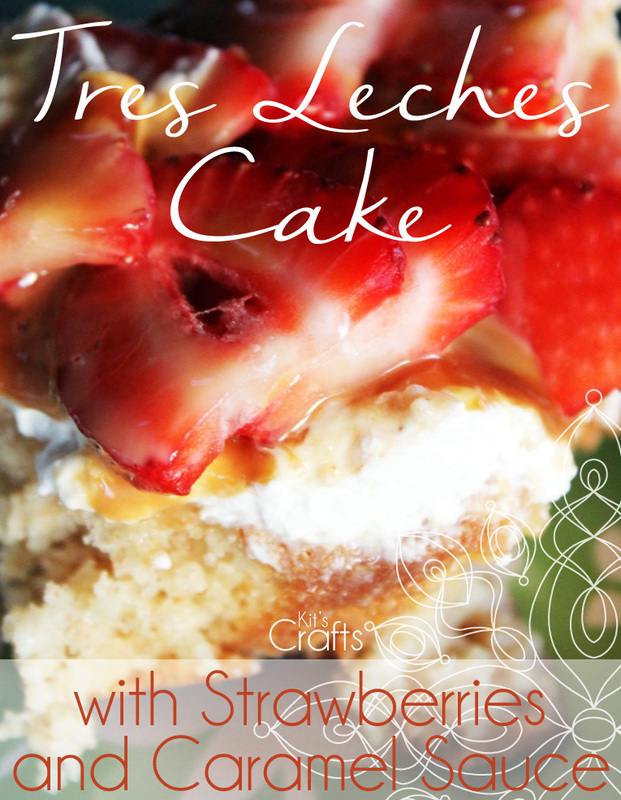
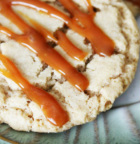
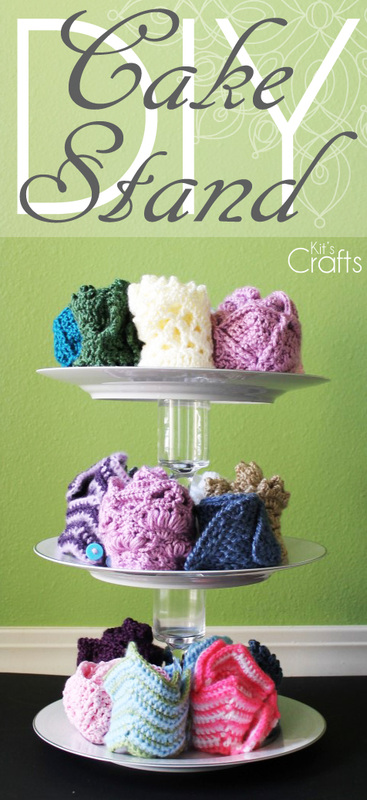
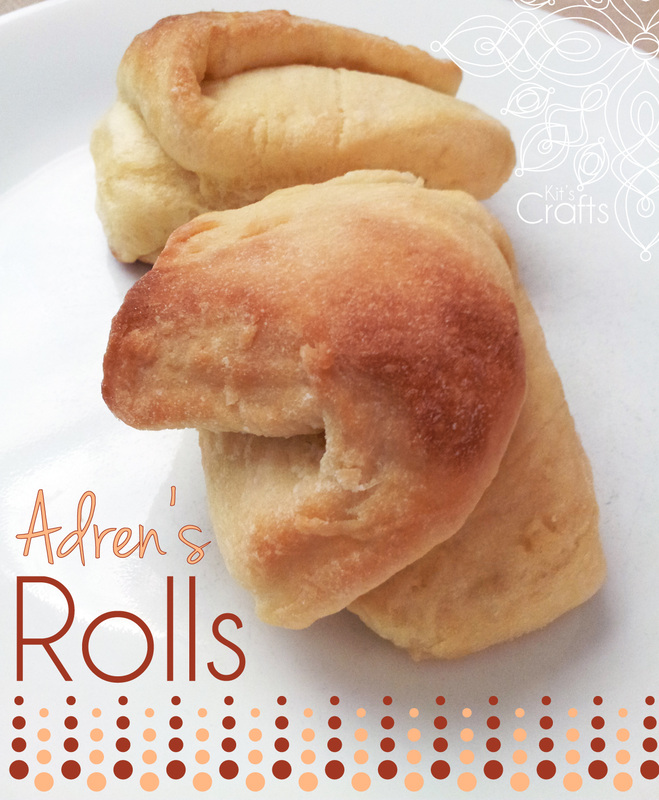
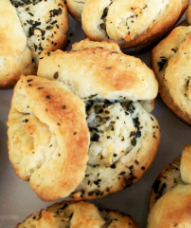
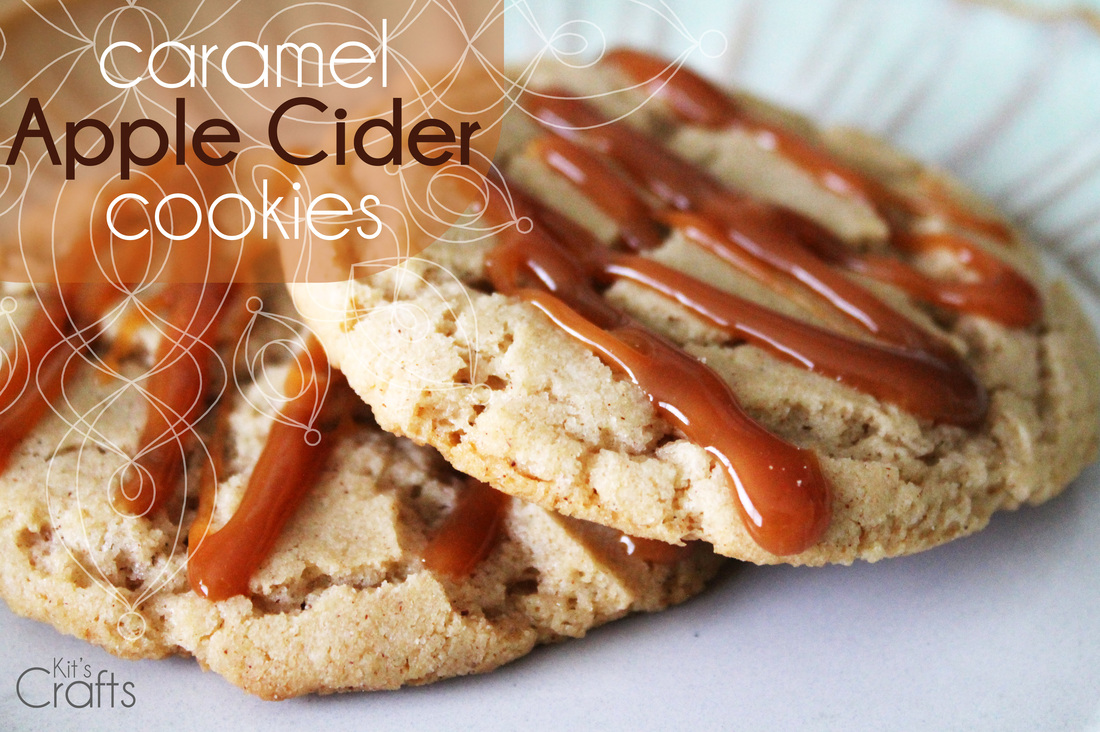
Tres Leches Cake is definitely a dessert that you should not judge just by looking. Twice I have taken this to pot lucks only to find it hardly touched, because on the surface, it looks like your basic white cake and who would choose that over the delicious brownies next door? However, beyond this mask is a decadently, moist and sumptuous cake that needs no ice cream to be delightful. In all honesty, this cake is more like pudding. Give it a try and tell me what you think! In essence, Tres Leches Cake is a sponge cake that is soaked in three milks; sweetened condensed milk, evaporated milk and heavy cream. I took it a step further and added caramel sauce to the soak just to liven up the flavor a bit. I also bumped up the cinnamon in the sponge cake to hint of horchata. Cake Ingredients: 8 tablespoons unsalted butter 1 cup Whole Milk 2 cups All-Purpose Flour 2 teaspoons Baking Powder 1 teaspoon Salt 1 teaspoon Cinnamon 4 Large Eggs 2 cups Sugar 2 teaspoons Vanilla Extract Milk Mixture Ingredients: 1 (14 ounce) Can Sweetened Condensed Milk 2 tablespoons Caramel Sauce* 1 (12 ounce) Can Evaporated Milk 1 cup Heavy Cream 1 teaspoons Vanilla Extract Frosting Ingredients: 1 cup Heavy Cream 3 tablespoons Corn Syrup 1 teaspoon Vanilla Extract 3/4 to 1 cup Caramel Sauce** 2 pints Fresh Strawberries, hulled and sliced Directions: Center a rack in the oven, then preheat to 325F. Grease and flour a 9" x 13" pan. In a small saucepan, melt the butter and milk together. In a medium bowl, whisk together flour, baking powder, salt and cinnamon. In a large bowl with a hand mixer or the bowl of a stand mixer with a whisk attachment, beat the eggs on medium speed for 30 seconds, then slowly incorporate sugar and beat until thick and glossy, 5 - 7 minutes. Reduce speed to low and gradually stir in the melted butter mixture and vanilla. Continuing on low or switching to a rubber spatula, incorporate the flour combination in 3 batches. Once fully incorporated, scrap the batter into the prepared pan and bake for 30 - 35 minutes or until slightly browned and a toothpick entered into the center comes out clean. Transfer pan to a wire rack and cool for 10 minutes. While the cake is baking, combine the sweetened condensed milk and caramel sauce in a small saucepan and heat over low heat, stirring until combined. In a medium bowl, stir together the caramel sauce mixture with evaporated milk, heavy cream and vanilla. Set aside until cake is ready. After 10 minutes of cooling time, poke holes in the top of the cake with a skewer at 1/2" intervals, trying not to puncture the bottom of the cake. Slowly pour the milk mixture over the cake, then let stand for 15 minutes. Refrigerate for at least 3 hours or overnight. Remove the cake from the fridge 30 minutes before frosting the cake. To make the frosting, in a medium bowl, beat the heavy cream, corn syrup and vanilla on medium speed with a hand mixer until soft peaks form, 1 - 2 minutes. Spread over cake. Drizzle about 2/3 of the caramel sauce over the cake, then arrange the sliced strawberries and drizzle the rest of the caramel sauce over the strawberries. Cut cake into 3" slices. Cake can be kept for up to 3 days refrigerated in an air tight container. *I used the ice cream topping caramel sauce, however, you could melt 4-5 caramels instead. ** If using caramels or a thicker sauce, you may want to melt it a bit and mix in some milk to thin the sauce out. Let the sauce come to room temperature before drizzling over the cake. This recipe was adapted from Cook's Country. You might also like: In prepping for the Beehive Bazaar, I began looking for inexpensive ways to display my products. I had remembered seeing a lot of tutorials on Pinterest for cake stands and thought that would be a good idea to try out. I went a little nuts and made about 7 or 8 stands because they are so easy and each plate/vase only cost about $1 at my local thrift store. Can't go wrong there! Anyway, here is a quick tutorial of how I made mine. Materials: Plates Candle Holders or Vases E6000 Glue Ruler (optional) Scrap Cardboard (to protect your work surface) Directions: Wash your plates and vases and dry completely. Place two plates upside down. Squirt some glue around the rim of each of vase, then place the vase as close to the center as you can. Use your ruler to double check, however you don't need to be exact. Let these dry upside down for 24 hours. Next, place your remaining plate right side up, then squirt some glue on the bottom of one of your vases that is already attached to a plate. Place the vase in the center of the plate that is right side up using the same method as above to center the vase. Wait 24 hours, then attach the remaining plate on top of the other two. Wait at least 24 hours before using. You might also like:Where I partied:When I was a kid, we spent many a Sunday dinner at my dad's mother's house. The one thing that my siblings and I always gobbled up were her rolls. Later on, I asked my grandma if I could have her recipe and her secret was revealed, she used Rhodes Rolls. In college, I moved in with my maternal grandmother and was baking with her when she shared this recipe with me, which she got from her best friend, Adren. It is one of those recipes that is amazing as is, but can easily be transformed into cinnamon rolls or garlic swirls or whatever your bread loving heart desires. Although I love Rhodes, when I really want a homemade feel, this is the recipe I turn to. Makes approximately 30 - 36 medium rolls. Ingredients: 2 Tablespoons Dry Yeast 1/2 cup warm Water 2 Tablespoons Sugar 1 3/4 cups Water Juice from one Orange* (about 1/4 cup) 4 beaten Eggs 1/2 cup Sugar or Honey 1/2 cup unsalted Butter, melted 2 teaspoons Salt 6 - 8 cups Flour 1/2 cup unsalted Butter, really soft or even melted is fine Directions: In a large bowl, gently combine the yeast and water, then sprinkle with the 2 tablespoons of sugar. Let stand for 10 minutes (should be frothy). To the yeast mixture, add the remaining ingredients with the exception of the flour and stir with a wooden spoon until combined. Add the flour, a couple cups at a time, until the dough is sticky but manageable. Then knead the dough for about 10 minutes or so. I usually do this in the bowl, but if you prefer, you can turn the dough out onto a floured surface. With the dough in a mixing bowl, cover the dough with a greased sheet of Seran Wrap and a towl. Let rise in a warm place for 1 hour (should double in size). Line 2 cookie sheets with parchment paper. Punch dough, then knead for about a minute. Divide the dough in two. At this point you have a few options of how you can shape the rolls. The easiest way (which is what I did in the photo) is to roll each half on a floured surface into a rectangle about 1/4" - 1/2" thickness, spread each rectangle with 2 tablespoons butter, cut into 12 - 16 equal rectangles, fold each tiny rectangle in half, then in half again. Place on prepared cookie sheets either touching or about 1" apart. For a croissant look, roll each half on a floured surface into a circle about 1/4" - 1/2" thickness, spread each circle dough with 2 tablespoons butter, then roll, starting with the larger side and place on the prepared cookie sheets about 1" apart. For rounds, roll out each half on a floured surface to 1/4" - 1/2" thickness, then use a floured cup or biscuit cutter to cut circles. Place a bit of butter on one circle, then top with another and place on prepared cookie sheets either touching or about 1" apart. Cover and let rise again for about 30 - 40 minutes. Preheat the oven to 375F. Brush the tops of the rolls with the remaining 1/4 cup butter. Bake for 15 - 20 minutes. *Originally, this recipe was for Orange Rolls and included the zest from the orange. I omitted it because I didn't really like the flavor. You might also like: Are you sick of caramel yet? Good, me neither. So, here is a delightful recipe for Caramel Apple Cider Cookies. I adapted it from one that I found over at Scrambled Henfruit. The major change I made was to take half of the caramel out of the cookie and drizzle it over the top. I really wanted to get caramel in every bite and found that drizzling half of it did the trick. Enjoy! Ingredients: 3 cups Flour 1 teaspoon Baking Soda 1/2 teaspoon Baking Powder 1 teaspoon Cinnamon 8 packets of Alpine Spiced Apple Cider Instant Original Drink Mix, NOT SUGAR FREE (there are 10 packets in each box, but that is a bit overwhelming) 1 cup Sugar 1/2 teaspoon Salt 1 cup (2 sticks) Unsalted Butter 2 Eggs 1 teaspoon Vanilla Extract 1 (12 oz) bag Caramel Bits (or 14 oz bag of regular Caramels, unwrapped and cut in half) 1 1/2 teaspoons whole milk or cream Directions: Preheat oven to 350 degrees. Line at two cookie sheets with parchment paper or silicone mats. If you use a substitute, keep in mind that the caramel may leak out and get very stuck. In a small bowl, combine flour, baking soda, baking powder and cinnamon. Set aside. In a large bowl (or the bowl of a stand mixer, if you are so blessed to have one, sigh...) and, using a hand mixer, beat together drink mix powder, sugar, salt and butter until fluffy. (I always get a cloud of the drink mix at this point, which isn't a big deal, just letting you know). Beat in the eggs, one at a time, then the vanilla. Using a rubber spatula (or turn your stand mixer to low) incorporate your flour mixture into your butter batter. Stir until all traces of flour have disappeared. You should have a dough that is crumbly, but sticks together when you pinch it. If dough is fairly sticky and difficult to handle, place in the fridge for about 1/2 hour or so. Spoon out a walnut sized amount of dough and flatten in your palm. Place 5 - 6 caramel bits (or half a caramel) in the middle. Fold the dough over the caramels to cover completely and roll into a ball. Place on prepared cookie sheets about 2" apart. Bake in preheated oven for 12 - 14 minutes. Cookies will be slightly browned around the edges. (It is better to err on the under-cooked side with these). Carefully slide the parchment with the cookies onto cooling racks and allow the cookies to set up for about 5 - 10 minutes, then gently twist and pull each cookie off the parchment and onto the cooling rack. (If you waited too long and the cookie sticks to the parchment, place in the freezer for a few minutes and try again). If caramel has leaked out the bottom, turn the cookie upside down to finish cooling. You should have about half of the bag of caramel remaining after all of the cookies. In a small saucepan over medium low heat, combine the remaining caramels with milk. Stir occasionally until the caramels melt completely, taking care not to cook for too long. Place the cookies back on the parchment and drizzle them with the caramel. Let cool and enjoy! *Recipe adapted from Scrambled Henfruit You might also like: |
Hey there! I'm Kristin, aka Kit. Here is just a peek into my crafting mind. I hope you find something to spur your creativity!
Kit's Crafts ShopPopular Posts Featured HereCategories
All
Archives
July 2020
|





 RSS Feed


