
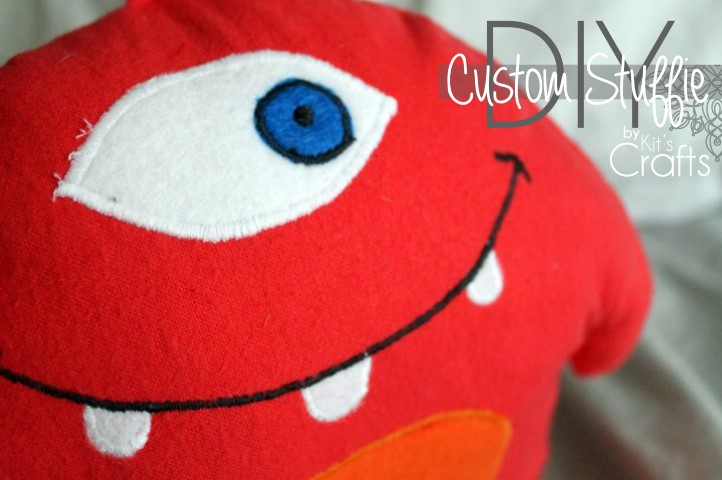
Sometime ago, a friend contacted me to make a custom stuffed animal for her little girl. One of her child's favorite games on the iPad is Grolly and since there is no merchandise available, she wanted me to make a Grolly for her girl. Here is how I did it.
Before embarking on this endeavor, I suggest looking at the construction of a few other stuffed animals that are similar to what you are going to make, whether online or in person. Also, you may want to do a mock up of your pattern in some scrap fabric or at least with tape and paper to see how your pattern looks in 3D.
Materials:
Fabric of your choice (about a yard for most animals, PS, the remnant bin is a GREAT place to look for this project)
Wonder Under (if you are using thinner fabric, such as flannel or cotton)
Paper
Pencil
Scissors
Sewing supplies (sewing machine, thread, etc.)
Felt and Steam a Seam for the face and any other appliques, like spots
Fiber Fill
Directions:
To begin with, break down your custom stuffie into basic 3 dimensional shapes. For example, I wanted the front of Grolly to be basically flat, but I wanted the back to be more 3 dimensional, so I broke him down into a 3-sided pyramid in my mind. This helps you to come up with a construction plan. I started by drawing the front, creating a fold line so he was symmetrical, then adding 1/2" around the edges (using a sewing gauge) for the seam allowance. To create the two back pieces, I started by tracing the front piece and then drawing how I wanted the back to swoop into the tail. I added a 1/2" seam allowance to this then cut those pieces from my fabric and wonder under. I added the bottom triangle just to ensure that he sat straight. There was no real rhyme or reason behind the size or shape of this, I basically guessed and adjusted it as needed with my mock up.

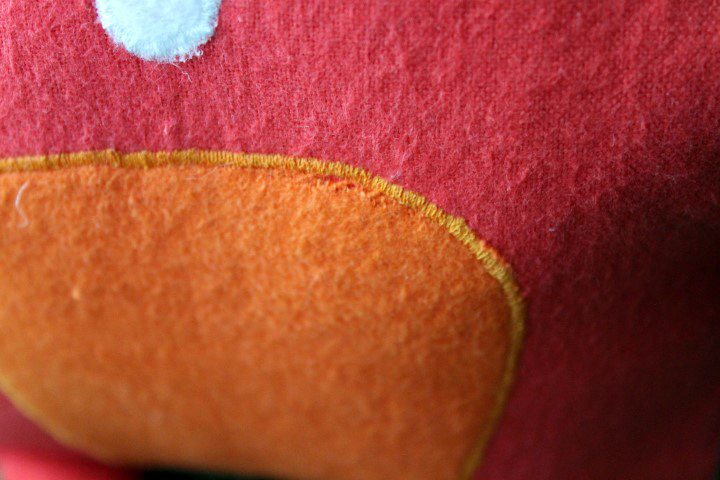
Before sewing any of the pieces together, add any applique you want, such as spots or the face using the steam-a-seam to attach the piece, then satin stitching around the shape. Something to consider here is the fabric you use. I used felt for everything but the orange patch on the front of Grolly and right before I sent it to my friend, I noticed some fraying near a corner. I hit it with Fray Check, so I wouldn't have to sew the whole thing over again, but I wish I had just used felt. Also, make sure you place everything you are applying before attaching any of the appliques.
Now to the fun part, sewing it all together. Start by sewing any limbs/appendages and stuffing them. You may want to put some pipe cleaners in some of the appendages. I did for the antenna so it would stick straight up.
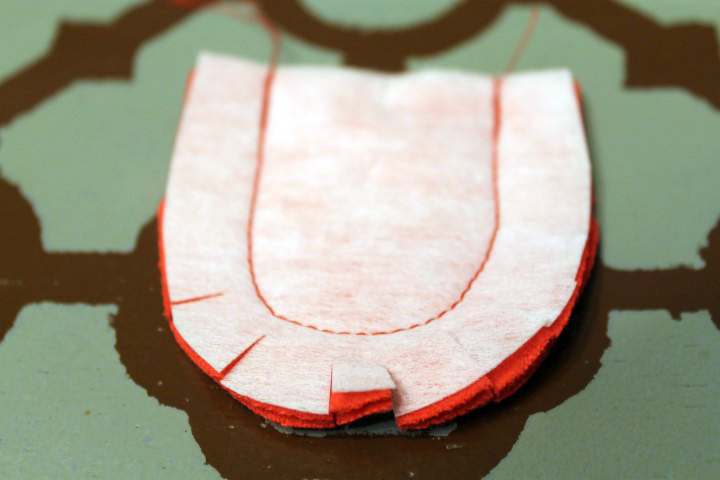
Pin together your main body pieces, right sides together, and consider your limbs/appendages. You will want your limbs to be inside the body at this point so when you turn your stuffie right side out the limbs will be on the right side. Don't forget to leave about a 3"-5" opening in a discrete location to turn the little guy right side out. Clip any rounded edges (as in the photo below).
Turn the stuffie right side out, then stuff tiny parts first (I started with the tail), then move to the bigger ones. Once stuffed, before closing up shop, give the stuffie a once over to check for any weird lumps that can be fixed real quick on the sewing machine. Then hand sew the opening shut.
I know that this is a pretty loose outline so if you have any questions pertaining to your specific stuffie, don't be shy, email me at [email protected]! I'm nice, I promise, I won't bite :)
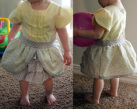
You might also like:
 |  |  |  |


 RSS Feed


