
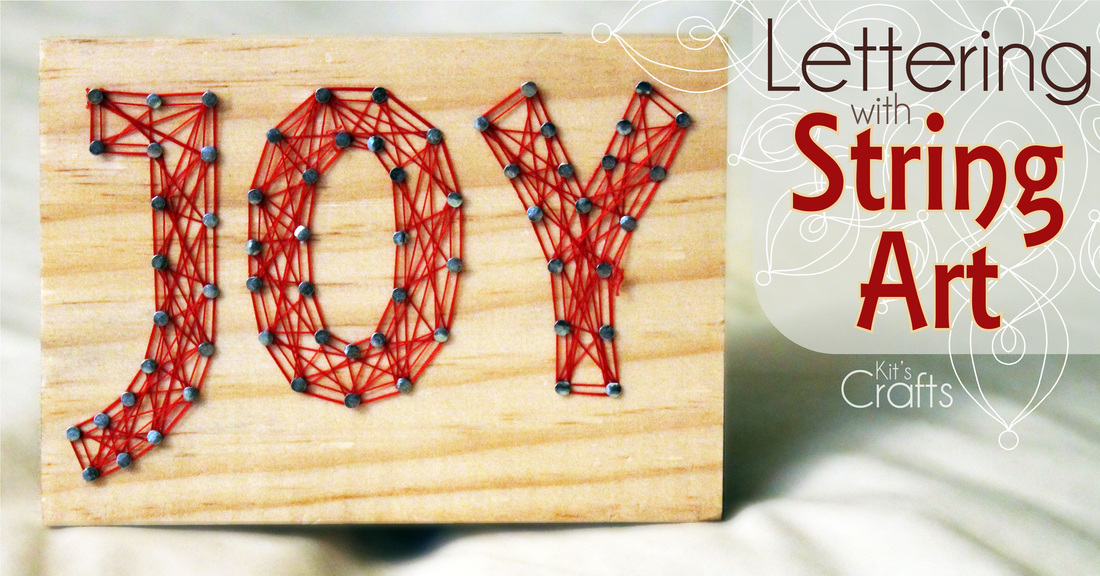
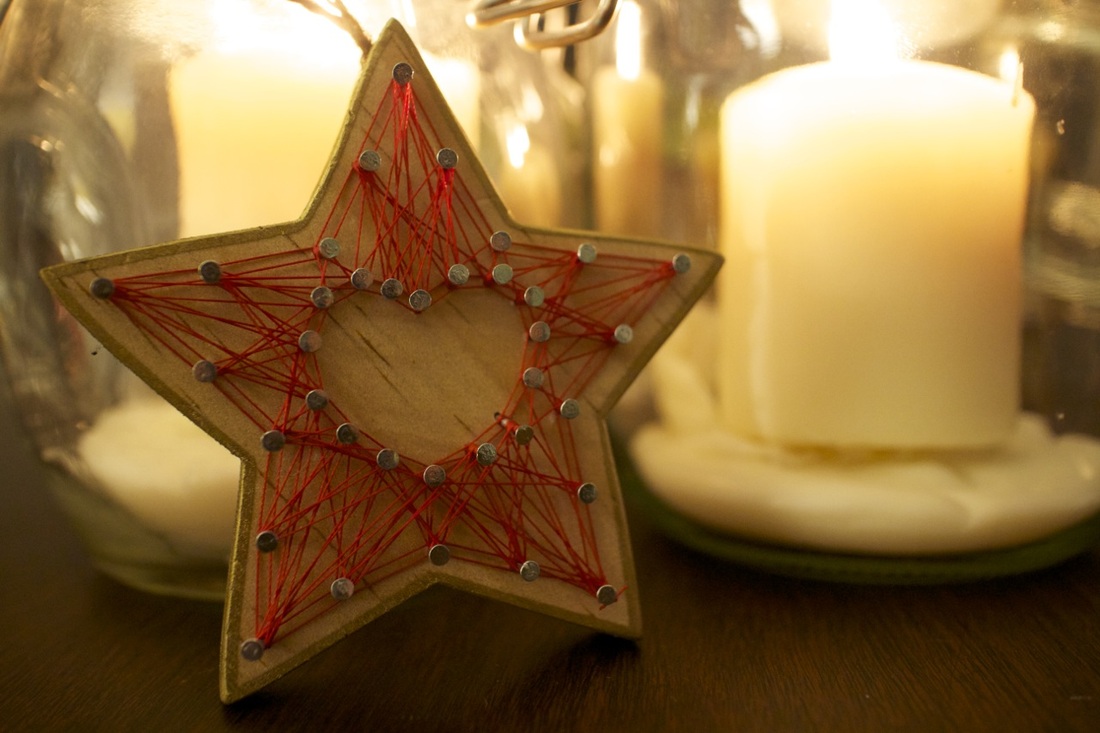
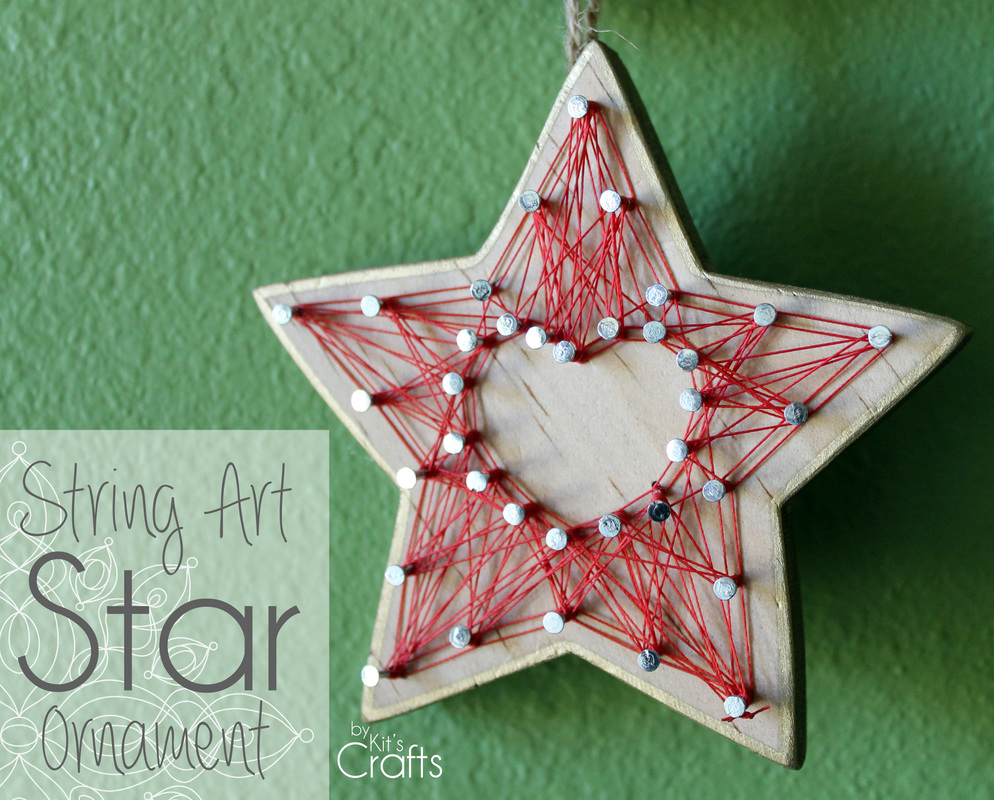
Hey there! Do you remember the String Art Star Ornament I posted a while ago? I enjoyed making that so much, that I thought I would do another little craft involving string art. Mine is a Christmas decoration, but you could always spell something else out or use a different color string to make it more of a year round thing.
Materials:
Block of wood at least 1/2" thick
Printer/printer paper
Tissue Paper
Masking Tape
Wire Nails (#18 x 5/8")
Needle Nose Pliers
Thick thread
Mechanical Pencil top (or yarn needle with a dull end) (optional)
Super Glue
Directions:
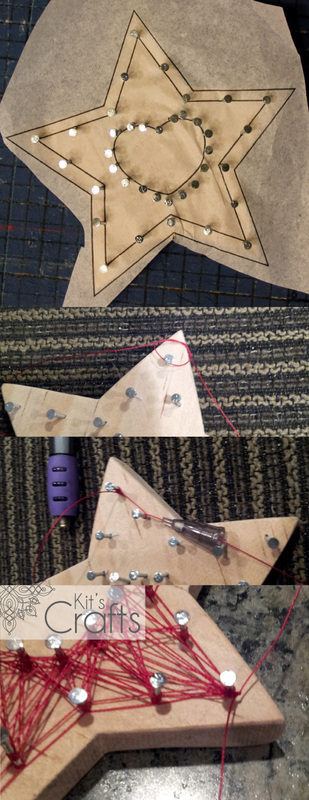
1. Measure out your block of wood. Using Word or a similar program, type your word, keeping it within your measurements, then print. Trace your word onto the tissue paper and make dots where you want to put your nails. Line up and tape the tissue on the wood and, using the pliers to hold the nails in place, begin to hammer in the nails.
2. Unscrew the top of a mechanical pencil off and thread it onto the red string. Use this to help guide the thread around the nails. Start a square knot, but wait to tighten it until it is around one of the nails and leave a long tail.
3. Once you have made your way all around, use the original tail to tie another knot. Before cutting the string, put a spot of super glue on the knot and let it dry, then clip the tails.
Block of wood at least 1/2" thick
Printer/printer paper
Tissue Paper
Masking Tape
Wire Nails (#18 x 5/8")
Needle Nose Pliers
Thick thread
Mechanical Pencil top (or yarn needle with a dull end) (optional)
Super Glue
Directions:
1. Measure out your block of wood. Using Word or a similar program, type your word, keeping it within your measurements, then print. Trace your word onto the tissue paper and make dots where you want to put your nails. Line up and tape the tissue on the wood and, using the pliers to hold the nails in place, begin to hammer in the nails.
2. Unscrew the top of a mechanical pencil off and thread it onto the red string. Use this to help guide the thread around the nails. Start a square knot, but wait to tighten it until it is around one of the nails and leave a long tail.
3. Once you have made your way all around, use the original tail to tie another knot. Before cutting the string, put a spot of super glue on the knot and let it dry, then clip the tails.

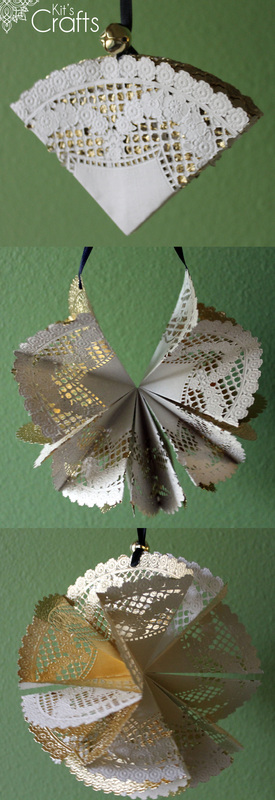
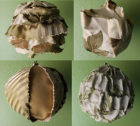
You might also like:
 |  |  |  |


 RSS Feed


