
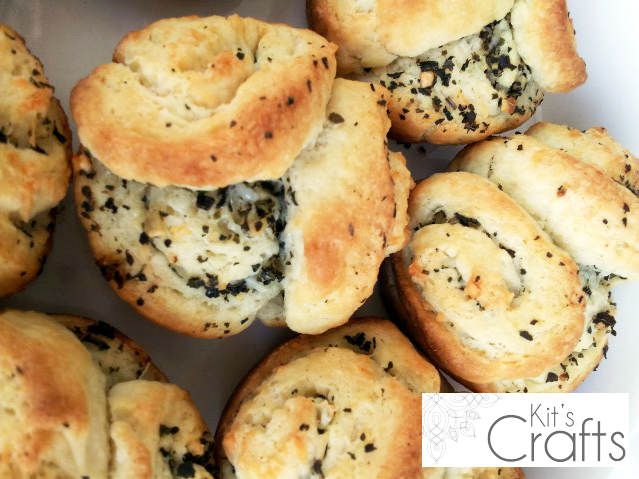
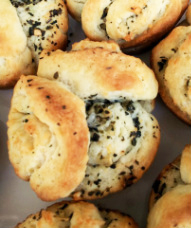
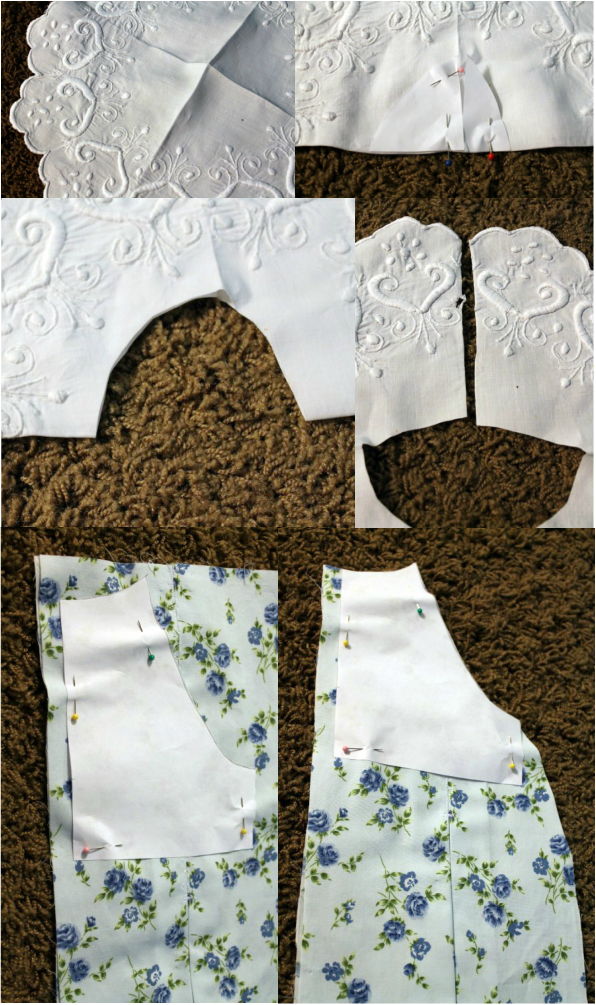
Lately, on Pinterest, I have seen a lot of different ways to make monkey bread that depart from the typical gooey sugar and cinnamon syrup. One such recipe was Mini Garlic Monkey Bread over at Crumbs and Chaos. This recipe is simple enough and tastes pretty good, but, as usual, I took it up a notch and made spirals so that the flavoring spreads more evenly.
Ingredients:
2 cans (8 oz) Pillsbury® refrigerated crescent dinner roll (or you could just make your favorite baking powder biscuit dough from scratch)
6 Tablespoons Butter
4 Cloves Garlic (pressed, finely chopped, or grated)
1 Tablespoon Dried Parsley, Basil, Oregano, OR Italian Seasoning
1/4 cup Parmesan cheese
Preheat oven to 400F. Grease a 12 cup muffin tin.
In a small saucepan, melt the butter. Add the garlic and cook for 30 - 60 seconds. Remove from heat and stir in the parsley and Parmesan cheese. Set aside.
Open the cans of crescent rolls and unroll the dough into a flat rectangle (or roll dough from scratch into a rectangle). Brush the dough with the butter mixture. Starting on one of the long sides, begin tightly rolling the dough. When you reach the end, pinch the seam shut. Using dental floss, cut slices about 1/2" to 1" thick. Place up to 3 slices in each of the muffin cups. If needed, brush the tops with more of the butter mixture.
Bake for 12 - 14 minutes or until the edges are browned.
Another great twist on this classic is Maple Bacon Monkey Bread. Just switch out the butter mixture here and replace it with the maple bacon mixture. Oh, and add about a 1/2 cup diced apples to the mix. SO GOOD!
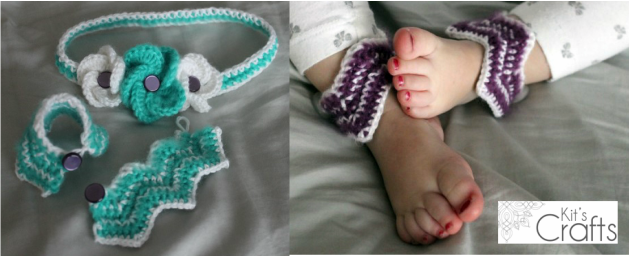
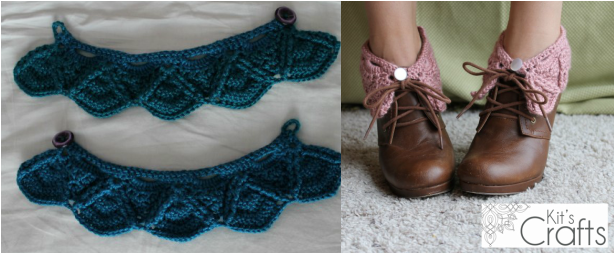
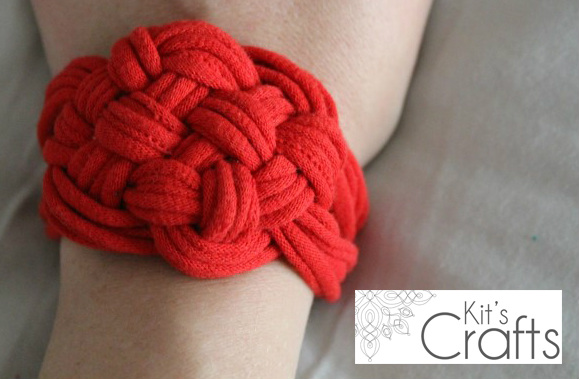
You might also like:
 |  |  |  |


 RSS Feed


