
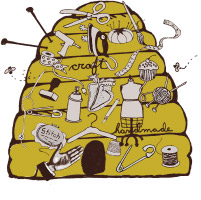
Well hello readers of Kit's Crafts, I'm Kaelie Nielsen, Kit's sister from kaenie.com. While Kit is getting ready for the Beehive Bazaar, one of the best craft fairs around, I thought I would talk to you about my love of paper.
Sounds boring, but hear me out. I love paper almost as much as Kit loves yarn, so you can imagine I've made some fun things with it.
About a month ago, I purchased a Silhouette Cameo, nope, I'm not cool enough to be sent one to blog about, I am writing about it because I genuinely think it's awesome. It's like a cricut except instead of having to buy a bunch of cartridges, it will cut whatever you create. Being a graphic designer with a love of paper who just got a pretty good tax return, I almost heard the machine calling my name.
So, what have I created?
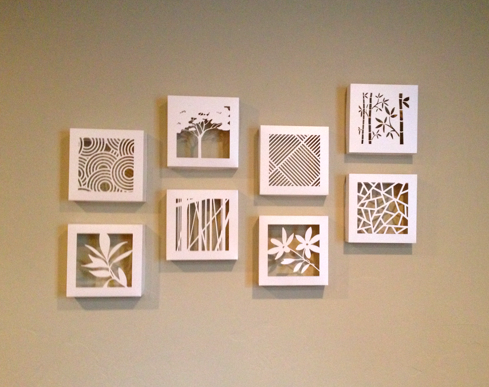
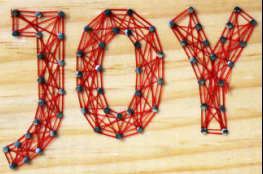
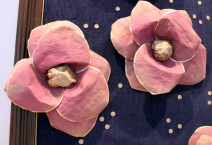
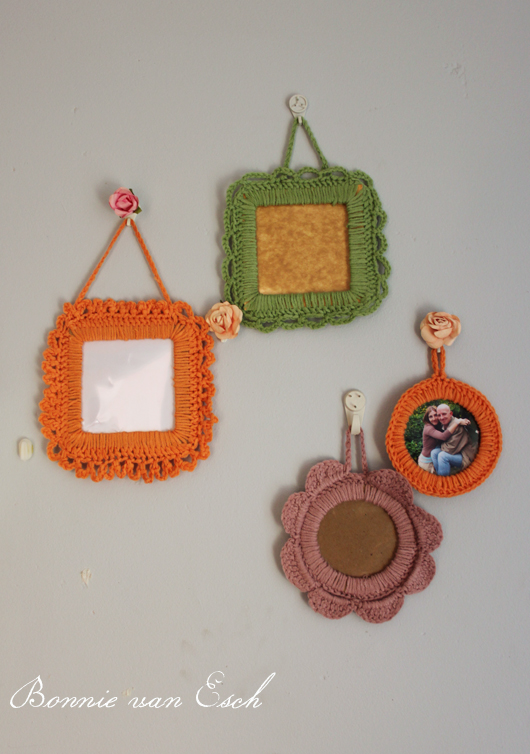
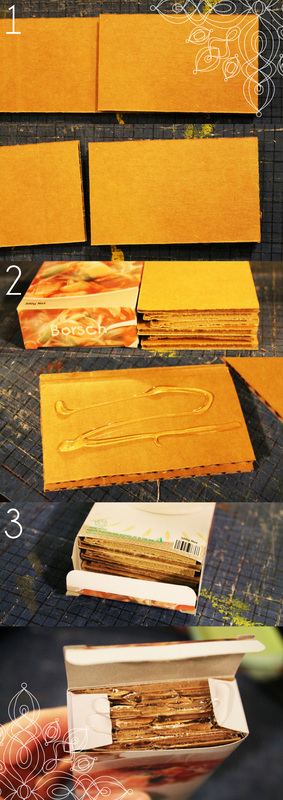
The things I'm most excited about are shadow boxes. Here's my basement wall:
Sounds boring, but hear me out. I love paper almost as much as Kit loves yarn, so you can imagine I've made some fun things with it.
About a month ago, I purchased a Silhouette Cameo, nope, I'm not cool enough to be sent one to blog about, I am writing about it because I genuinely think it's awesome. It's like a cricut except instead of having to buy a bunch of cartridges, it will cut whatever you create. Being a graphic designer with a love of paper who just got a pretty good tax return, I almost heard the machine calling my name.
So, what have I created?
The things I'm most excited about are shadow boxes. Here's my basement wall:
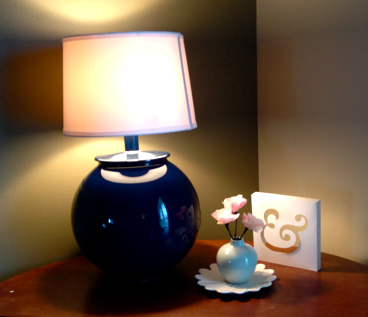
I also created some that stand on their own:
I'm thinking to try to make a circular one with the following design, but I still need to work out some kinks:

More than one person has told me I should sell these. I haven't asked how much they would pay because that's an awkward question to ask of a close friend or family member and I honestly wouldn't believe their answer anyway.
So, since you are all mostly anonymous to me, I have no reserves. Would you buy these? If so, for how much? I would probably charge $3 shipping and have the buyer assemble them so I ship them flat.
Also, no pressure if you decide to comment. If I do sell them, it won't be until a while after I've had my second daughter in May and I won't be contacting you unless by request. Your honest opinion is much appreciated.
Thanks!
Kaelie Nielsen
kaenie.com
Facebook
Pinterest
So, since you are all mostly anonymous to me, I have no reserves. Would you buy these? If so, for how much? I would probably charge $3 shipping and have the buyer assemble them so I ship them flat.
Also, no pressure if you decide to comment. If I do sell them, it won't be until a while after I've had my second daughter in May and I won't be contacting you unless by request. Your honest opinion is much appreciated.
Thanks!
Kaelie Nielsen
kaenie.com
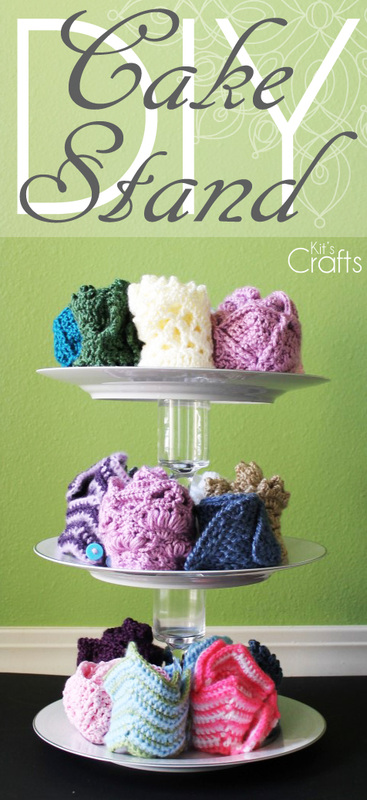
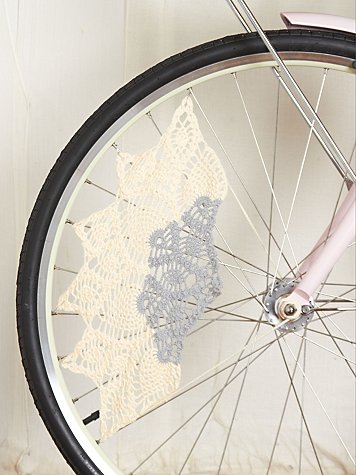
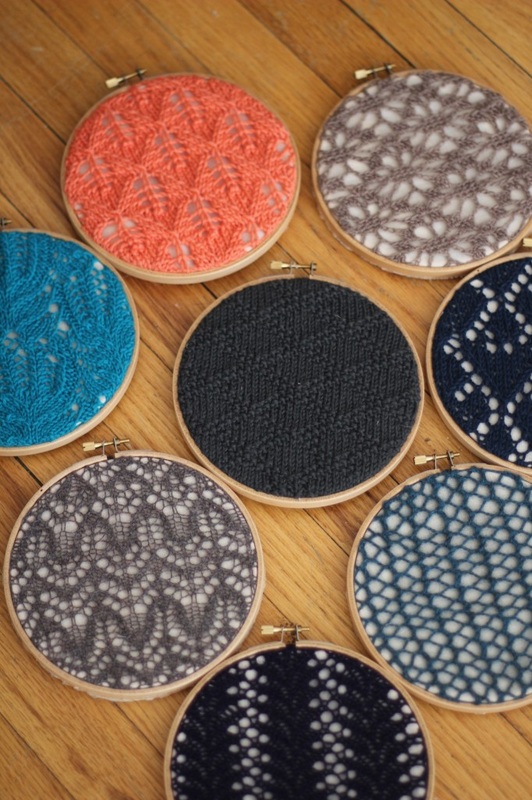
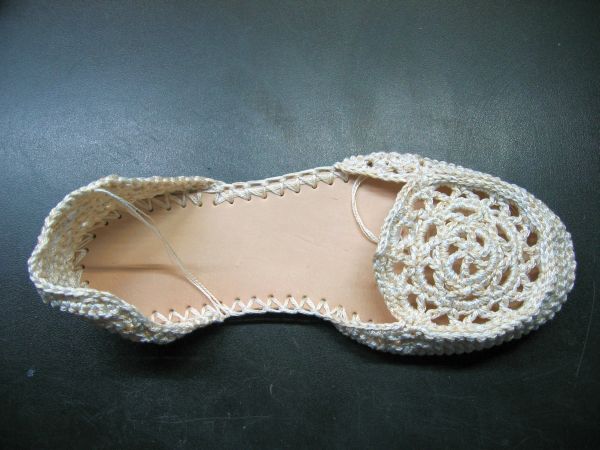
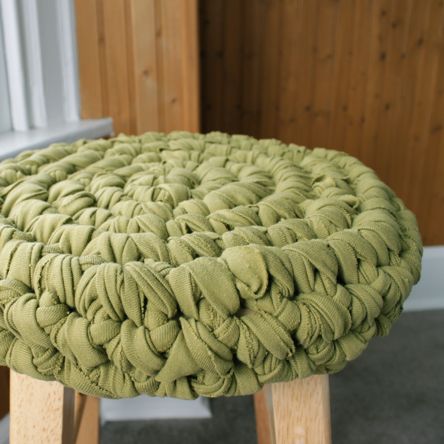
You might also like:

| 
| 
| 
|


 RSS Feed


