|
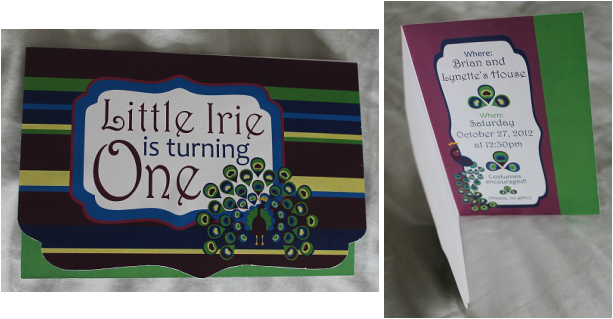
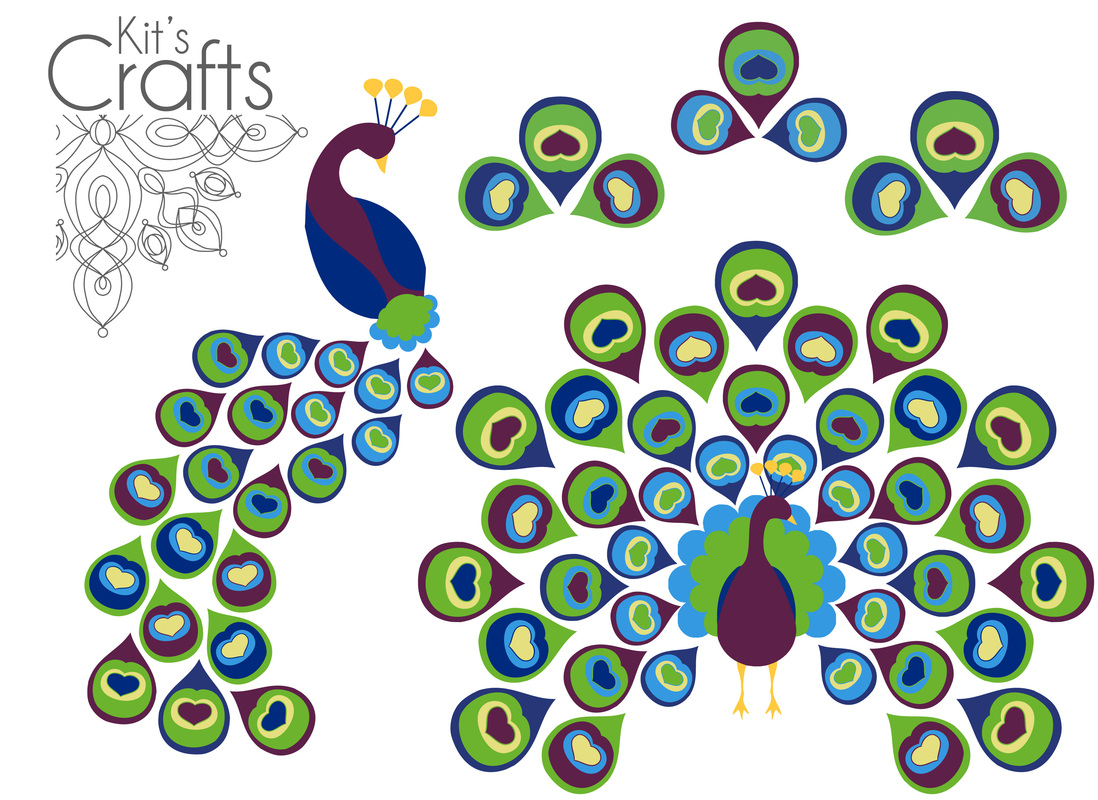
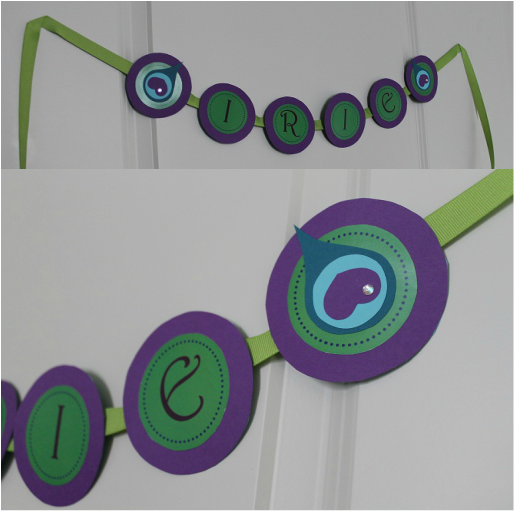
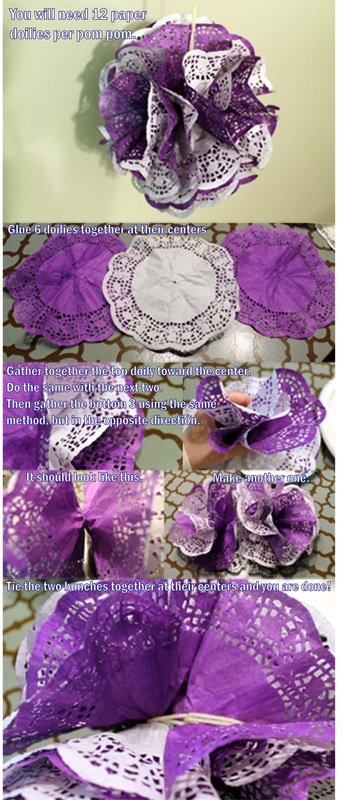
This weekend, we celebrated my daughter's first birthday. True to form, I went over the top and did much more than necessary. The sad truth is that I have no documentation for it. I took plenty of pictures, but when I got home there was nothing saved on my camera. Apparently, if your SD card is not in your Canon Rebel, the pictures aren't saved, even if they show up on the little screen after you take the picture. The other sad thing is that we threw away the decorations so there was no chance of recreating the lovely party. However, I do have pictures of some of the decorations separately. So, use your imagination. To start off with, here are the invitations: Click on the picture below to download a pdf of the peacocks. On a happier note. I am posting a tutorial on the most extravegant of the decorations. Namely, I made doily pom poms that were hung from the ceiling and small ones that were placed on the back of the table. Originally, I did a search for these and came across a few websites with tutorials. One of the websites provided instructions on how to dye the paper doilies. This was a disaster. The doilies fell apart as I pulled them out of the dye and the colors weren't very vibrant. So, I busted out my acrylic paints and went to town. The next step was to create the pom poms. Again I found a website with instructions on how to make the pom poms, which was basically good, but they have you use brads to make the pom poms. The problem here is that the doilies would tear and make finishing the pom pom difficult. So, I modified the process and made use of my glue gun.
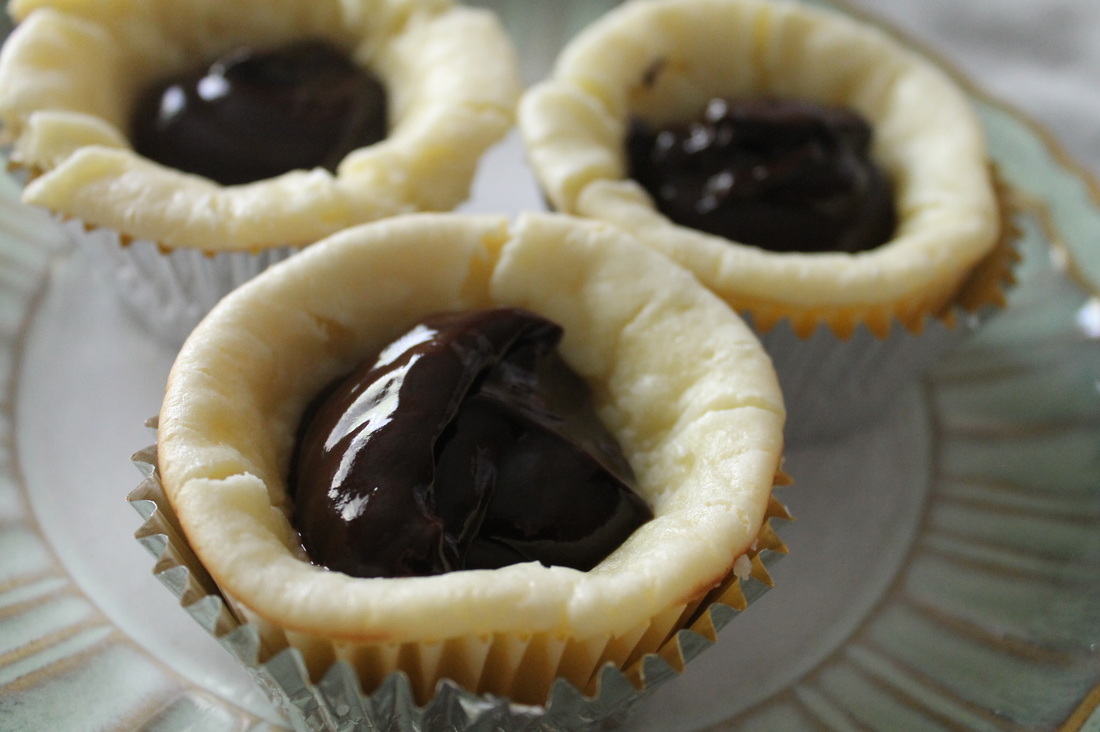
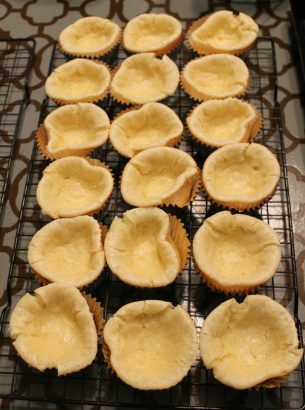
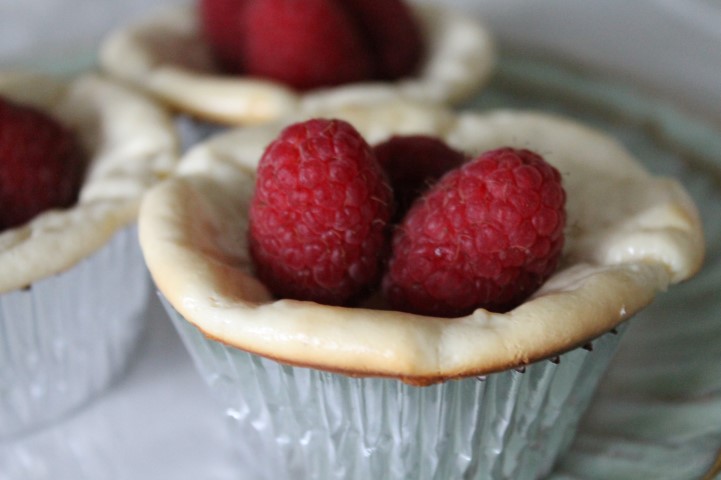
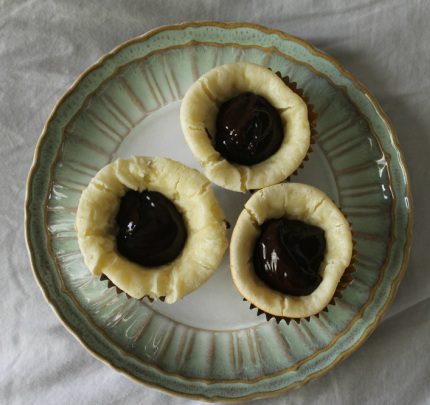
For my daughter's birthday party, instead of a cake, I made cupcakes. One variety that I did was adapted from Paula Deen's recipe and as anyone knows, if you start out with a Paula recipe you know its going to be good. My recipe doubles hers and adds a bit of extra umph. Cupcakes: 4 pkg. (8 oz. each) PHILADELPHIA Cream Cheese, softened 1/2 cup sour cream 2 cup granulated sugar 2 tsp. vanilla extract 4 eggs 24 vanilla wafers Chocolate Ganache: 4 Tbsp. whole milk 3 Tbsp. unsalted butter 1 1/2 cups semi-sweet mini chocolate chips Heat oven to 350°F. Lightly grease the top of 2 12-cup muffin pans. Place a paper cupcake liner in each cup. Place a vanilla wafer, flat-side down, in each muffin cup. Beat cream cheese with a hand-held electric mixer until fluffy adding one package at a time. Add sour cream and beat until well incorporated. Add granulated sugar and vanilly extract, beating well. Add eggs, one at a time, beating well after each addition. Spoon cream cheese mixture over wafers, filling the cups up to the top. They will get puffy, but shrink up when cooling and the centers will cave in forming a cup. Bake for 10 minutes then rotate the pan, then bake for another 10 minutes or until they are no longer jiggly in the center. Let the "cups" cool to room temperature, then, then put the cooling rack right side down on top of them and carefully flip to slide the "cups" out of the pan. Quickly flip the "cups" right side up. While tarts are cooling, over a double boiler, heat the milk, butter, and chocolate until melted. When cool, fill each cupcake "cup" with about a tablespoon of chocolate ganache. If you are making these in advance, store in the fridge. The really skeewhampus ones were not filled to the top, so they shrunk in. Here is a berry version.
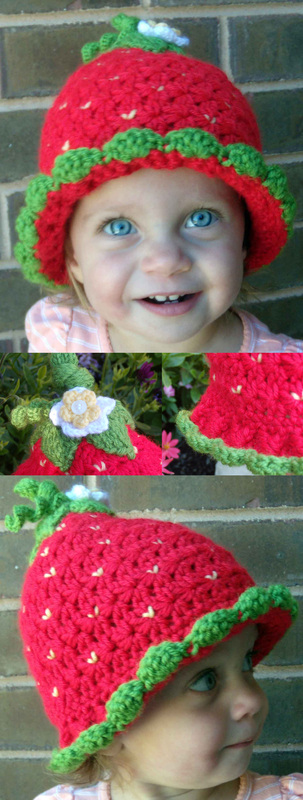
A few years back, I made hats for all of the nieces and nephews on my husband's side of the family. I will eventually post all of them with directions/links on how I did them and what yarn I used. To start off with, I made this little strawberry hat. When doing the research for strawberry hats, I found a lot of very basic patterns that were straight stockinette stitch or single crochets. Being the person that I am, I had to complicate it a bit and add texture. I found the star stitch and then I found a pattern for a hat using the star stitch. The only changes I made here was I used a G hook and I used Caron Simply Soft yarn in red. Below is the pattern for the brim: Double Cluster Stitch: Yo and insert hook from front to back around the post below the last dc, pull up a loop, *yo and pull through 2 loops on hook, repeat from*, skip next dc, insert hook from font to back on the next post, *yo and pull through 2 loops on hook, repeat from*, yo and draw through the 5 loops on hook After joining the last row, ch2 (counts as first st), dc around, join with sl st Ch 5, dc in next 2 dc, work Double Cluster Stitch, *dc in same dc and in next 2 dc, work Double Cluster Stitch, repeat from* around, join with sl st Ch1, sc around, join with sl st Switch to green, ch1, sc in same st, skip next st, *5 dc in next sc, skip next st, sc in next st, repeat from* around, join with sl st Now for embellishments! For the stem, knit a 5 st I-cord of whatever length you like. I just kept going until I could tie a knot. Then sew it to the top For the leaves, go here and do the basic leaf pattern. I made 5 then sewed them to the hat, overlapping a bit so the red wouldn't show through at the base of the stem. For the flower, I crocheted a simple one you can find here. The instructions are toward the bottom and it is the purple flower. Add a cute little button when you sew the flower to the hat. For the curly cue, crochet a chain to the desired length, then do 2sc in the second ch from the hook and do 2sc in every ch to the end. Sew it on next to the flower. For the seeds, make little V stitches with a yarn needle every 2nd or 3rd stitch along each row. Sew in the ends and tah dah, you are done! Over the summer, I came across the cutest little peacock costume for a baby. It is by Creatively Christy who also posted a tutorial for said costume. I fell in love and of course had to come up with my own version, shown below. I only made a couple changes to the tail feather. I put a bunch of fake flowers to cover the bottom of the feathers and I sewed the satin parts together rather than glueing. I had trouble finding orange tights that I liked, so I found another tutorial for leg warmers. Instead of a ruffle at the bottom as the tutorial prescribes, I did pleats. I found the onesie at H&M and added a little ruffle to the top with some of the satin I used on the feathers. The shoes I got on sale at Carters. I crocheted a little crown for her with beads, but she doesn't like it so I will probably not use it. Here are instructions for a super cute little crown, though. The only thing I would like to add is some more sequins to the front of the satin "feathers", but otherwise, I love it!
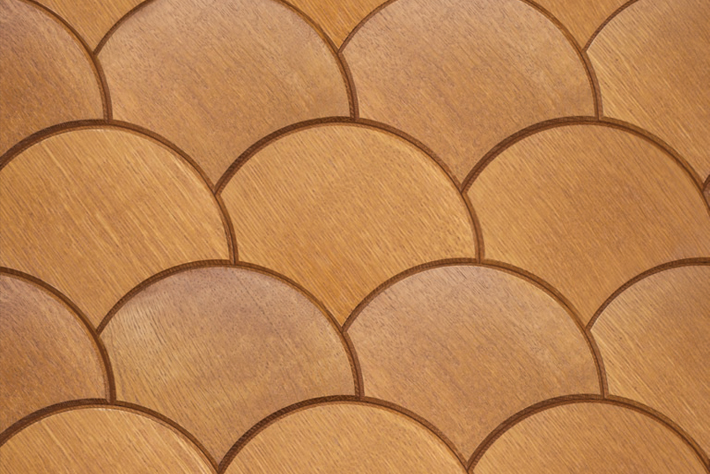
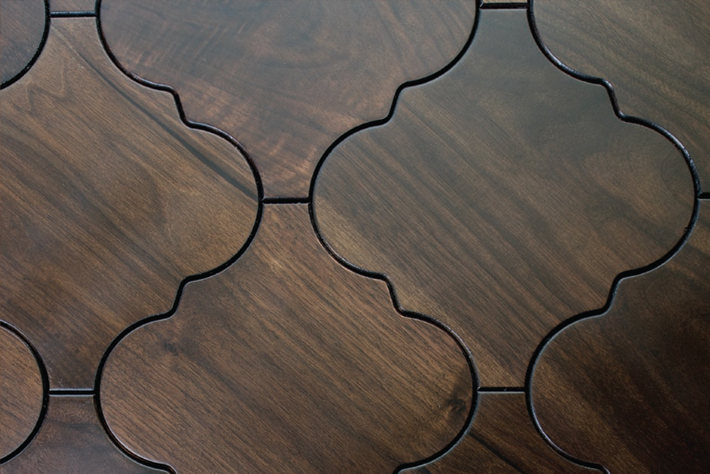
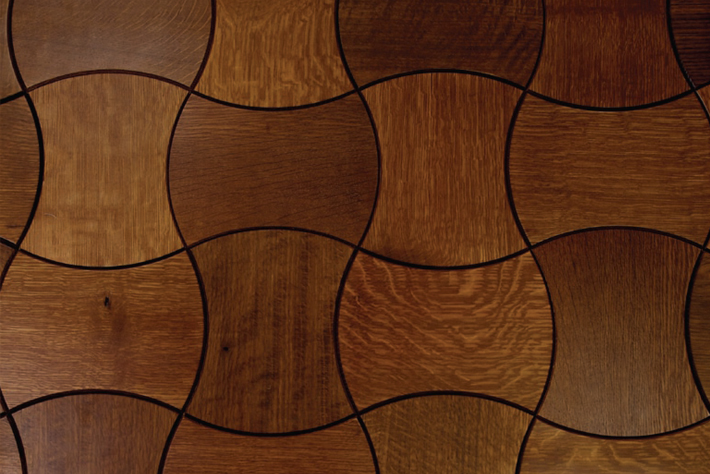
Can we please talk about the Jamie Beckwith Collection®? Her wood mosaics are AMAZING! I love the idea of these for flooring, but really, they would be beautiful anywhere. Could you imagine a wall in this or a tabletop or better yet, jazz up a ceiling! She is a genius! Prepare yourself to be amazed then visit her site!
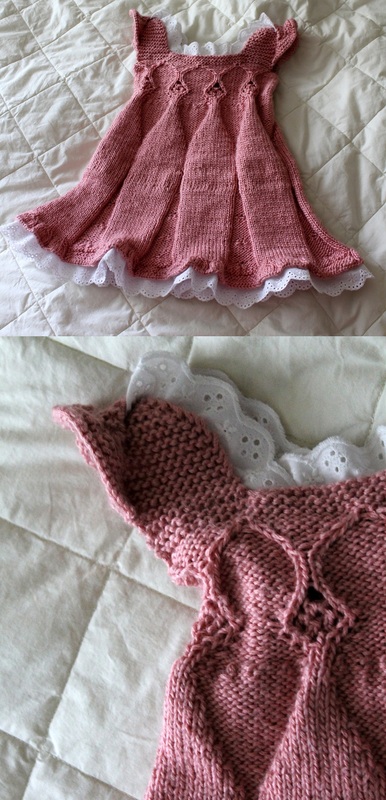
In an effort to use up some soft pink bamboo yarn and make a cute little outfit for my daughter, I searched Ravelry for baby dresses and came across the Glockenblume. I basically followed the pattern, but since my daughter is on the small side, I eliminated a "blossom" from the front and the back. The other modifcation I made was to the top. Instead of doing a reverse stockinette stitch on the straps and then joining with a kitchener stitch, I knitted every row and then started to decrease every other row on the inside after 12 rows. Then I overlapped the straps and sewed on the frill. I also added some cute eyelet trim I found at Joanns, which makes the bottom flare out a bit.  My name is Kristin Baird and I live in Salt Lake City, UT. Basically, I am always working on a project. My mother tells me how when I was little she could put me in a room with a stack of paper and some sissors then come back an hour later to find the room covered in my creations. Even into my teens and early twenties I was always making something. This desire to create led me to obtaining a Bachelor's Degree of Interior Design from Utah State University. Although my focus has turned to my daughter as oposed to a career in Interior Design, I am continually interested in discovering new materials and building techniques so I will most likely be posting new findings. If you are wondering about the name of the site, my mother calls me Kit and given that she is semi responsible for my creative side, I felt it appropriate. This website will be based on whatever I am interested in or making and I welcome input. Happy crafting! |
Hey there! I'm Kristin, aka Kit. Here is just a peek into my crafting mind. I hope you find something to spur your creativity!
Kit's Crafts ShopPopular Posts Featured HereCategories
All
Archives
July 2020
|





 RSS Feed


