
T-Shirt Yarn Tutorial
In an effort to save money, I have been looking around for an alternative material to knit/crochet with. I have seen plarn or plastic yarn from grocery bags, which looks cool if you use bags that are pretty colors, but isn't exactly a material one would want to wear. Then I came across t-shirt yarn or tarn. I have had some t-shirts in my closet for a while that I haven't known what to do with because they aren't in good enough condition to give to good will, but they also aren't completely falling apart. I saw this method and knew just what to do. So, here is a tutorial with step by step pictures for you of how to create a continuous loop from the bottom of a t-shirt.
Just a couple of notes about tarn; not all tarns are made equal and the type of T-Shirt you use can greatly affect the outcome of your spats. Generally, I have found that the pure cotton tarns (which is what I used here) stretch and will give you a greater quantity, but are also harder to work with. A synthetic blend will still be quite stretchy and easier on your hands, but you won’t necessarily get the large quantity or the sturdier outcome.
Materials:
T-Shirt
Ruled mat
Fabric Scissors or rotary cuter with straight edge
Instructions:
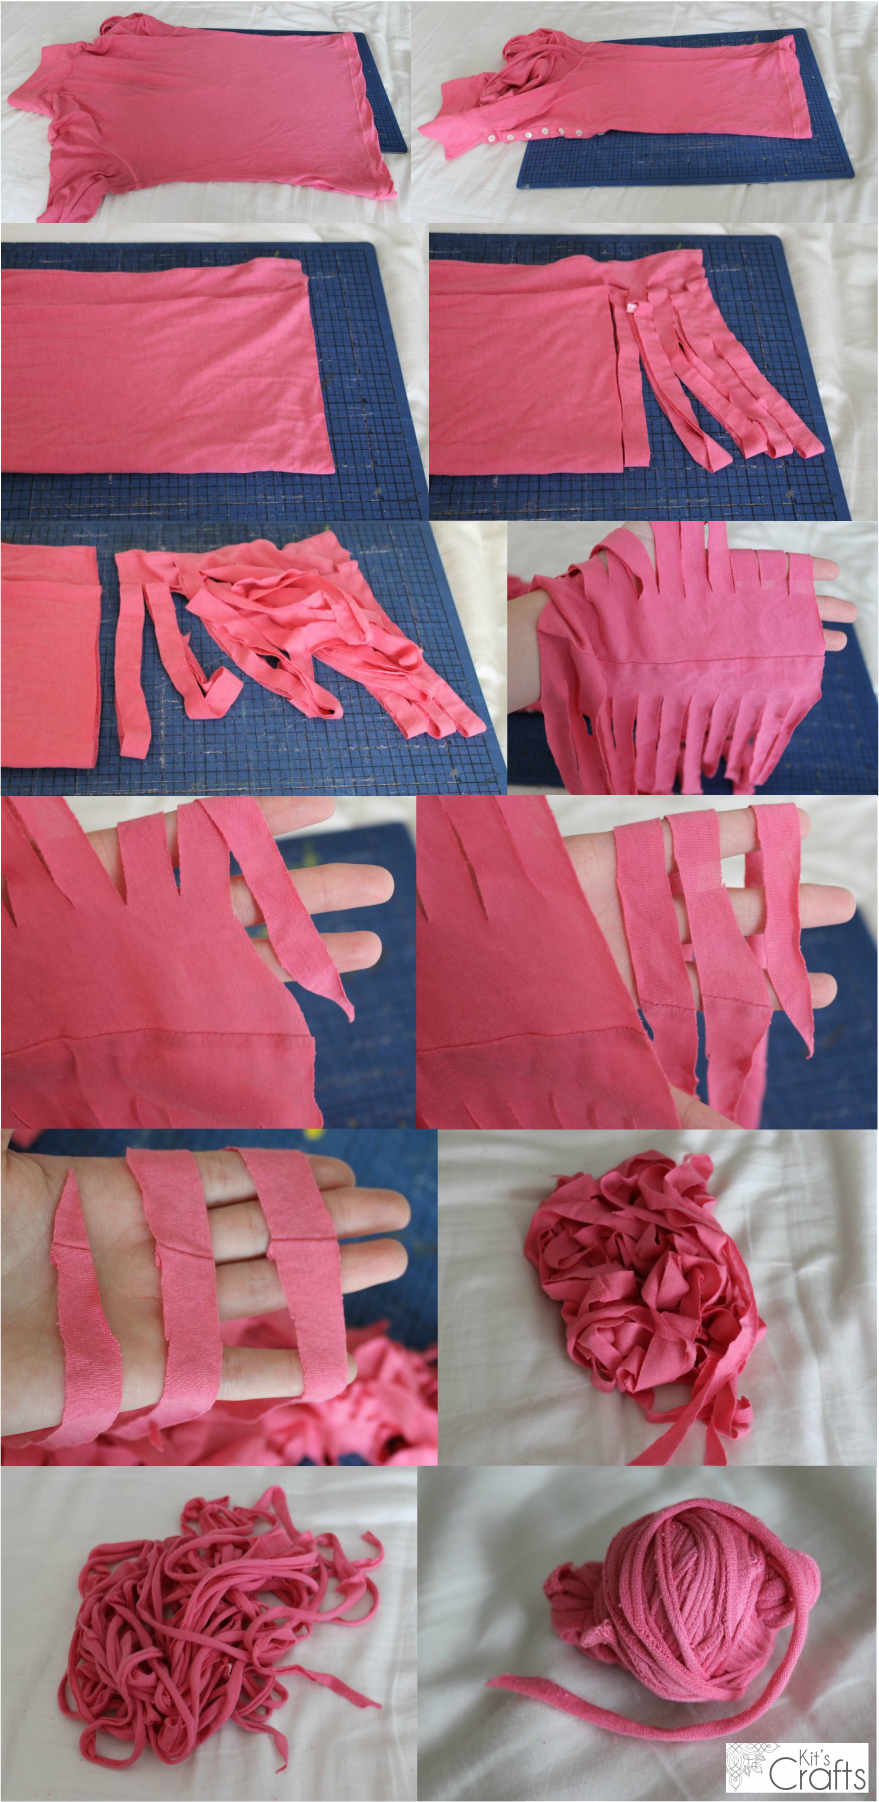
Start by laying out your shirt front down and smooth out any folds.
Fold your shirt over length-wise with the top half about 1" away from the edge of the bottom half.
Cut off the bottom hem.
Begin cutting 1/2" strips, but do not go all the way through the seam furthest from you, stop right after you go through the seam on top.
Continue until you reach the neck of the shirt then make that cut all the way through the seam furthest from you.
Pick up the strips an put your arm through the loops.
Cut from the bottom at an angle toward the first slit, then continue doing this to connect all of the slits making a spiral so to speak.
When you reach the end, cut the from the last slit at an angle to the top edge.
To get the edges to roll, begin stretching the tarn by just pulling sections.
Wind in a ball and get your needles or your hook out to start your creation!
Just a couple of notes about tarn; not all tarns are made equal and the type of T-Shirt you use can greatly affect the outcome of your spats. Generally, I have found that the pure cotton tarns (which is what I used here) stretch and will give you a greater quantity, but are also harder to work with. A synthetic blend will still be quite stretchy and easier on your hands, but you won’t necessarily get the large quantity or the sturdier outcome.
Materials:
T-Shirt
Ruled mat
Fabric Scissors or rotary cuter with straight edge
Instructions:
Start by laying out your shirt front down and smooth out any folds.
Fold your shirt over length-wise with the top half about 1" away from the edge of the bottom half.
Cut off the bottom hem.
Begin cutting 1/2" strips, but do not go all the way through the seam furthest from you, stop right after you go through the seam on top.
Continue until you reach the neck of the shirt then make that cut all the way through the seam furthest from you.
Pick up the strips an put your arm through the loops.
Cut from the bottom at an angle toward the first slit, then continue doing this to connect all of the slits making a spiral so to speak.
When you reach the end, cut the from the last slit at an angle to the top edge.
To get the edges to roll, begin stretching the tarn by just pulling sections.
Wind in a ball and get your needles or your hook out to start your creation!
Patterns made using Tarn
Fancy Spats - Bullion
Use a T-Shirt to crochet up these little ankle accents.
T-Shirt Circle Cluster Bracelet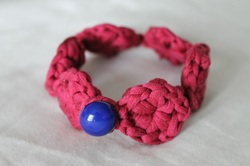
This is a quick and easy pattern.
T-Shirt Cluster Bracelet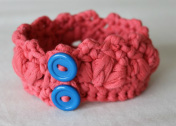
Create a lovely little bracelet using an old t-shirt.
|
T-Shirt Cross Over Bracelet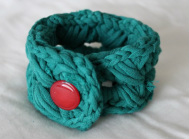
This bracelet uses a unique technique to create the cross over texture.
T-Shirt Yarn Star Bracelet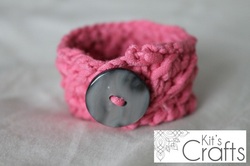
Quick and easy pattern made using an old t-shirt.
|
