
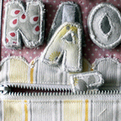
Back in August, I posted a Babushkas page (Russian nesting dolls). Today's post is the boy version of that page. As far as updates go, just like the pages I have been posting recently, the pictures needed a bit of work, but the construction remains the same.
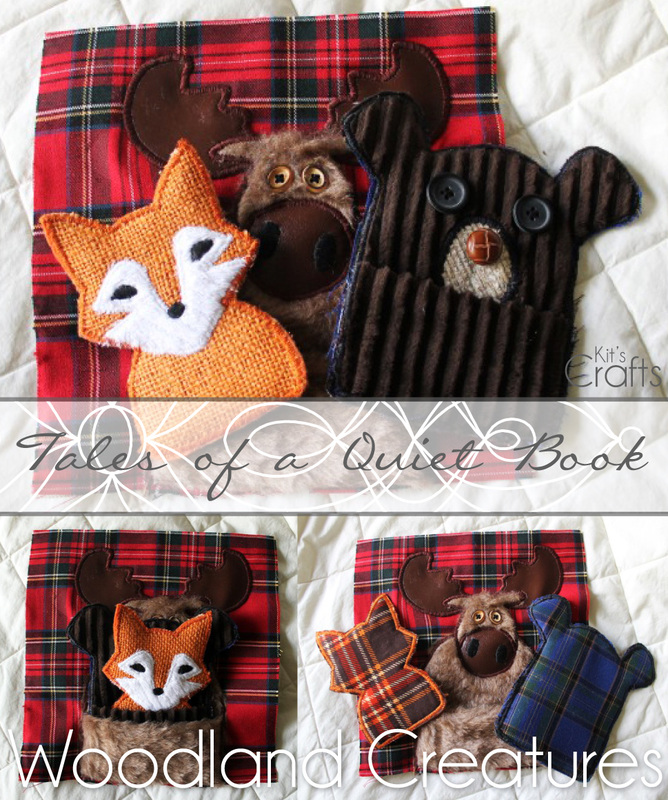
For the overall concept of this book as well as some tips and tricks, check out my Quiet Book page.
Materials Needed:
* Fabric (remember to prewash all fabrics)
* Faux leather for the moose nose
* Felt for inside the Bear and Fox
* Various buttons for adornment
* Embroidery floss and needle
* Steam a Seam
* 9"x9" of reinforcement and some for the Bear and Fox
* Pattern, remember to UNCHECK the fit to page box
Pocket:
* Cut pockets from furs/fabrics for the moose and the bear (I used the page material and the back of the bear material for the inside of the pocket so it wasn't so thick)
* With right sides together, sew along the top of the pocket
* Understitch the inside of the pocket
* Iron the pocket
Moose:
* Cut Moose body and head from fur and the steam a seam
* Cut antlers and nose from faux leather and steam a seam
* Using the template, position body and antlers on page and pin
* Flip page over and iron from the back (the fur is too thick from the front and the leather will melt)
* Position and pin Moose pocket to body and
* Using a satin stitch, attach to the page and reinforcement (for the body, start on one side and go to the middle, then go to the other side and meet in the middle, otherwise, your pocket may end up crooked)
* Position head and nose on page, and pin in place (I used double sided tape to help position the ears)
* Again, flip page over and iron from the back to attach
* Using a satin stitch, attach to the page and reinforcement
* Embroider nose holes onto nose and sew eyes (I did the nose before attaching it and that is why it is crooked)

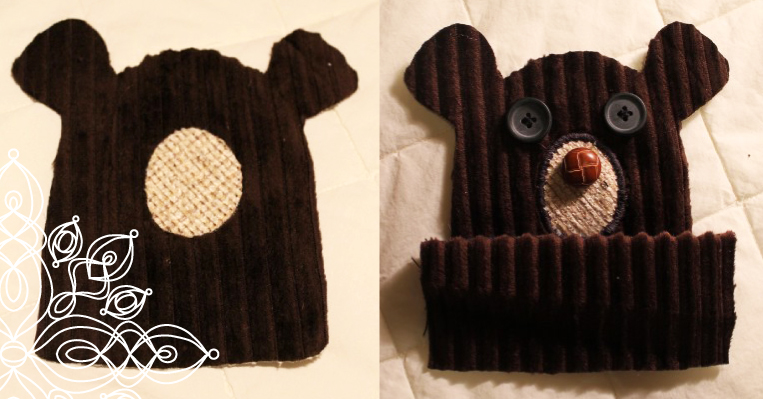
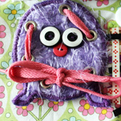
Bear:
* Cut 1 Bear from front fabric and reinforcement (cut reinforcement a little bit smaller) and 2 from felt
* Cut 1 Bear snout from fabric and steam a seam
* Position snout on Bear and iron on
* Stack front fabric Bear on top of one felt and the reinforcement Bear
* Satin stitch snout to fabric, felt and reinforcement
* Sew button eyes and nose to fabric, felt and reinforcement
* With the wrong side up, place back fabric on table, then position remaining felt Bear on top, then stack the sewn Bear on top of that and position the Bear pocket over all pieces and pin through all layers
* Satin stitch through all layers to back fabric
* Cut out Bear from back fabric
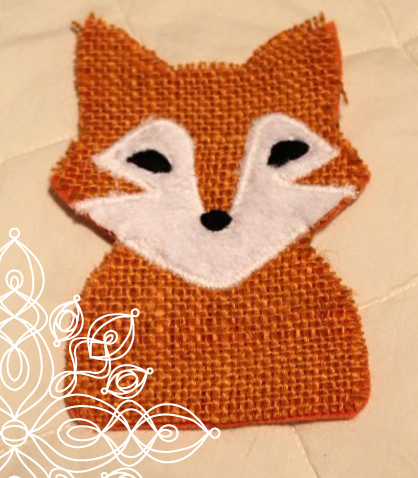
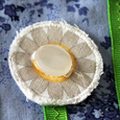
Fox:
* Cut 1 Fox from front fabric and reinforcement (cut the reinforcement a little bit smaller) and 2 from felt
* Cut 1 Fox face from white fur and steam a seam
* Position face on Fox and pin in place, then flip it over and iron on from back side
* Stack front fabric Fox on top of one felt and the reinforcement Fox
* Satin stitch face to fabric, felt and reinforcement
* Embroider eyes and nose
* With the wrong side up, place back fabric on table, then position remaining felt Fox, then stack the sewn Fox on top of that and pin through all layers
* Satin stitch through all layers to back fabric
* Cut out Small from back fabric
All that is left is to sew a 1 1/2" border onto the page.
For more pages and tips, please visit my Quiet Book page.
You might also like:
 |  |  |  |


 RSS Feed


