
Recently, I went to a triple baby shower, not for triplets, but for three separate soon to be mommies. I decided that I would try my hand at some fabric baby booties and the result is this post. I got the pattern from The Purl Bee (my newest favorite place), which was for some adorable felt booties. With a few modifications, this pattern became great for some left over flannel I had on hand.
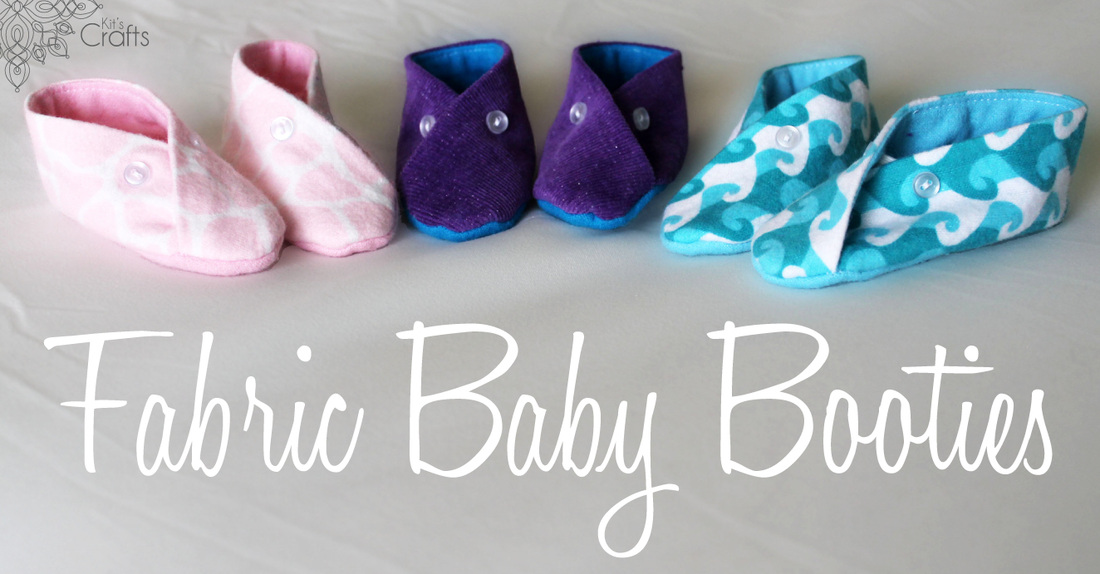
This is a pretty straight forward little craft. It is a great way to use up left over fabric and something that can be whipped up in an afternoon. Enjoy!
Materials:
The Purl Bee Pattern
Enough fabric to cut 4 pieces of each pattern piece
Pinking shears (optional)
2" of 1/4"elastic
4 1/4" buttons
Sewing machine, thread, scissors, hand needle, pins, iron
Directions:
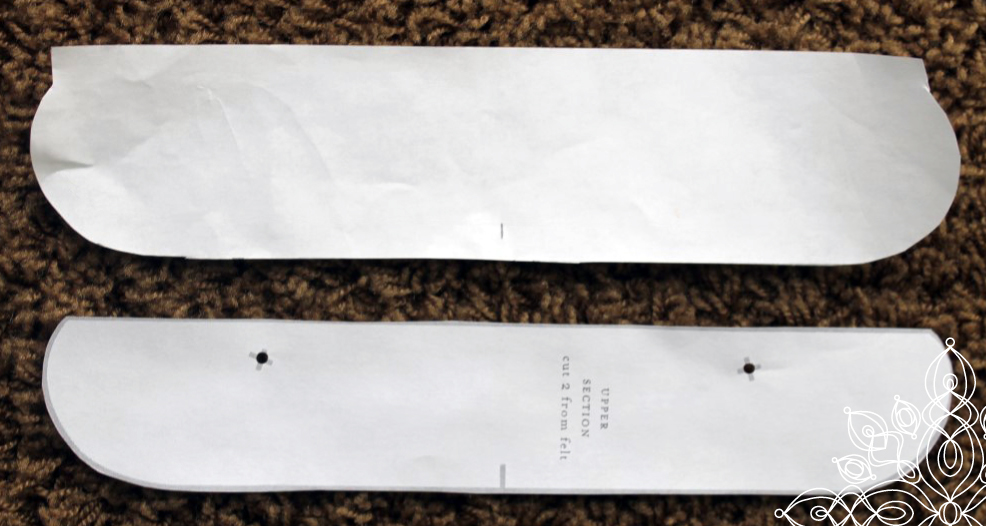
To start with you need to add a
seam allowance to the straight side of the upper section of The Purl Bee pattern (as in the photo below).
Next, cut 4 of each of the pattern pieces (2 from a contrasting fabric, 2 from a main fabric if you are doing that). You should have 4 upper sections and 4 foot pieces.
Materials:
The Purl Bee Pattern
Enough fabric to cut 4 pieces of each pattern piece
Pinking shears (optional)
2" of 1/4"elastic
4 1/4" buttons
Sewing machine, thread, scissors, hand needle, pins, iron
Directions:
To start with you need to add a
seam allowance to the straight side of the upper section of The Purl Bee pattern (as in the photo below).
Next, cut 4 of each of the pattern pieces (2 from a contrasting fabric, 2 from a main fabric if you are doing that). You should have 4 upper sections and 4 foot pieces.
Then, with right sides together, sew along the straight edge of 2 of your upper sections. Iron the seam to the side that will be on the inside of the bootie, then understitch along the inside and iron in half so the right sides are out. Transfer the marks from the pattern to each piece, using pins for the straight line where you will line up the upper section with the foot.
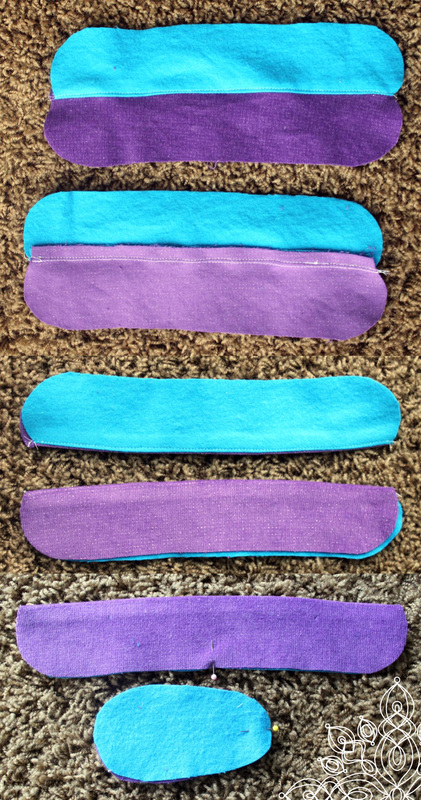
With right sides together, line up the pins for the upper section and the foot. Wrap the the upper section along the edge of the foot, pinning as you go, on both sides. Repeat on the other bootie. Sew using a 1/4" seam allowance along the foot, removing pins as you go. Using your pinking shears, trim the seam allowance.
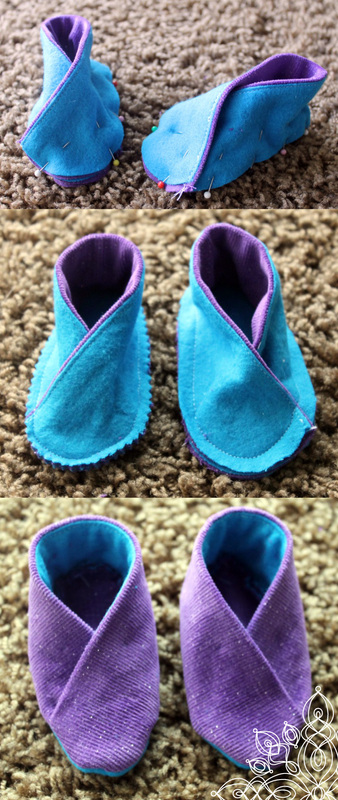
Turn the shoes right side out. Place one of the 1" pieces of elastic on the inside of the shoe then line up a button on the outside of the shoe on the mark from the pattern and hand sew the button to the shoe, taking care to go through the elastic. Repeat the same process for the other side of the bootie, then again for the other shoe.
Now just sit back and admire your handiwork.


 RSS Feed


