
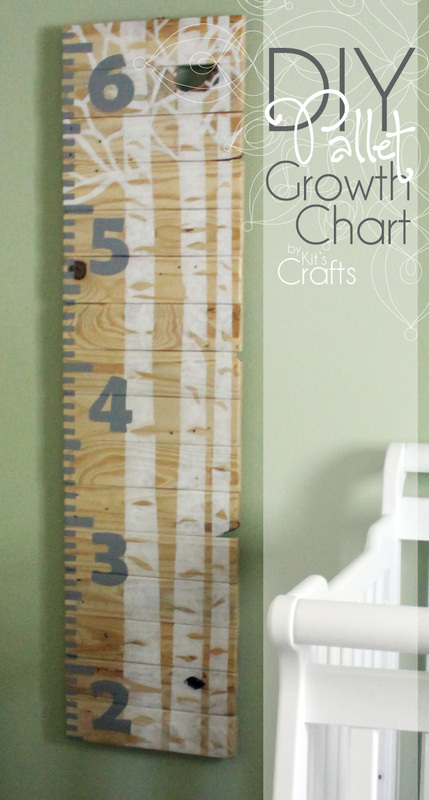
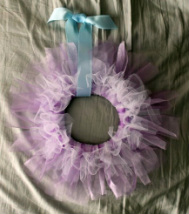
A couple weeks ago, while driving to my sister-in-law's house, I noticed piles of "trash" on the curb in front of many of the houses. Most of the mounds were branches from trimmed trees and bushes, but as I kept driving, I passed one heap with two pallets on top of it. I didn't get too far before turning the car around and loading up the pallets into my trunk. I had a few ideas in mind of what I could use these treasures for, but what I eventually landed on was a growth chart. For the last six months or so, I have had this project in the back of my mind. I have seen so many darling versions all over Etsy and Pinterest, but I really didn't want to go out an buy any supplies as my budget is basically nothing. So, that weekend, my loving husband helped me pull the pallets apart and cut them in to pieces so I could make the sweet creation in the picture below.
Materials:
1 Pallet, although we did use one board from the second pallet, but you could make your chart shorter or narrower
Saw/Hammer/Nails
Medium Grit Sandpaper (ideally along with a rotary sander)
2 Boards at 1" x 1 1/2" and the length of your chart
Paper/printer
Pencil
Foam Brushes
Acrylic Paint
Polycrylic Sealant
Fine Grit Sandpaper
Picture Hanging Kit
Directions:
Begin by breaking apart the pallets using your hammer to pry up the boards. It may be helpful to take a second hammer and pound the first to get it wedged under the board better. Remove the nails. I used the marks created by weathering to figure out the width and cut one board, then used that board to mark the rest. Sand down the front and sides of your cut boards.
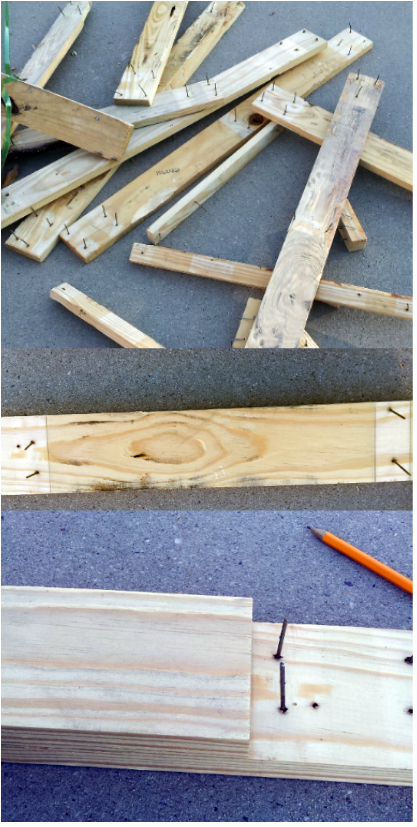
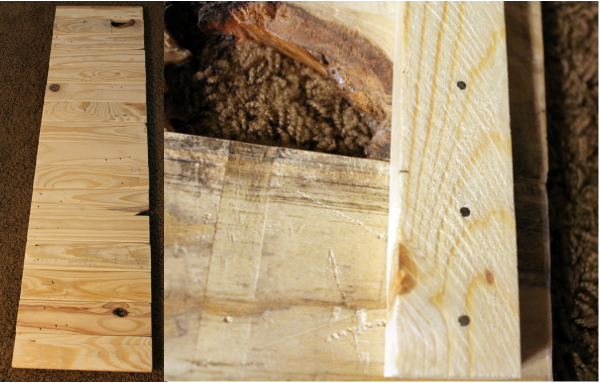
Line up your pallet boards in the order you would like them to be, right side up, then flip the boards over and place each 1 x 1 1/2" board about 2" - 3" from the side and nail them to each board (I used 2 nails on each side for each pallet board). Wipe down your chart so that there is no sawdust left behind and let it dry.
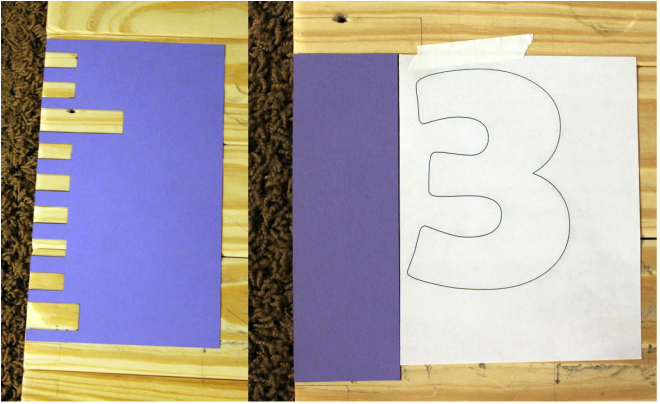
Now comes the fun part; deciding what image to paint on your chart. I wanted mine to be gender neutral and I didn't want anything too juvenile so that it could hang in a more visible place then the bedroom some day. I modified an image I found online, then, to transfer the image to my chart, I remembered a technique I learned in 4th grade. The chart is basically broken down into 16 segments vertically (as in there are 16 pallet boards), so I segmented my image into 16 slices and used that to redraw the picture. For the ruler part, print this template on card stock to use as a stencil (the rectangle on the bottom left is to help place the letters). Periodically check the measurements as you are tracing the tick marks to make sure they are in the right place.
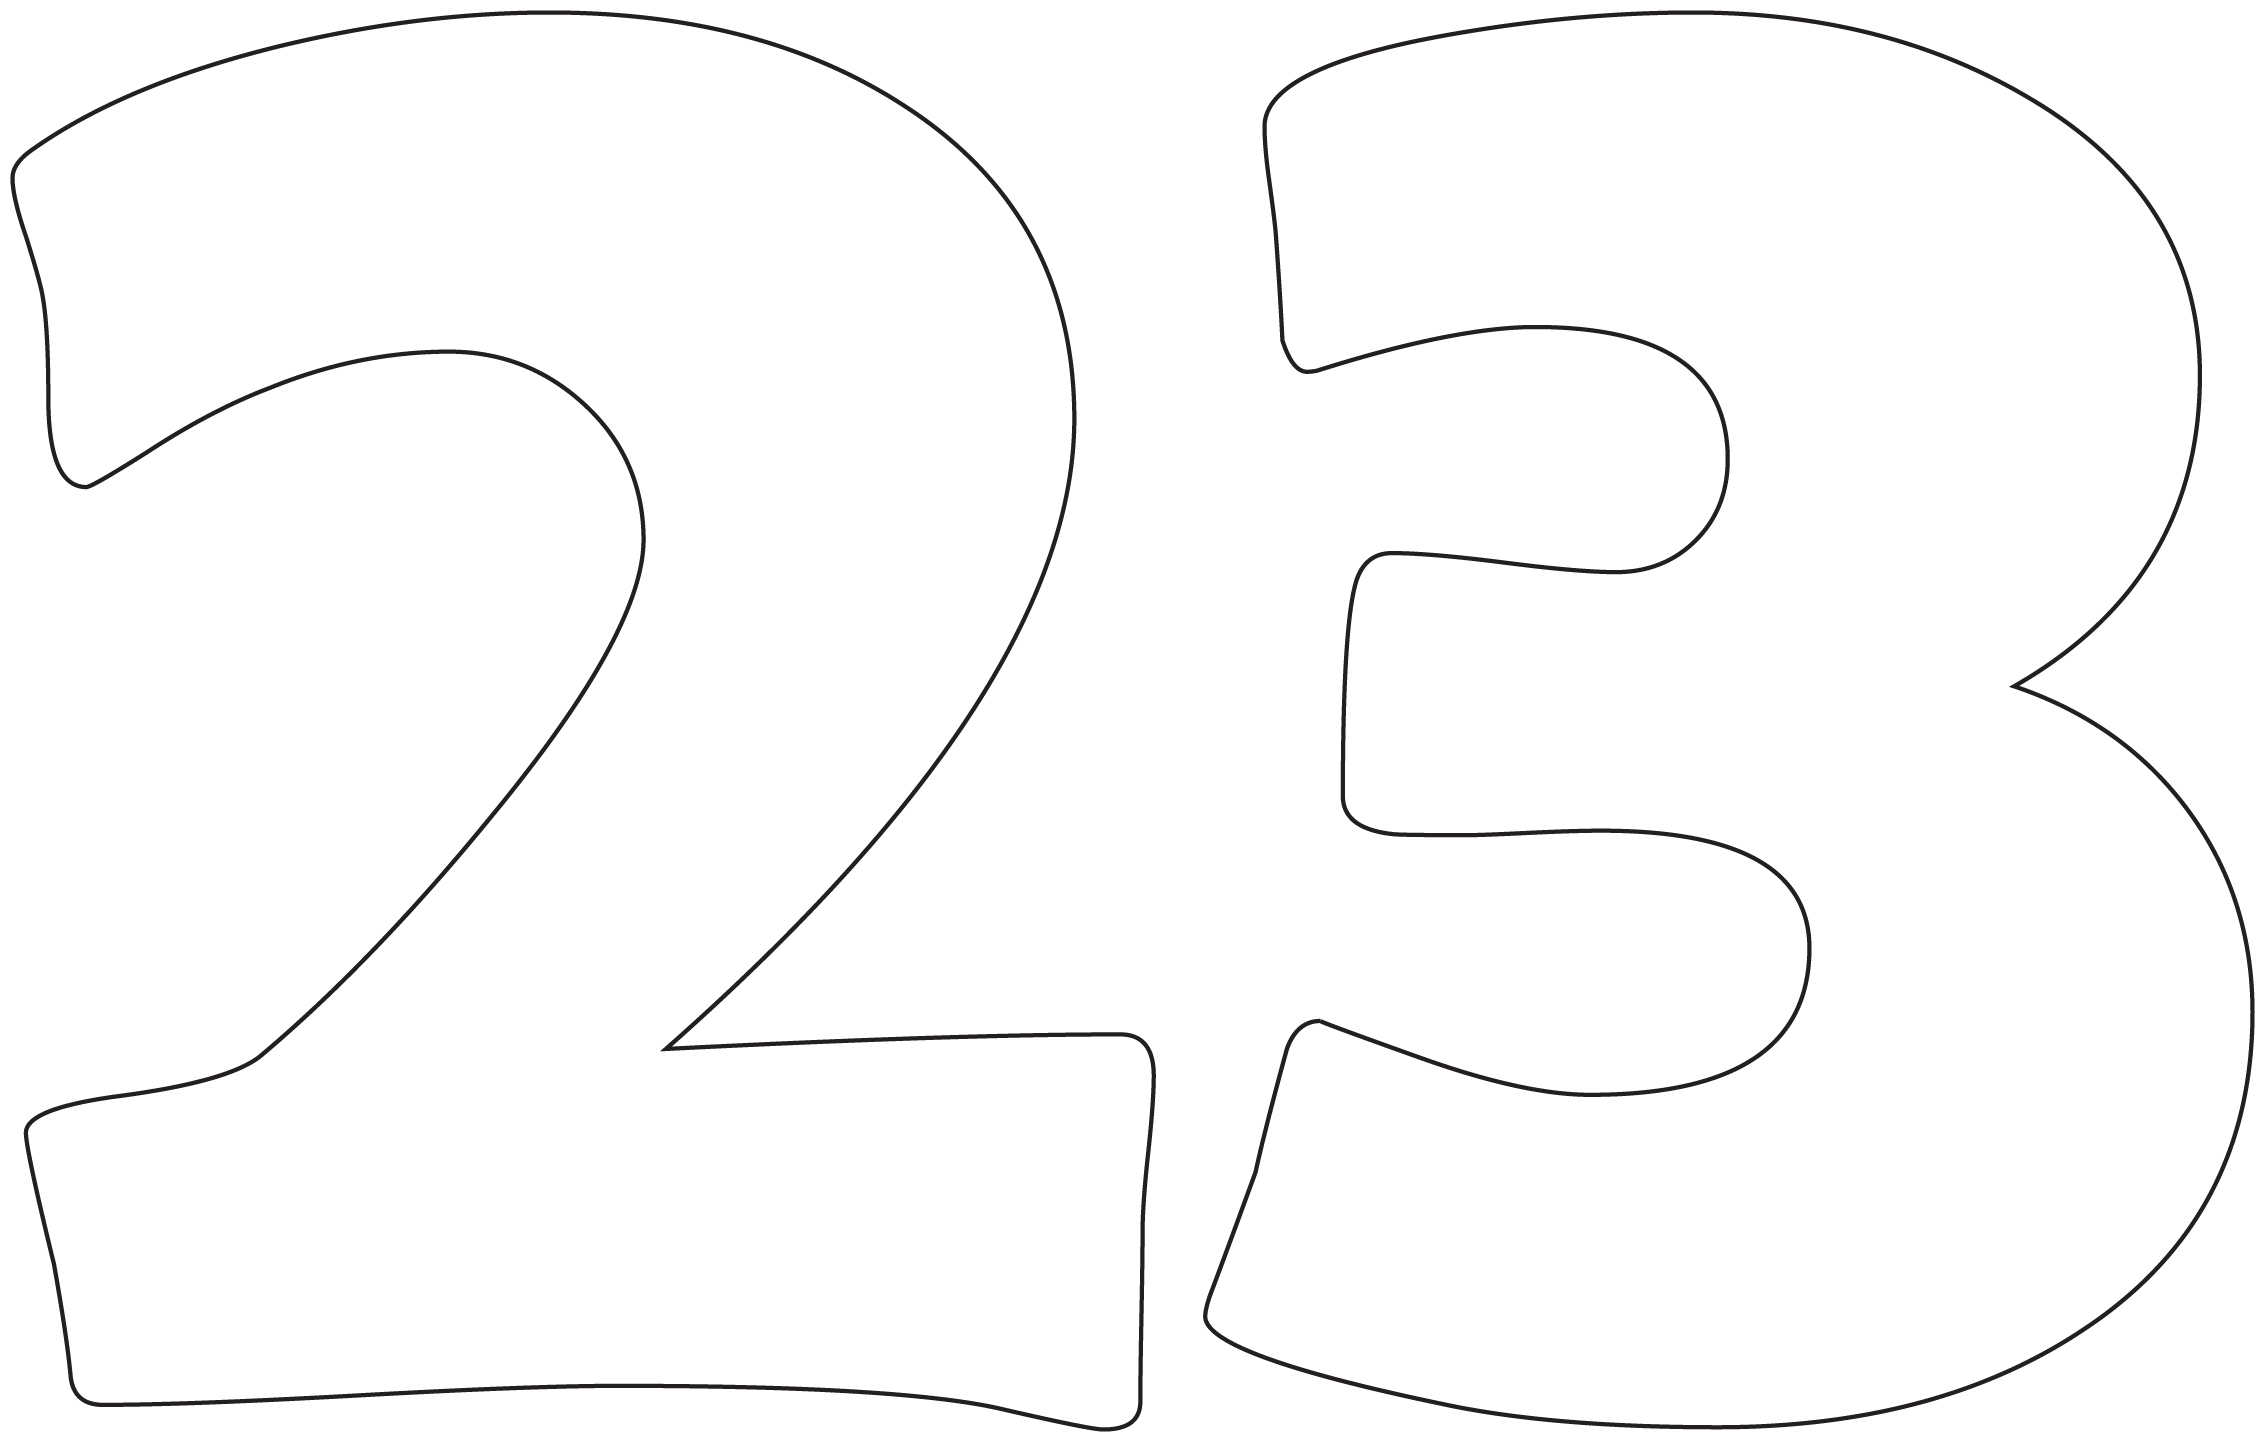
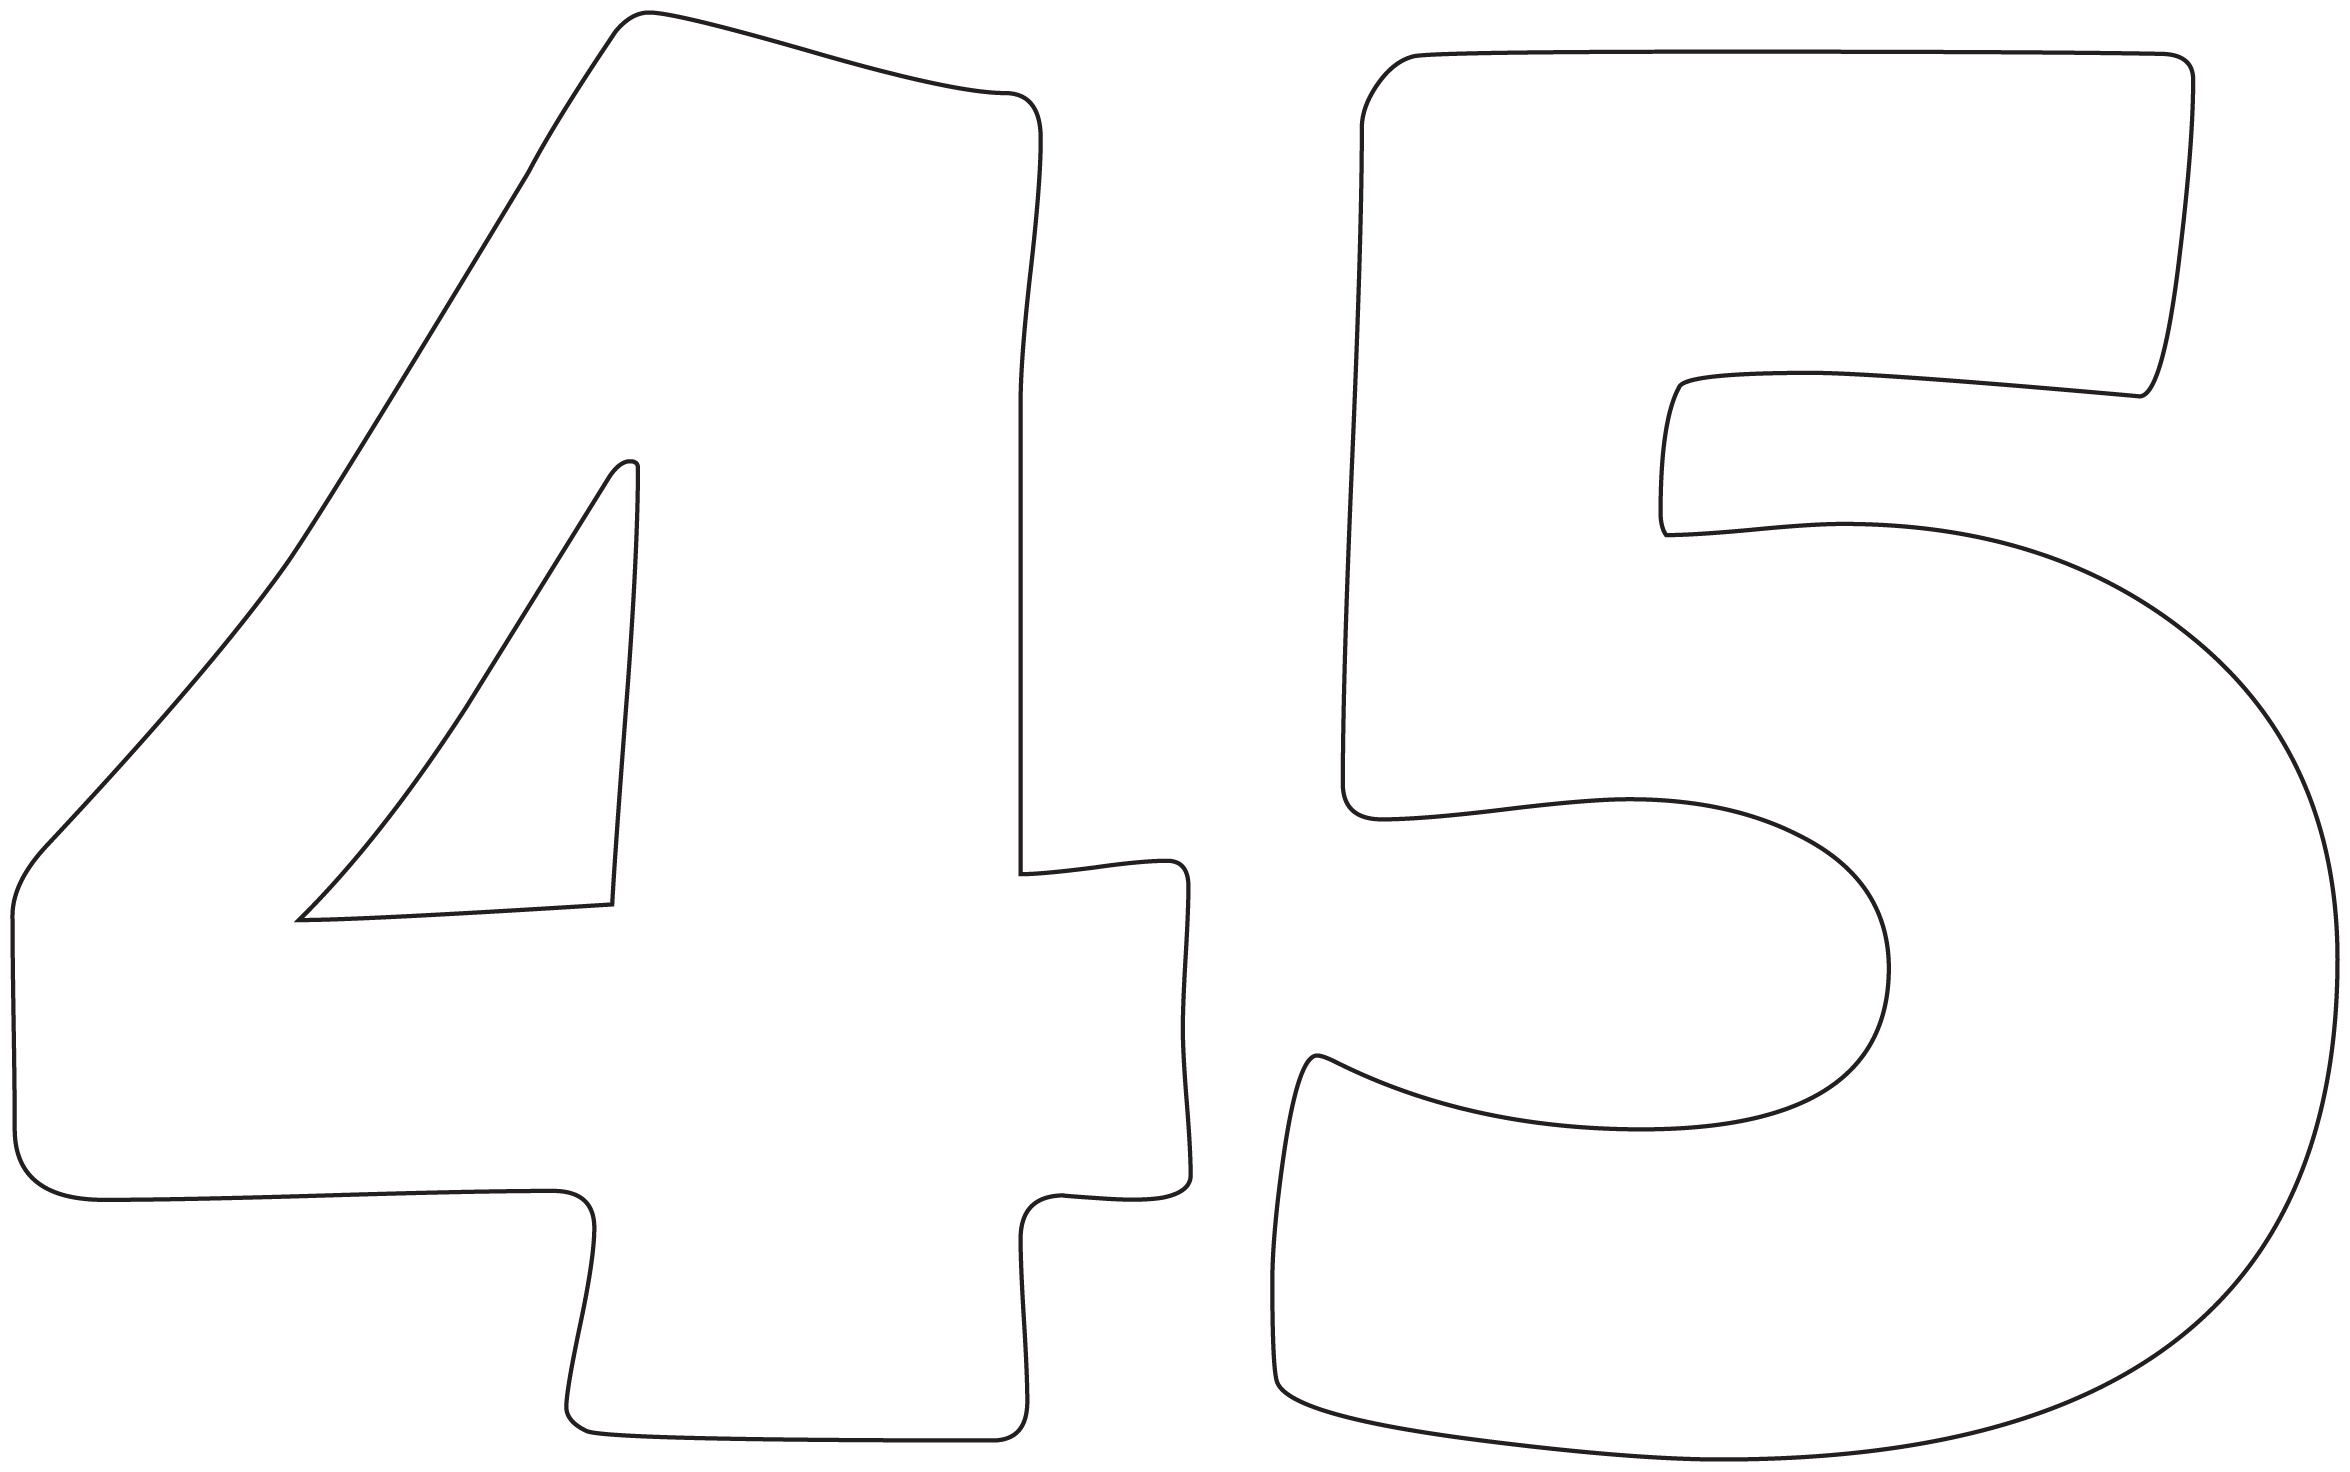
Here are the numbers: 23 45 6. Cut each number, making a straight edge along the left side of the digit. Then, using a pencil, color the back of the page. Position the number on the chart, using the rectangle from the stencil. Trace the number with the pencil and when you remove the page, there should be a number transferred onto the wood.
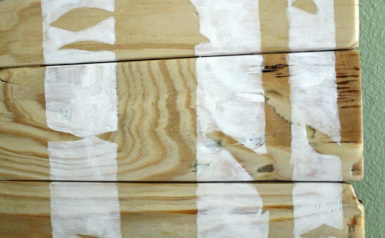
Paint your image and your ruler marks with the acrylic paint. Once the paint has dried, go over the surface with your fine grit sandpaper, being careful not to remove too much paint, and follow the directions on the can to apply the polycrylic. Use the picture hanging kit to hang the chart on the wall.
Here are the numbers: 23 45 6. Cut each number, making a straight edge along the left side of the digit. Then, using a pencil, color the back of the page. Position the number on the chart, using the rectangle from the stencil. Trace the number with the pencil and when you remove the page, there should be a number transferred onto the wood.
Paint your image and your ruler marks with the acrylic paint. Once the paint has dried, go over the surface with your fine grit sandpaper, being careful not to remove too much paint, and follow the directions on the can to apply the polycrylic. Use the picture hanging kit to hang the chart on the wall.
You might also like:
 |  |  |  |
Where I partied:
   |   |


 RSS Feed


