
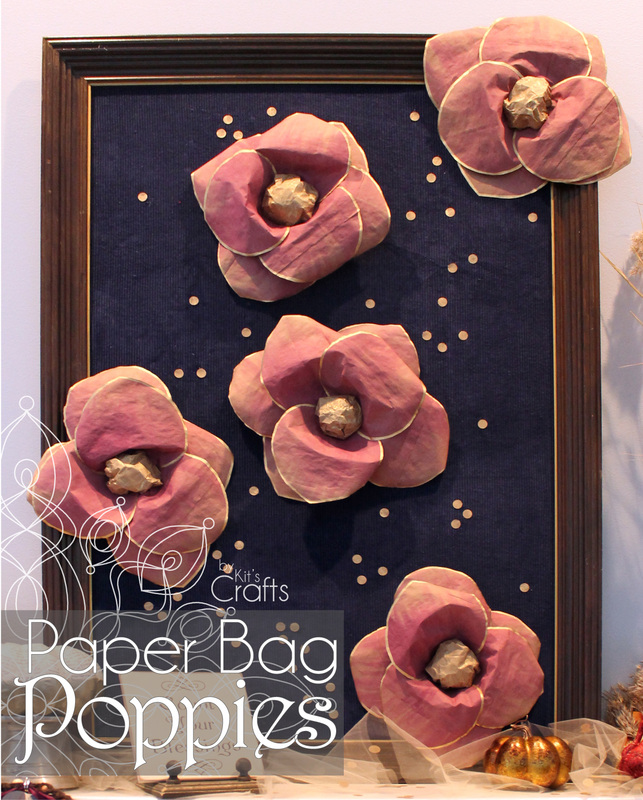
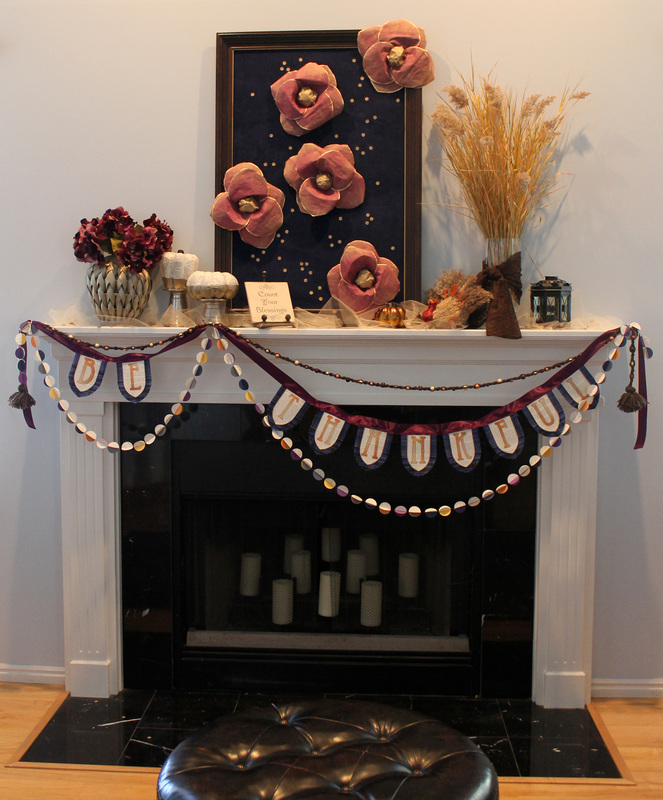
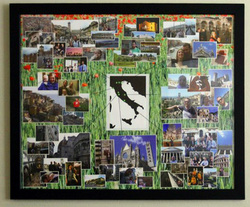
Last Saturday, I guest posted on Chaos with a Curve, where I did a tutorial for a Thanksgiving banner that included printables. To display this banner, I decorated my sister-in-law's mantle. You may remember the Gold-Dipped Pumpkins from last week that were on this mantle, well here is another piece of that puzzle. Today, I bring you Paper Bag Poppies. These little beauties became the anchor for the decor along with a frame I found at a thrift store and some left over fabric. Hope you enjoy this tutorial!
Materials:
Paper Lunch Bags
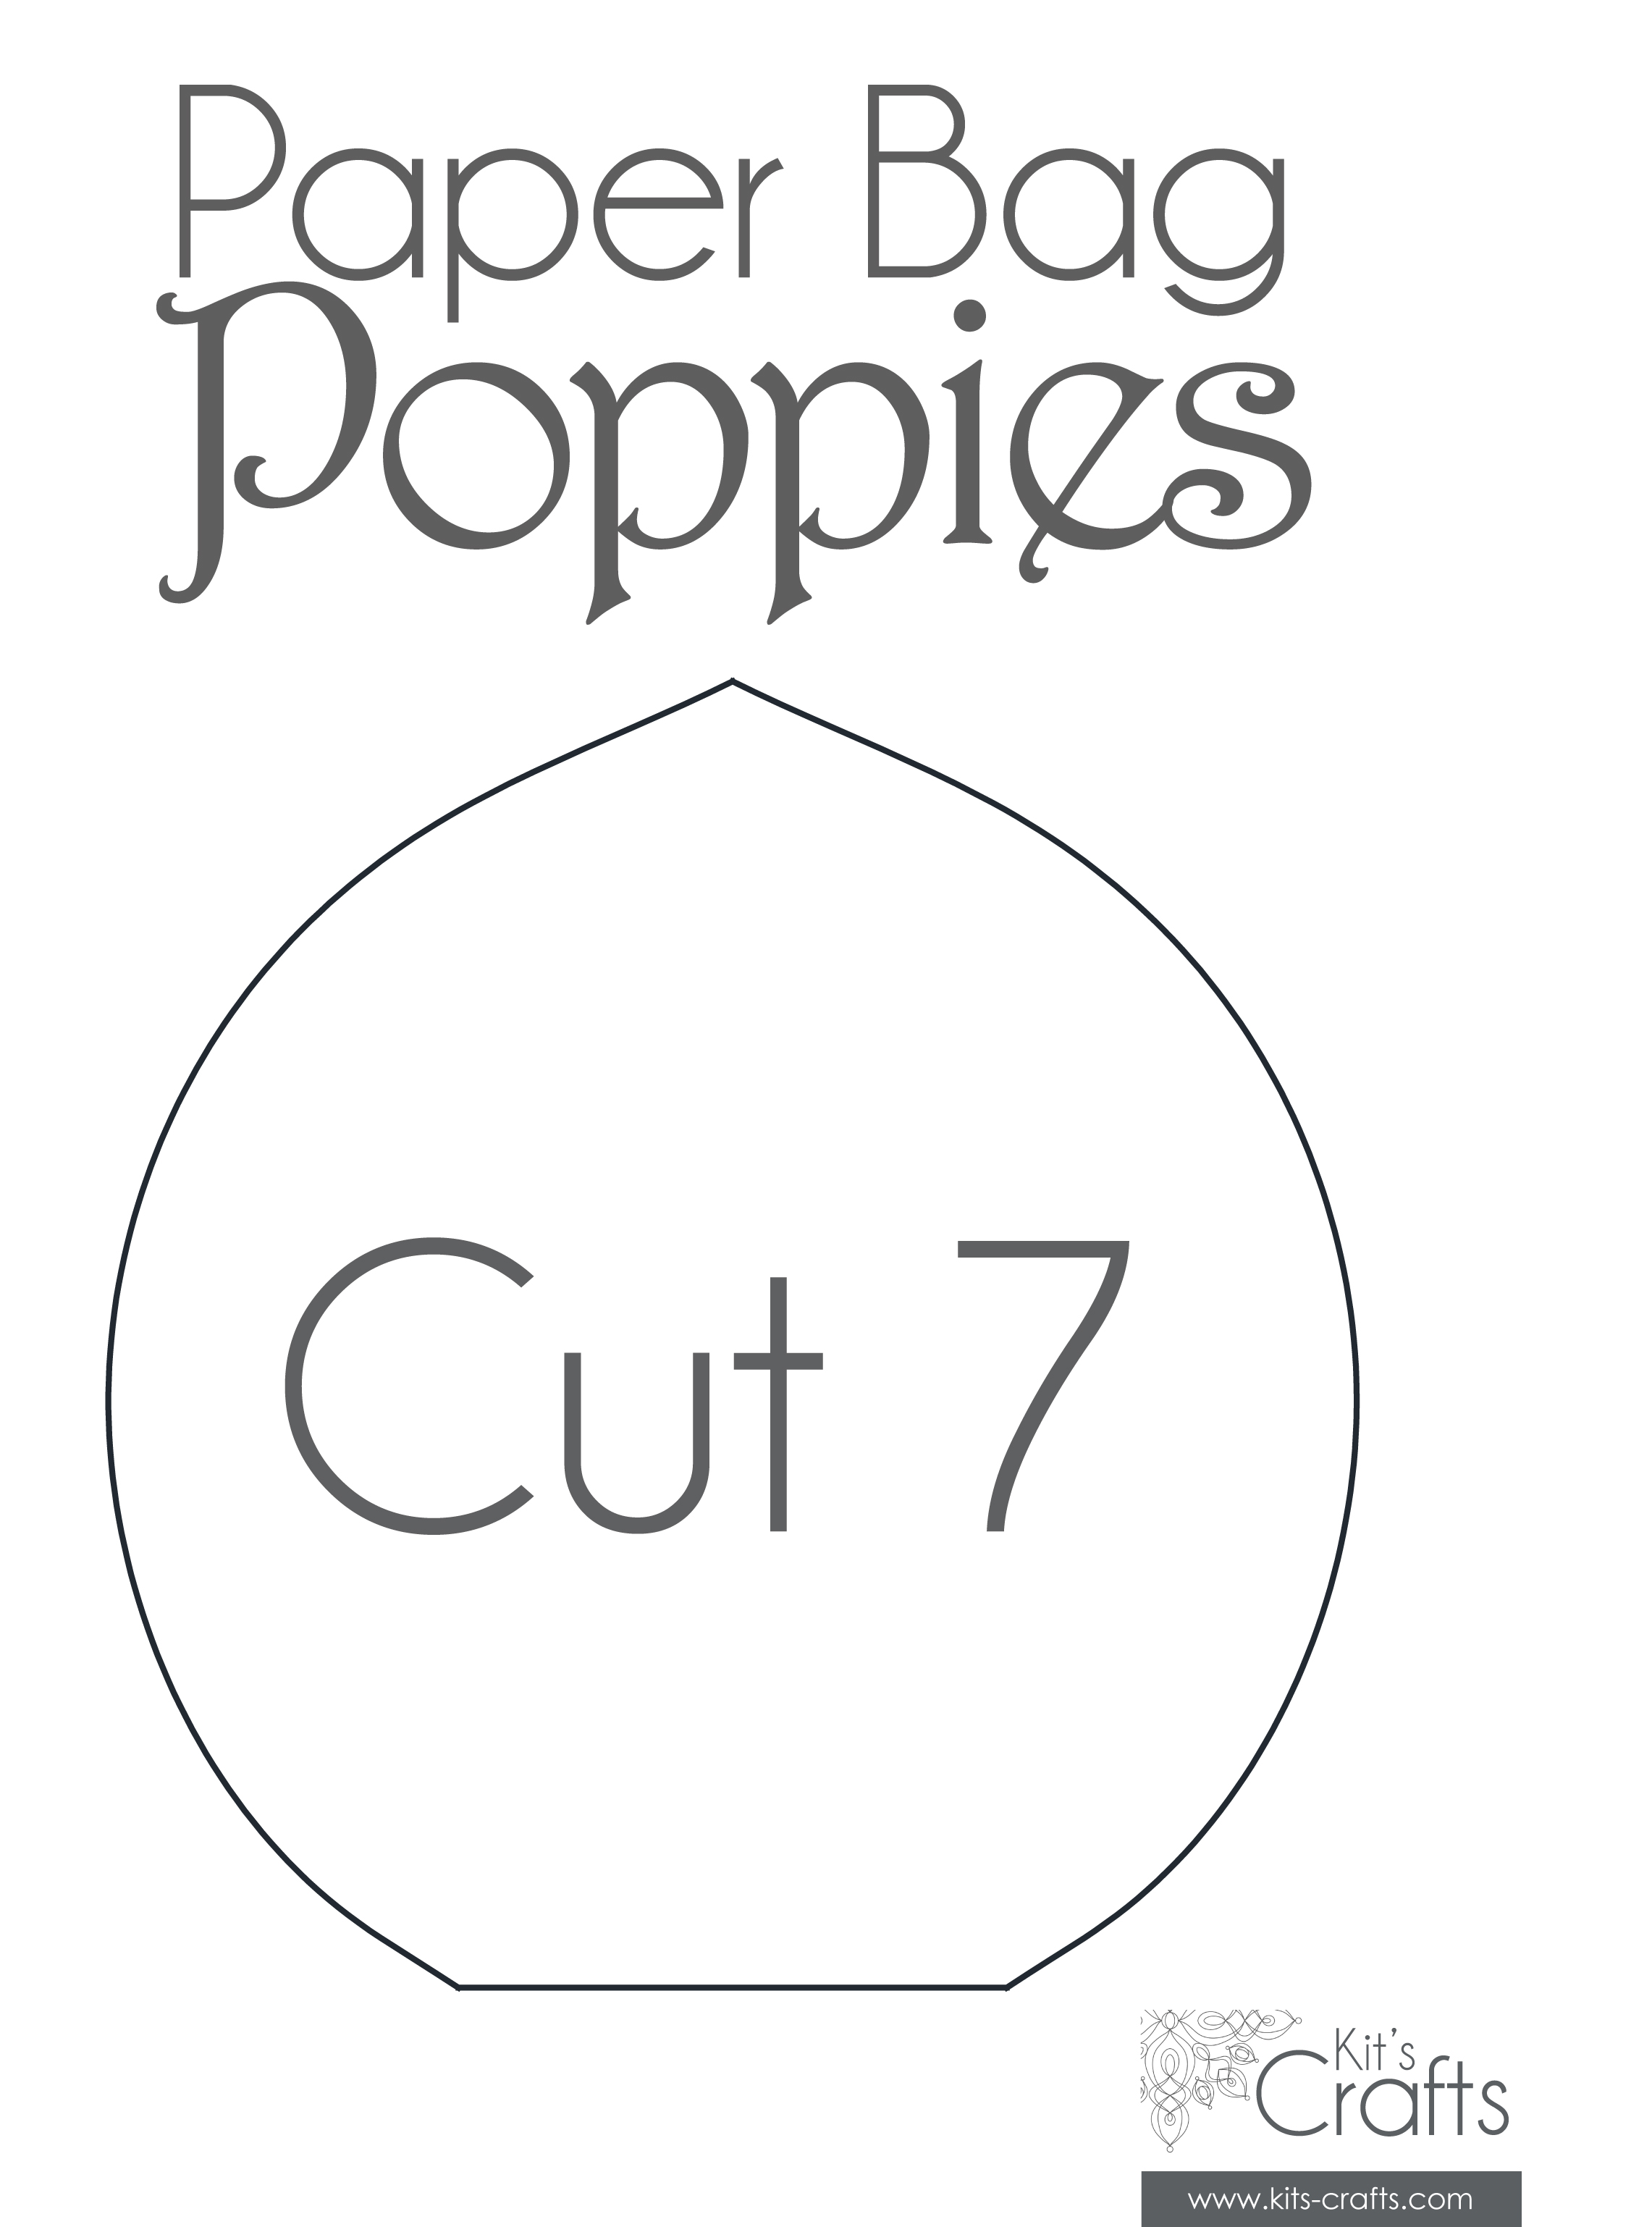
Poppy Template
Acrylic Paint/Paint Brush (Optional)
Gold Marker (Optional)
Stapler/Staples
Glue Gun/Glue Sticks
Directions:
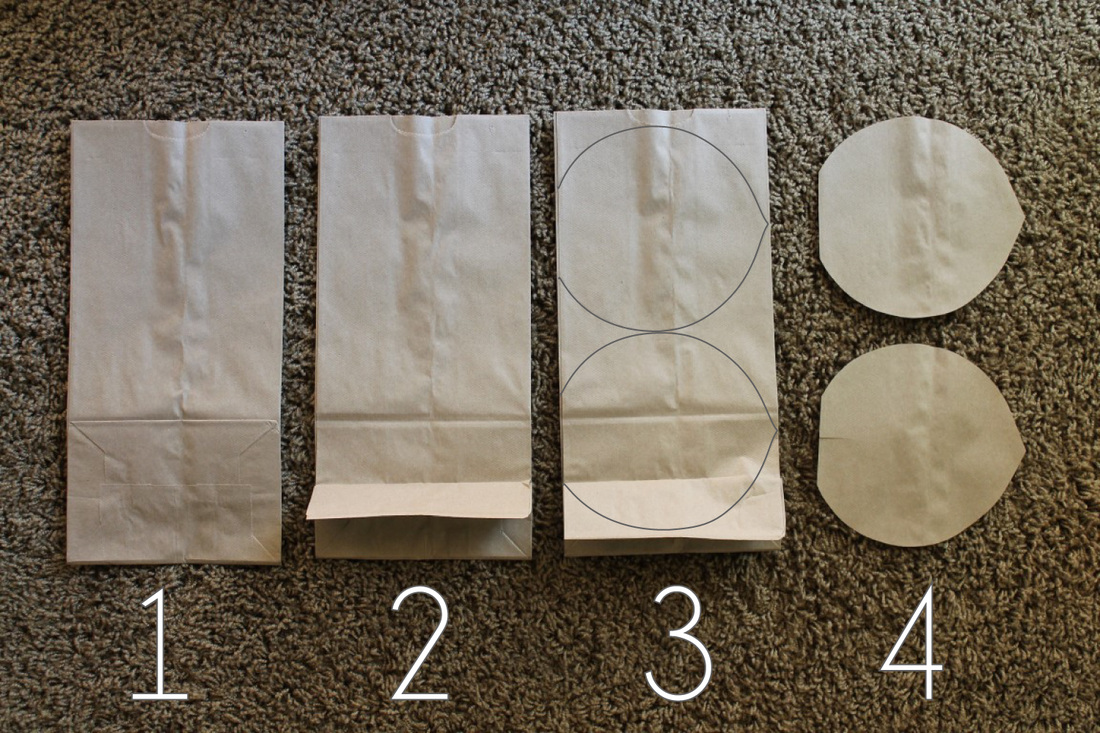
1. Lay out the bag with the folded flap up.
2. Fold the flap down
3. Trace the template onto the bag as shown
4. Cut out 7 petals for each flower, find the center of the straight edge, then make a 1" cut
Paper Lunch Bags
Poppy Template
Acrylic Paint/Paint Brush (Optional)
Gold Marker (Optional)
Stapler/Staples
Glue Gun/Glue Sticks
Directions:
1. Lay out the bag with the folded flap up.
2. Fold the flap down
3. Trace the template onto the bag as shown
4. Cut out 7 petals for each flower, find the center of the straight edge, then make a 1" cut
Painting:
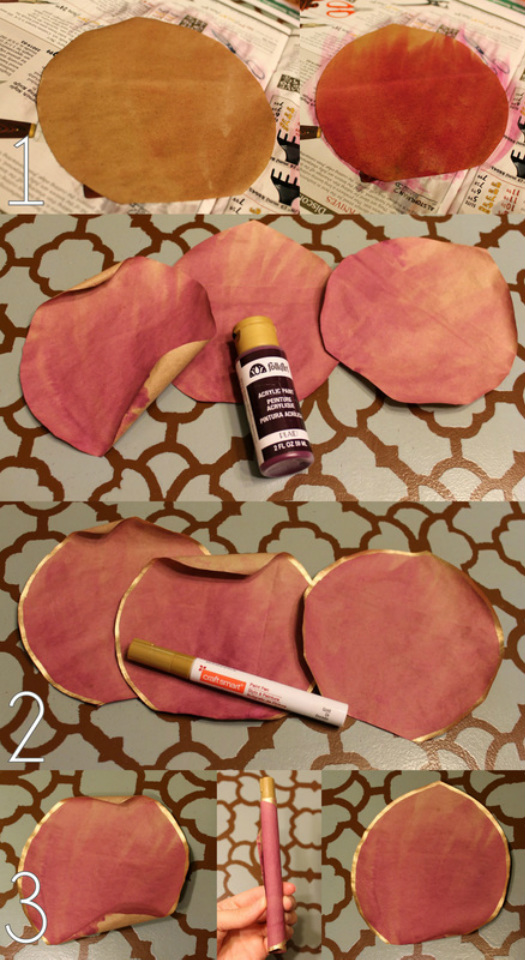
1. Water down your paint (equal parts water and paint), then dampen one of the petals with a brush and water, then brush the watered down paint onto the petal. Repeat with remaining petals.
2. Once the petals have all dried, use the gold marker to create an outline along the edges of each petal.
3. The petals tend to curl from the paint. Use the marker to straighten them out or, if you want them to curl a bit in the other direction, use the blade of open scissors to curl the edges as you would for curling ribbon.
Finishing:
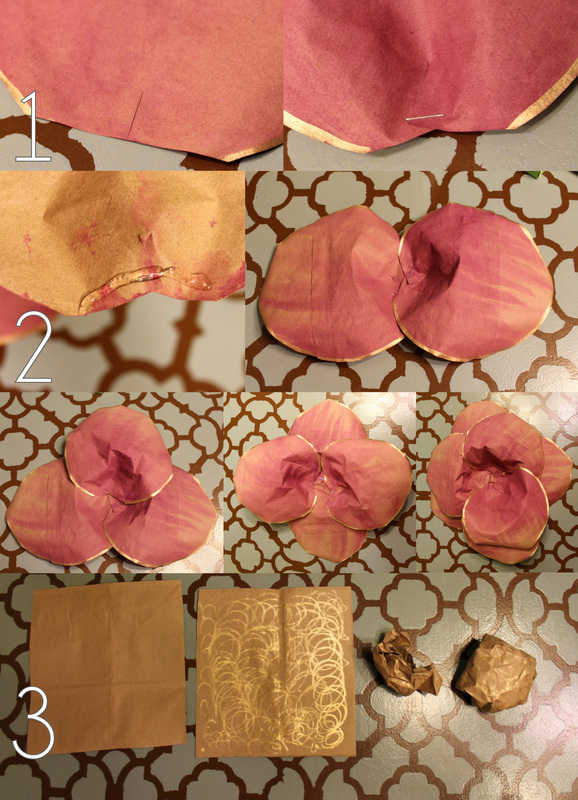
1. Overlap and staple each petal at the 1" cut.
2. On the backside of one petal, place some glue along the stapled edge, then overlap another petal and attach the two. Continue gluing and placing the remaining petals in the same fashion.
3. Cut a 6" square of paper and scribble on one side with the gold marker. Crumple the paper, then unfold and crumple again, this time tucking the edges under and toward the middle. Glue to the center of the flower.
By the way, here is the completed mantle (the Be Thankful banner is over at Chaos with a Curve):
You might also like
 |  |  |  |
Where I partied
 | |


 RSS Feed


