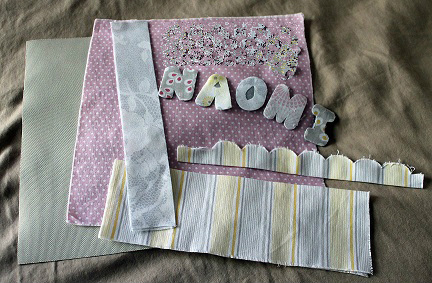
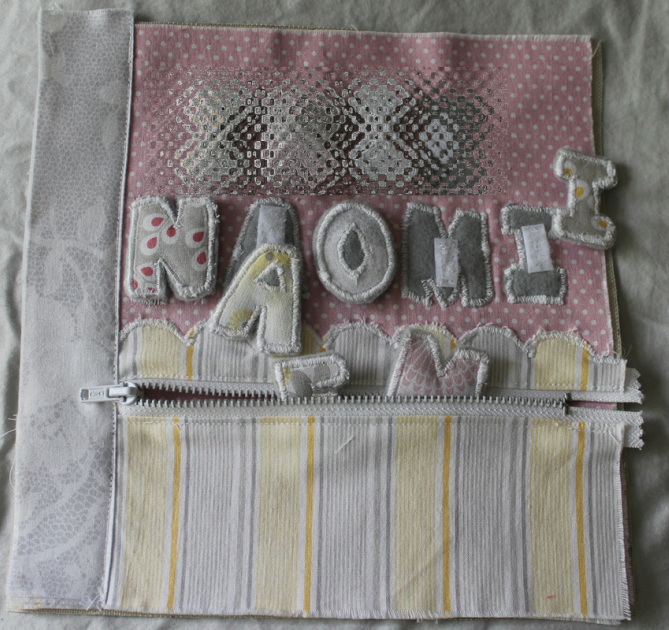
* The size of each page: 9"x9"
* For the inside of the pages and reinforcement of moveable pieces, we used a polyester blend that is basically a dense plastic, I found at Hancock Fabrics.
* For the edges, a 1/2" blanket binding
* Obtain super cute fabric from Material Girls in Sandy, UT. You can use fat quarters or ask them to cut an 1/8 of a yard for smaller elements.
* Obtain felt. I suggest buyingsheets of felt as you need them rather than getting a bunch by the yard.
* Use Steam a Seam instead of pins for ease and comfort.
* For the binding side, use a 1 1/2" border on that side
* Make template out of cardstock or a manila folder to layout pages. Bear in mind that to create a complete page, you need one with the binding on the right side and another with the binding on the left.
* Most of the pieces are sewn together or to the page using a satin stitch on a sewing machine to prevent fraying and to give a finished look.
* Remember to prewash all fabric before cutting
* When printing patterns, UNCHECK THE FIT TO PAGE box in the printer window.
2. Using the template, place your letters on the page, then iron onto page and satin stitch.
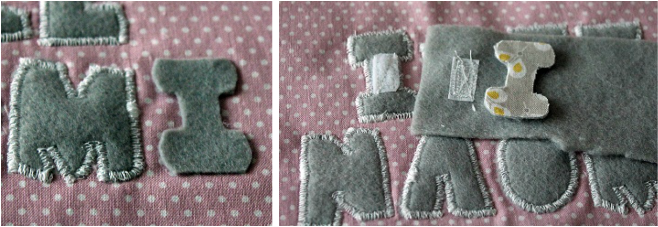
3. Cut a small portion of the velcro to fit on each letter and sew the soft side to the letter on the page.
4. Iron the fabric letter to the remaining felt letter and satin stitch any holes on the inside of the letters.
5. Sew the rough part of the velcro to some felt then satin stitch the fabric/felt letter to the felt positioned on the opposite side of the velcro.
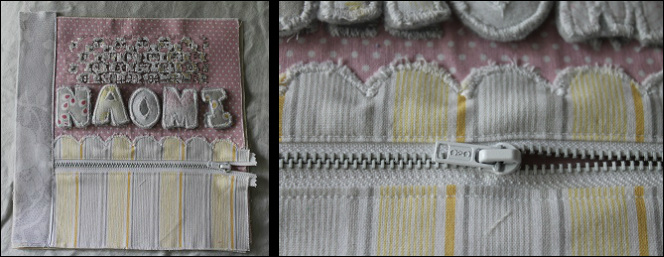
1. You will be attaching the zipper to the fold side of each piece. (FYI, I fudged this, because I do not have a zipper foot.)
2. Using the template, place the pocket on the page and position the zipper so that the opening is about 1/2" from the border and pin to pocket top.
3. Sew as close to the edge of the fold as possible.
4. Do steps 2 and 3 for the bottom of the pocket.


 RSS Feed


