
This is a post I have been looking forward to for quite some time. It is the LAST POST for the quiet book! I can't believe it is finally done! The day after I finished it, I found myself anxiously looking for something to work on, which I will post about later.... Anyway, I am very pleased with the results of my efforts on this book and hope you feel the same.
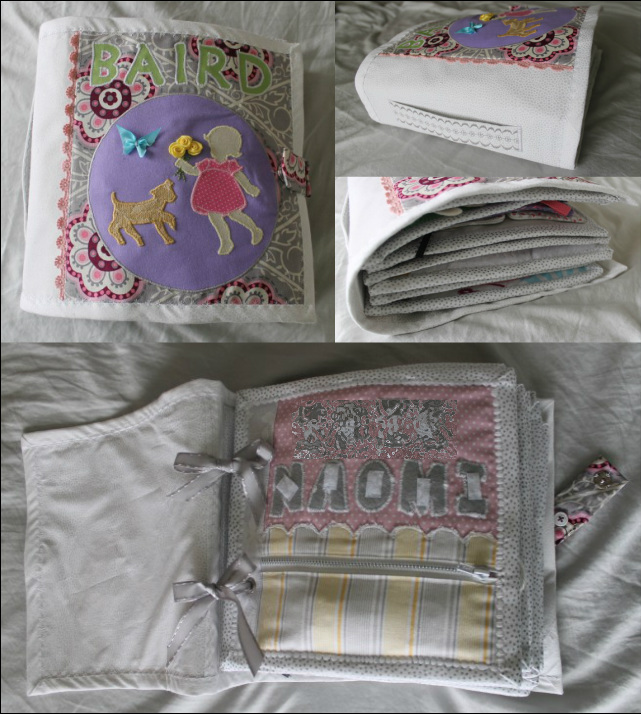
Unlike the previous pages, I have not provided a pattern for the cover. Essentially, I found some silhouettes online that I liked then printed them out, cut them from fabric and satin stitched them to the front. If you choose to do the same, I suggest adding Steam a Seam to your list of materials.
Materials Needed:
* Fabric for the front and back cover, exterior binding side, bias tape and interior (remember to prewash and iron all fabrics)
* Large snap
* 1/2" ribbon
* Reinforcement for the covers, side and handle
* 2 1/2" x 8" rectangle of stiff plastic (I used 2 layers of heavy duty template plastic for quilting)
* Fray Check
Exterior:
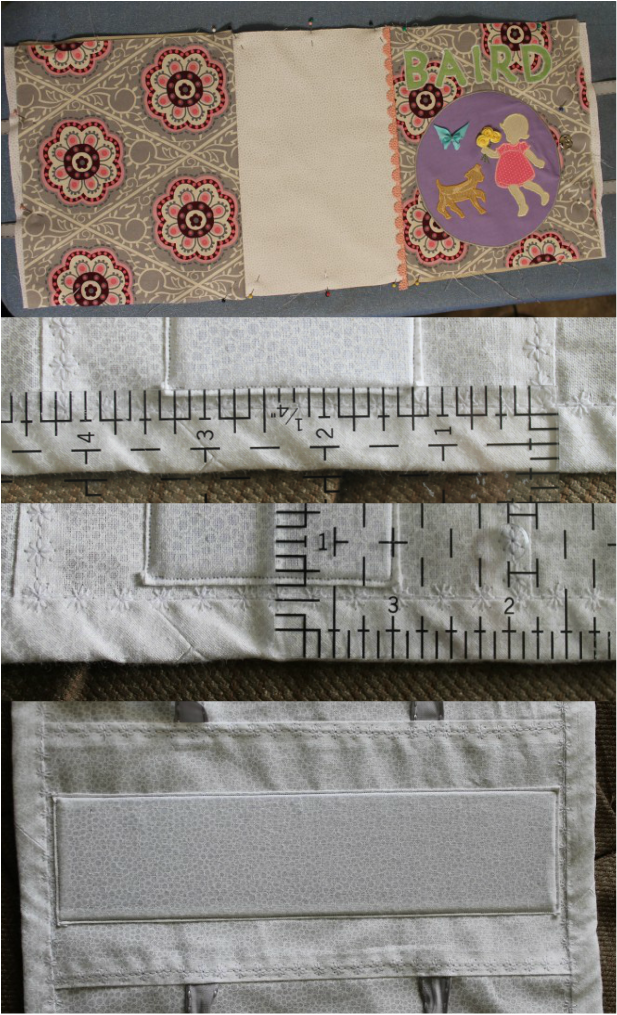
* Cut two fabric and reinforcement rectangles at 8 3/4" x 10" for the front and back cover
* Add whatever decoration you would like to the front, bearing in mind that there will be a 1/2" bias tape running around the exterior edges and allowing for a 3/8" seam to the binding and making room for the snap in the middle toward the right edge
* Stack your completed pages and measure the height then add 3 1/2". Cut a rectangle for the binding (fabric and reinforcement) using this measurement for the width by 10" for the height
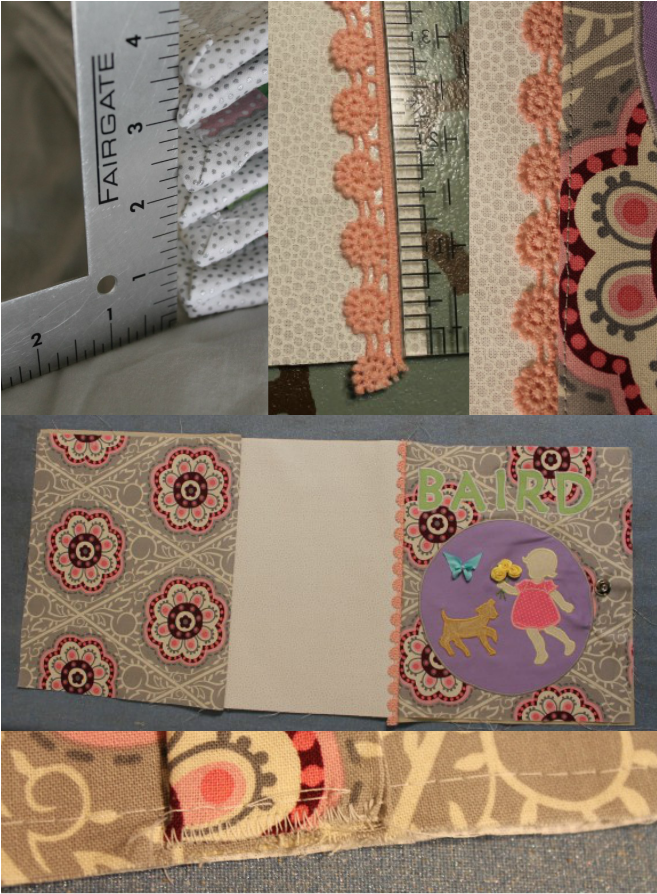
* I added a little lace trim to the binding, I found it at Michaels in the scrapbook section and it has a sticky back, which was quite useful, I attached it 1/4" from the edge
* With right sides together (including the reinforcement), sew the cover to the binding side and the back to the binding side
* Iron the seams toward the back and front, then straight stitch close to the edge of the seam to reinforce this seam and secure the lace
* Place the female side of the snap about an inch from the edge of the front and centered then hand sew to attach
* Cut a rectangle of the cover fabric at 2 3/4" by the height of your completed pages plus 4 1/2"
* Fold this rectangle in half to find the center then position and sew the male side of your snap to the front of one side of the rectangle
* Fold the rectangle with right sides together and sew along sides with a 3/8" seam allowance
* Unfold the rectangle and iron, then position the non-snap side in the center of the back cover with the snap facing up and satin stitch along the edge to attach to the back cover
Materials Needed:
* Fabric for the front and back cover, exterior binding side, bias tape and interior (remember to prewash and iron all fabrics)
* Large snap
* 1/2" ribbon
* Reinforcement for the covers, side and handle
* 2 1/2" x 8" rectangle of stiff plastic (I used 2 layers of heavy duty template plastic for quilting)
* Fray Check
Exterior:
* Cut two fabric and reinforcement rectangles at 8 3/4" x 10" for the front and back cover
* Add whatever decoration you would like to the front, bearing in mind that there will be a 1/2" bias tape running around the exterior edges and allowing for a 3/8" seam to the binding and making room for the snap in the middle toward the right edge
* Stack your completed pages and measure the height then add 3 1/2". Cut a rectangle for the binding (fabric and reinforcement) using this measurement for the width by 10" for the height
* I added a little lace trim to the binding, I found it at Michaels in the scrapbook section and it has a sticky back, which was quite useful, I attached it 1/4" from the edge
* With right sides together (including the reinforcement), sew the cover to the binding side and the back to the binding side
* Iron the seams toward the back and front, then straight stitch close to the edge of the seam to reinforce this seam and secure the lace
* Place the female side of the snap about an inch from the edge of the front and centered then hand sew to attach
* Cut a rectangle of the cover fabric at 2 3/4" by the height of your completed pages plus 4 1/2"
* Fold this rectangle in half to find the center then position and sew the male side of your snap to the front of one side of the rectangle
* Fold the rectangle with right sides together and sew along sides with a 3/8" seam allowance
* Unfold the rectangle and iron, then position the non-snap side in the center of the back cover with the snap facing up and satin stitch along the edge to attach to the back cover
Handle:
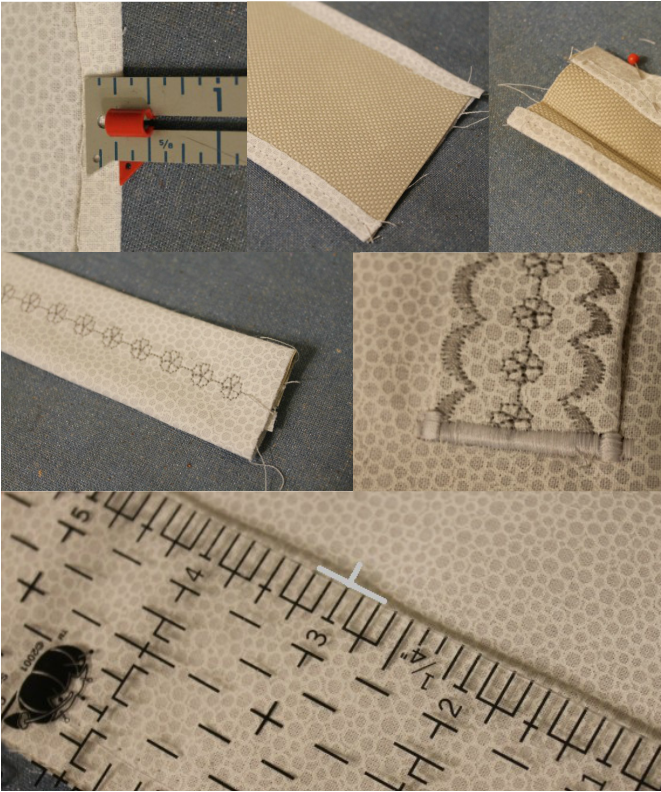
* Cut a rectangle of your binding side fabric at 3" x 6" and a rectangle of reinforcement at 2 1/2" x 6"
* Iron 1/4" of each long side of your fabric rectangle toward the wrong side
* Slide the reinforcement under this fold and sew to secure
* Fold and iron each long side 5/8" (the center) toward the reinforcement side (you may need to pin to secure for sewing)
* Turn handle over and using either a decorative stitch or a zig zag, sew along the center to secure the sides, then do the same along each side
* Mark the center of binding side 2" from the top and bottom, then position the handle on these marks and satin stitch the ends as well as about 1/8" up each side
Interior:
* Cut two rectangles of the interior fabric at 9 7/8" x 10" and one rectangle at the height of your completed pages plus 1 1/4" by 10"
* Cut 4 lengths of ribbon at 11" each (this is perhaps a little excessive, but I figure you can always shorten but you can't really lengthen)
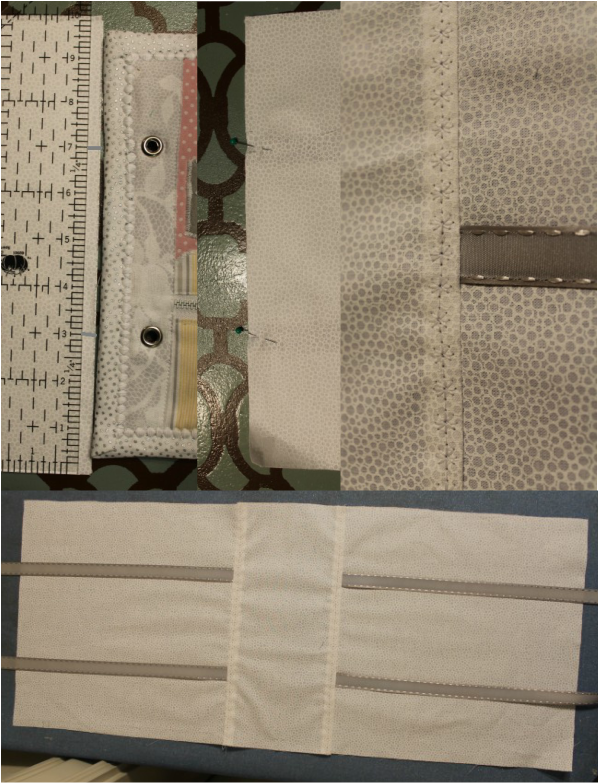
* Line up the 10" sides of your binding and one of the larger rectangles and mark along the 10" edge for the ribbons at 3" and 7"
* Center a ribbon at each mark and sandwich between the two rectangles (right sides together), then sew with a 3/8" seam allowance, repeat for the other side of the binding
* Iron seam toward the binding, then using either a decorative stitch or a zig zag, secure the seam and the ribbons
* Cut two rectangles of the interior fabric at 9 7/8" x 10" and one rectangle at the height of your completed pages plus 1 1/4" by 10"
* Cut 4 lengths of ribbon at 11" each (this is perhaps a little excessive, but I figure you can always shorten but you can't really lengthen)
* Line up the 10" sides of your binding and one of the larger rectangles and mark along the 10" edge for the ribbons at 3" and 7"
* Center a ribbon at each mark and sandwich between the two rectangles (right sides together), then sew with a 3/8" seam allowance, repeat for the other side of the binding
* Iron seam toward the binding, then using either a decorative stitch or a zig zag, secure the seam and the ribbons
Attaching Interior to Exterior:
* For the length of the bias tape, refer back to the height of your completed pages, times that by 2 and add 65, the width will be 2 1/4". You should have one long strip, please go to Prudent Baby for instructions.
* To make the bias tape, refer to Creative Little Daisy for instructions, but when you put the pin in your ironing board, make the width 1 1/4". Your bias tape should fold over 1/2" on either side with 1/4" between the edges of the fabric. Please email me with any questions at [email protected].
* Place the interior and exterior on top of each other with wrong sides together and pin
* Starting at one side of the interior binding side, baste along the edges at about 1/4" from the edge, but DO NOT close, stop at the opposite side of the binding that you started at so you can insert the stiff plastic into the binding
* Trim edges to match each other
This next step I did not realize was needed until I finished my book, so I had to improvise, which is why mine is different and I don't have progress pictures. Basically, you are stiffening up the binding so when you hold the handle your cover doesn't scrunch up and things fall out.
* On the interior, find the center of the short side of the binding and mark the entire length of the long side of the binding 1 1/8" on either side of the center with a fabric pen and straight stitch along these marks
* Measure and mark 5/8" from the top with a fabric pen and straight stitch along this line
* Slide your stiff plastic rectangle (2" x 8 1/5") into the pocket you just created, then sew along the bottom to secure it
* Baste along the bottom edge of the binding side
* Refer back to the Page Bindings instructions for sewing the bias tape around the cover (I started in the center top of the back cover), making sure not to catch the ribbons or the wrong side of the snap rectangle
Finishing:
* Put all of your pages into the book using just the ribbons attached to the back cover of the book
* Tie a semi loose bow with the front cover ribbons, then cut leaving plenty to untie and retie the ribbons
* Use fray check to prevent the ribbons from fraying
* Bask in the delight of a finished project


 RSS Feed


