
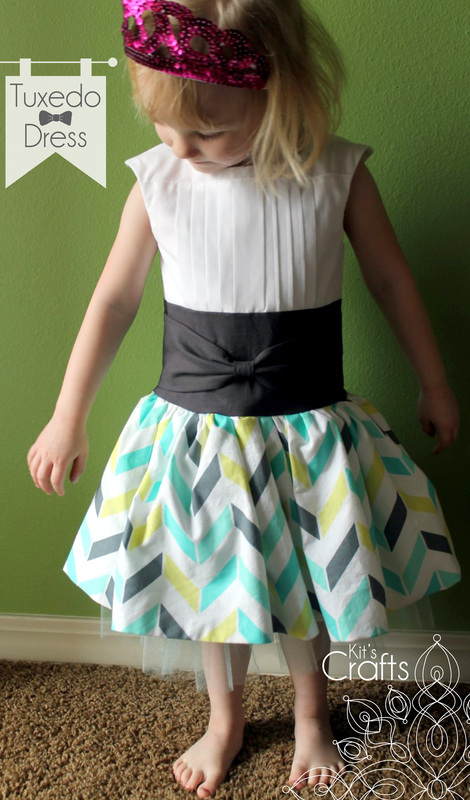
As I have mentioned numerous times before, I love fabric remnant bins. Those half priced, less than a yard pieces are all you need to make some adorable clothes for babies and toddlers, not to mention various other things. Anyway, some time ago, I found an adorable broken chevron print that, quite honestly, reminded me of a little boy button up shirt from the 80's. I had to buy it and make a dress for my daughter. Below is the outcome.
Truth be told, I have become a bit lazy since getting pregnant. Although, I did take a few progress pictures of this dress, they aren't sufficient enough to write up a tutorial. However, I will refer you to tutorials I used to make this dress as well as provide a basic outline and a few notes. If you have any questions, shoot me an email at [email protected] or leave a comment. FYI, this dress is sized at 3T so you will need to make adjustments to your fabric measurements for different sizes.
Materials:
Large Paper (or several smaller pieces taped together)
Pencil
Scissors
Dress or Shirt that fits well
Sewing Gauge or Ruler
1 1/2 yards White Fabric (43" wide, bodice, bodice lining and skirt lining)
3/4 yard Skirt Fabric (43" wide)
9" Gray Fabric (43" wide)
3/4 yard Blue Tulle (at least 43" wide, wider for a fuller skirt)
25" matching Molded Plastic Zipper
Sewing Notions (scissors, pins, thread, etc.)
What I did:
To start with, use the dress or shirt to draft up a pattern on your large paper. For further instruction on that, go to Shwinn and Shwinn. Don't forget to add in the pleats to the bodice, for more info on that, check out See Kate Sew. (FYI, I made my lining about 1/2" longer for the bodice so that it would cover the skirt seam.) I only drafted the bodice, because everything else is basically rectangles.
Now to cutting fabric. Cut the bodice from the white fabric then cut two rectangles at 14" x 44". For the waistband, I cut (1) 5" x 12" (the width of the front bodice piece) and (2) 5" x 6.5" pieces. For the bow, I cut (2) 4" x 13" rectangles and (1) 2" x 5" rectangle. For the skirt, cut the fabric in half hotdog style so you have two 14" x 44" rectangles. Cut four 14" x 22" rectangles and two 14" x 44" rectangles of the tulle.
Start by making your pleats. I've found it helpful to cut a rectangle from a cereal box the width of my pleats then iron the fabric folds over the rectangle, such as with the Canary Dress. Then create the bow waistband. If you need more instruction, refer to the DIY Bow Clutch tutorial by Elm Street Life. Finally, sew your bodice pieces and lining pieces together leaving the sides unsewn.
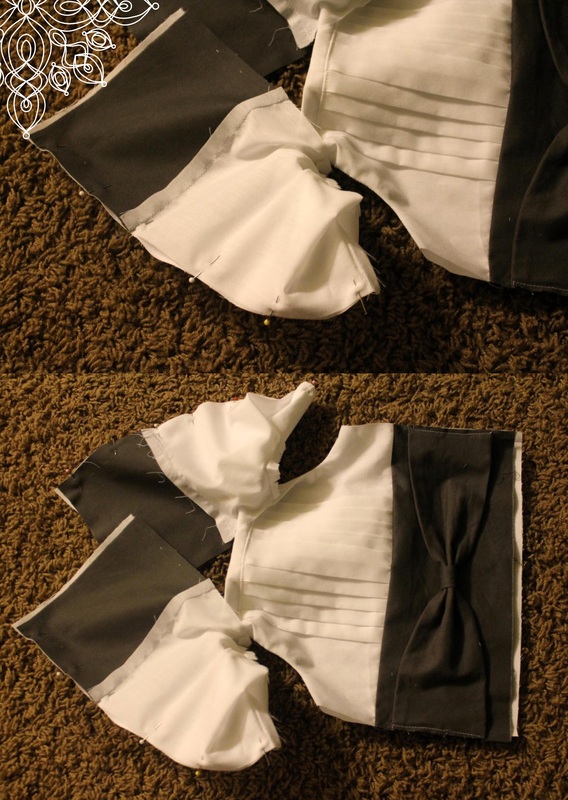
Next up, attach the lining to the exterior. I refer you to the Slapdash Sewist for an excellent tutorial on how to do this. However, before sewing up the sides, turn the back panels right sides together (as in the photo below) and sew along the zipper edge stopping about 1/2" from the bottom. Then turn right side out again and follow the rest of the tutorial to sew up the sides.
Lastly, for the bodice, fold the bottom edge of the lining up 1/4" and iron, then another 1/4" and iron, then sew around to create a hem.
Materials:
Large Paper (or several smaller pieces taped together)
Pencil
Scissors
Dress or Shirt that fits well
Sewing Gauge or Ruler
1 1/2 yards White Fabric (43" wide, bodice, bodice lining and skirt lining)
3/4 yard Skirt Fabric (43" wide)
9" Gray Fabric (43" wide)
3/4 yard Blue Tulle (at least 43" wide, wider for a fuller skirt)
25" matching Molded Plastic Zipper
Sewing Notions (scissors, pins, thread, etc.)
What I did:
To start with, use the dress or shirt to draft up a pattern on your large paper. For further instruction on that, go to Shwinn and Shwinn. Don't forget to add in the pleats to the bodice, for more info on that, check out See Kate Sew. (FYI, I made my lining about 1/2" longer for the bodice so that it would cover the skirt seam.) I only drafted the bodice, because everything else is basically rectangles.
Now to cutting fabric. Cut the bodice from the white fabric then cut two rectangles at 14" x 44". For the waistband, I cut (1) 5" x 12" (the width of the front bodice piece) and (2) 5" x 6.5" pieces. For the bow, I cut (2) 4" x 13" rectangles and (1) 2" x 5" rectangle. For the skirt, cut the fabric in half hotdog style so you have two 14" x 44" rectangles. Cut four 14" x 22" rectangles and two 14" x 44" rectangles of the tulle.
Start by making your pleats. I've found it helpful to cut a rectangle from a cereal box the width of my pleats then iron the fabric folds over the rectangle, such as with the Canary Dress. Then create the bow waistband. If you need more instruction, refer to the DIY Bow Clutch tutorial by Elm Street Life. Finally, sew your bodice pieces and lining pieces together leaving the sides unsewn.
Next up, attach the lining to the exterior. I refer you to the Slapdash Sewist for an excellent tutorial on how to do this. However, before sewing up the sides, turn the back panels right sides together (as in the photo below) and sew along the zipper edge stopping about 1/2" from the bottom. Then turn right side out again and follow the rest of the tutorial to sew up the sides.
Lastly, for the bodice, fold the bottom edge of the lining up 1/4" and iron, then another 1/4" and iron, then sew around to create a hem.
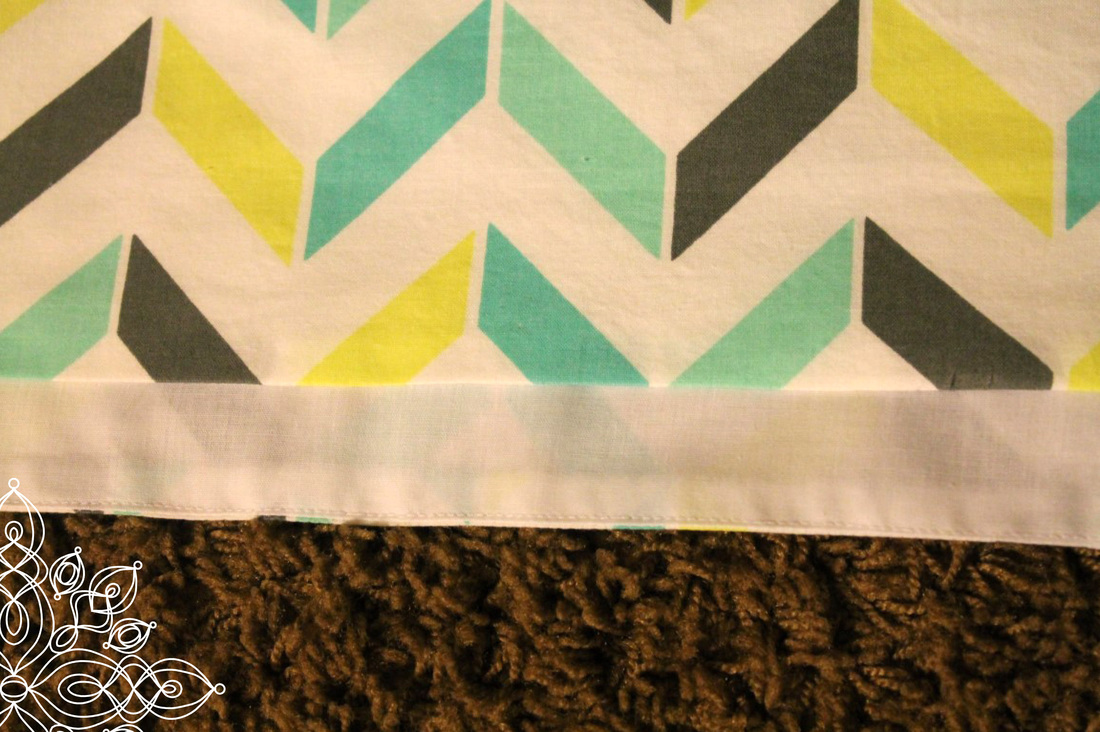
Onto the skirt. Sew the front and back together for the shell and for the lining, then place them right sides together and sew along the bottom. Open up the skirt and understitch the lining (photo below).
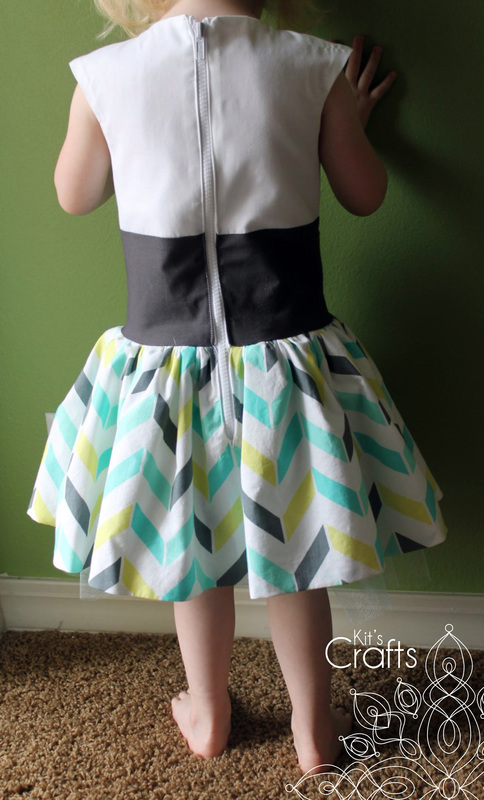
Originally, I was planning on putting buttons on this dress, however, I miscalculated and made the bodice just a tiny bit too small, so I put in a zipper instead. At this point, I added a continuous bound placket to the back of the dress. It is actually a great way to have the zipper continue into the skirt, so I would recommend doing that too.
Originally, I was planning on putting buttons on this dress, however, I miscalculated and made the bodice just a tiny bit too small, so I put in a zipper instead. At this point, I added a continuous bound placket to the back of the dress. It is actually a great way to have the zipper continue into the skirt, so I would recommend doing that too.
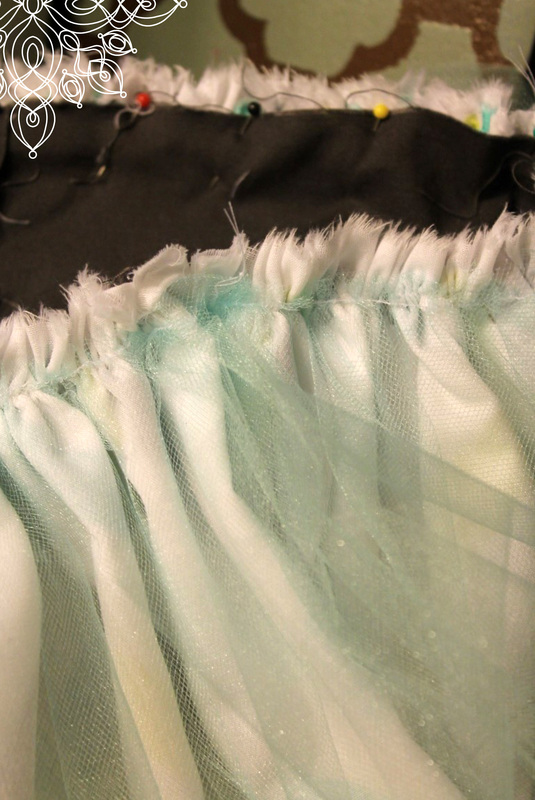
Next up, gathering your skirt. Place pins to mark the center in the front and back of the skirt as well as halfway between the center and the side seams (this will help with placing the skirt into the bodice). Run the top of the skirt through the sewing machine on a basting stitch (the biggest one) then gather the top. Double up the tulle and gather it at this point too, but don't sew up the sides, it isn't necessary. Pin the skirt to the bodice, NOT the lining, right sides together, then pin the tulle on top, overlapping the sides by about 1/2" (as in the photo below). Sew the skirt to the bodice. I used a 1/2" seam allowance here.
Lastly, shorten your zipper, if needed, then sew into place.


 RSS Feed


