
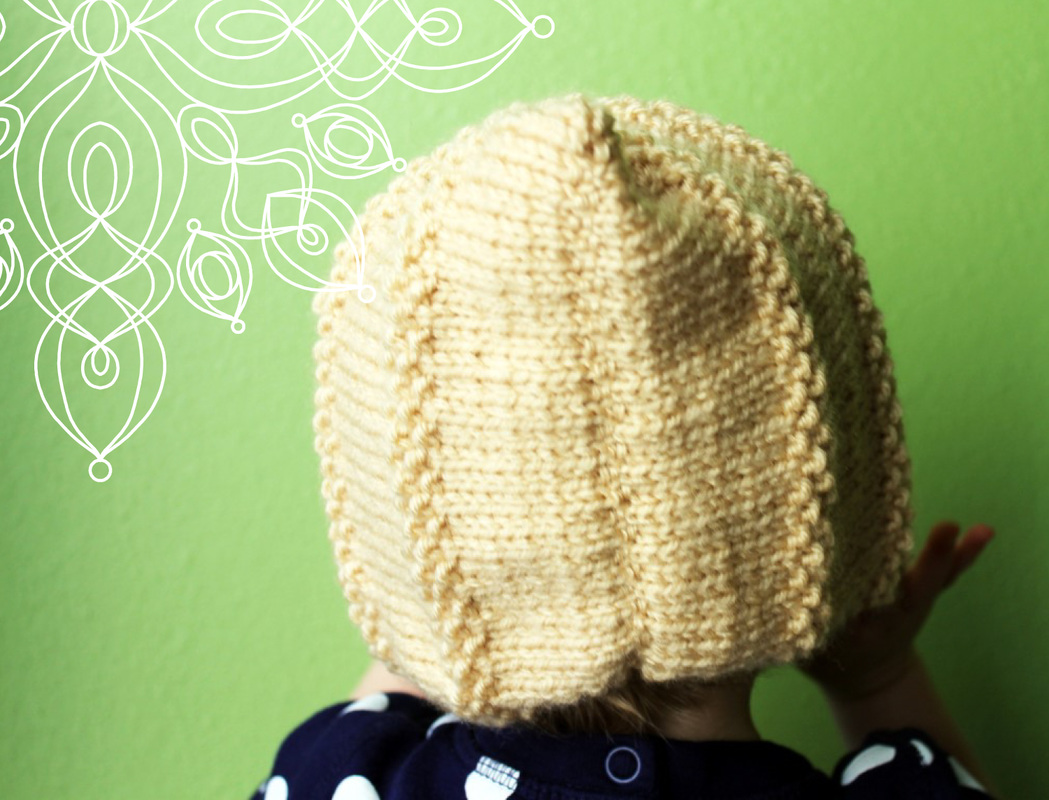
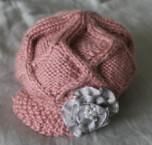
One of my most favorite things to knit or crochet is a pixie bonnet. The simplicity of the little hat is so enticing and just begs for personalization with cables or lace. All you do is knit/crochet up a rectangle, fold it in half and sew along the cast on edge. I wrote this particular pattern with a beginner in mind and kept it simple. This is a great one for learning because you practice stockinette, moss/seed, ribbing and there is a buttonhole involved, which are great techniques for a beginner project!
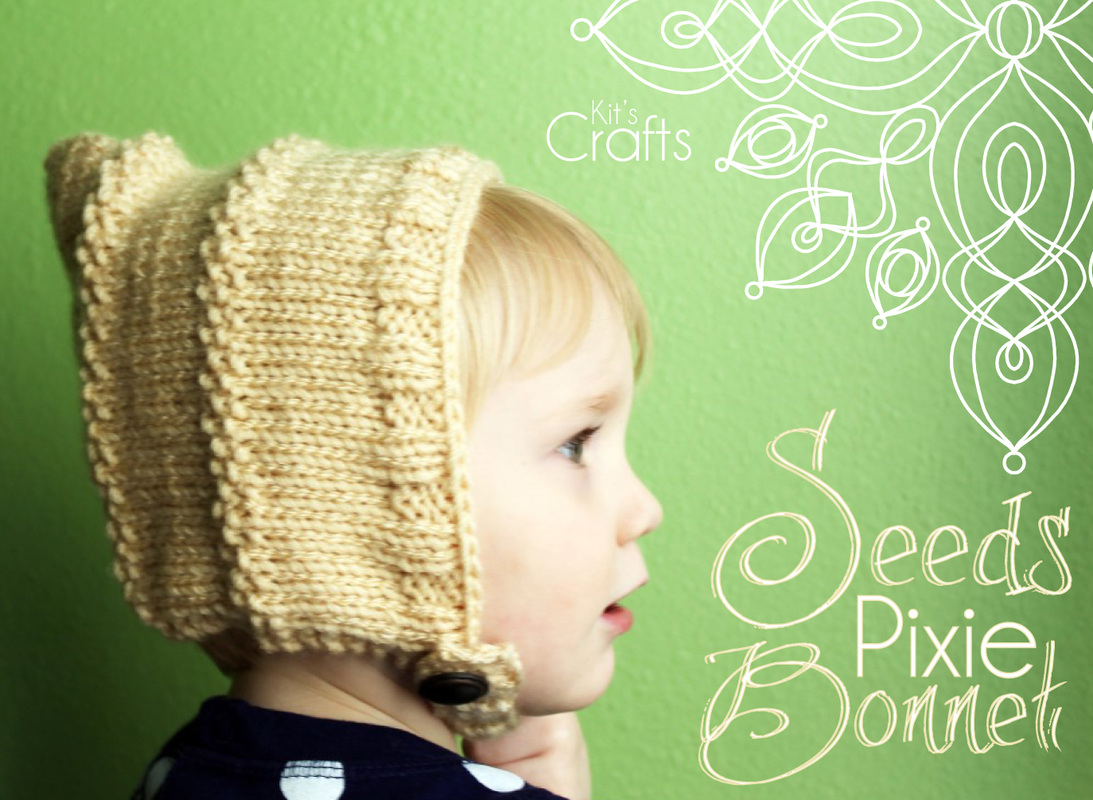
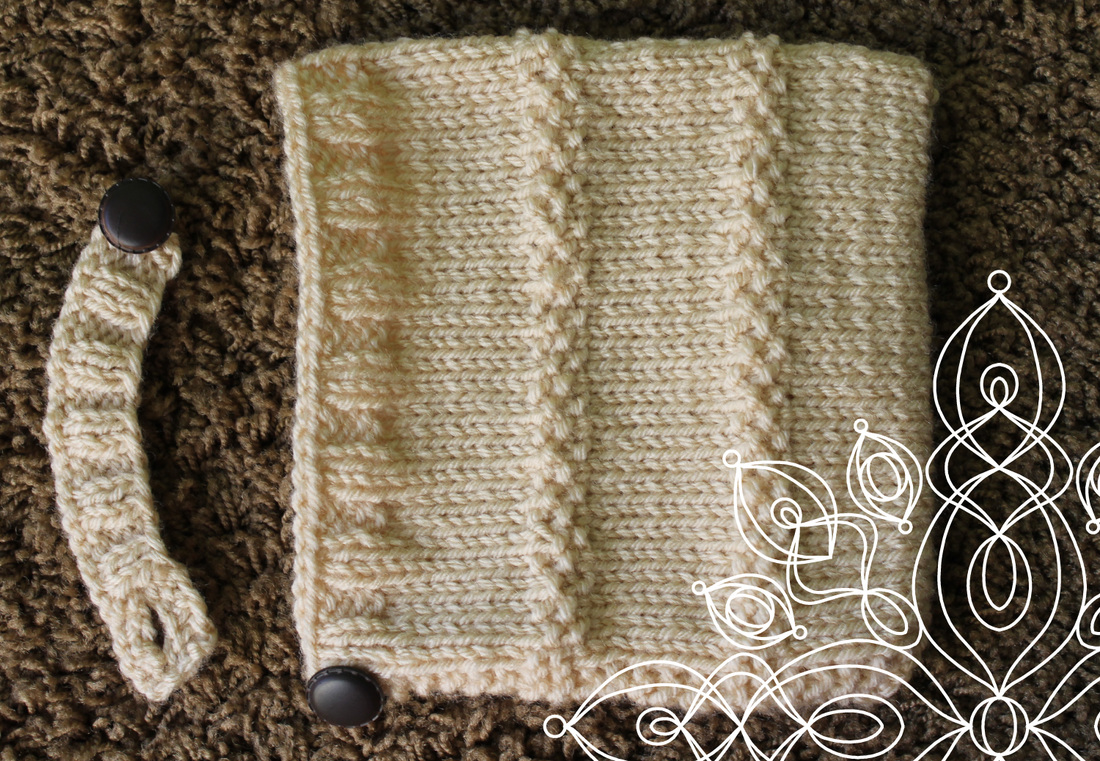
Perfect for beginners, this pattern is quick and easy to make. Essentially you are creating a large stockinette swatch that is punctuated by rows of moss/seed stitch to break up the monotony. Finish off with a few ribbing rows, then sew up the cast on edge to create a lovely pixie bonnet. It is written using US standards and worked flat. The finished product (after being folded and sewn) is approximately 6 ¾” high and 6 ½” wide. I wrote this for a toddler size, but you could make it bigger or smaller by adjusting your needles and/or yarn or if you want to use it for a smaller child, leave off the extension strap and button one corner to the other.
Print the Pattern.
Gauge:
1” = 5 stitches x 6 rows in stockinette stitch
Size:
Toddler
Materials:
90 – 100 yards (80 – 90 meters) worsted weight yarn
Size 6 (4.25mm) knitting needles
Yarn Needle
Abbreviations:
K = Knit
P = Purl
SL = Slip Stitch
ST = Stitch
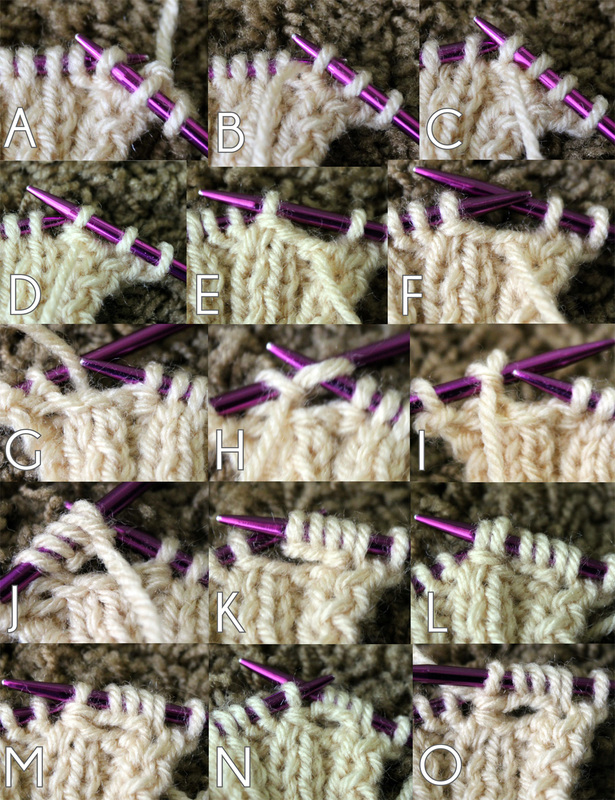
Button Hole {refer to pictures} = SL1{A}, bring yarn to the front {B}, SL1 {C}, *slip first sl st over second sl st {D}**, SL1, repeat * to **, SL1, repeat * to **, 3 sts should be bound off {E}, SL first st on right needle back to left needle {F}, turn work.
Bring yarn to wrong side of work {G}, *P into the first st on the left needle without dropping the stitch {H}, slip stitch from right needle to left needle {I}, repeat from * until 4 stitches have been created {J} (one more than was bound off), turn work.
The front side should be facing you {K}, SL first st from left needle to the right needle {L}, pass the second stitch on the right needle over the slipped stitch {M} (getting rid of the extra stitch), SL 1 st from right needle to left needle {N} and K that stitch {O}.
Print the Pattern.
Gauge:
1” = 5 stitches x 6 rows in stockinette stitch
Size:
Toddler
Materials:
90 – 100 yards (80 – 90 meters) worsted weight yarn
Size 6 (4.25mm) knitting needles
Yarn Needle
Abbreviations:
K = Knit
P = Purl
SL = Slip Stitch
ST = Stitch
Button Hole {refer to pictures} = SL1{A}, bring yarn to the front {B}, SL1 {C}, *slip first sl st over second sl st {D}**, SL1, repeat * to **, SL1, repeat * to **, 3 sts should be bound off {E}, SL first st on right needle back to left needle {F}, turn work.
Bring yarn to wrong side of work {G}, *P into the first st on the left needle without dropping the stitch {H}, slip stitch from right needle to left needle {I}, repeat from * until 4 stitches have been created {J} (one more than was bound off), turn work.
The front side should be facing you {K}, SL first st from left needle to the right needle {L}, pass the second stitch on the right needle over the slipped stitch {M} (getting rid of the extra stitch), SL 1 st from right needle to left needle {N} and K that stitch {O}.
Pattern:
Using long tail cast on, with a 30” – 35” tail, CO 60 sts
Row 1: K to end
Row 2: K2, P to last 2 sts, K2
Rows 3 – 10: Repeat rows 1 & 2
Row 11: K2, (P1, K1) to last 2 sts, K2
Row 12: K2, (K1, P1) to last 2 sts, K2
Rows 13 & 14: Repeat rows 11 & 12
Rows 15 – 28: Repeat rows 1 – 14
Rows 29 – 38: Repeat rows 1 – 10
Row 39: K2, (P2, K2) to last 2 sts, K2
Row 40: K2, (K2, P2) to last 2 sts, K2
Row 41: K2, button hole, (P2, K2) to last 2 sts, K2
Row 42: K2, (K2, P2) to last 2 sts, K2
Bind off. Weave in ends. Use tail to sew up the back of the bonnet, then position and attach button.
Extension Strap Pattern:
CO 28 sts
Rows 1& 2: (K2, P2) to the end
Row 3: K2, button hole, (P2, K2) to last 2 sts, P2
Row 4: (K2, P2) to the end
Bind off. Weave in ends.
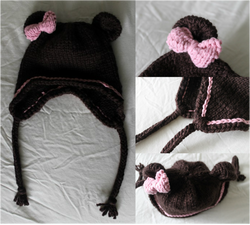
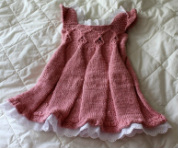
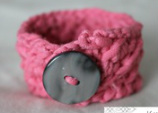
You might also like:
 |  |  |  |


 RSS Feed


