
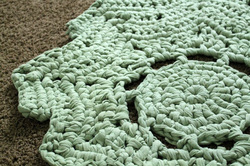
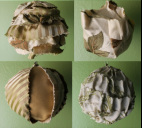
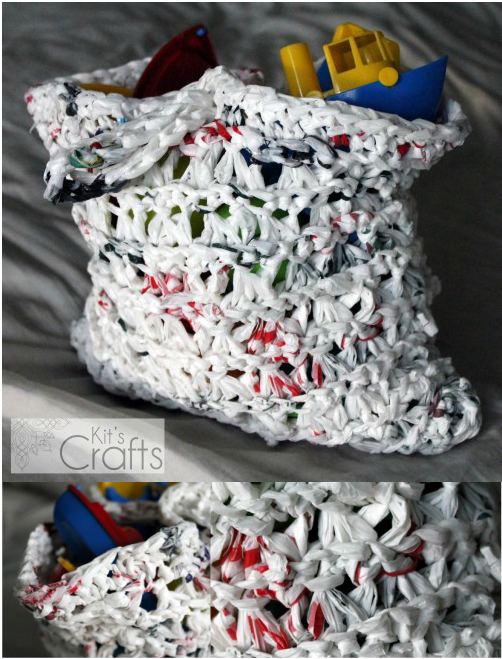
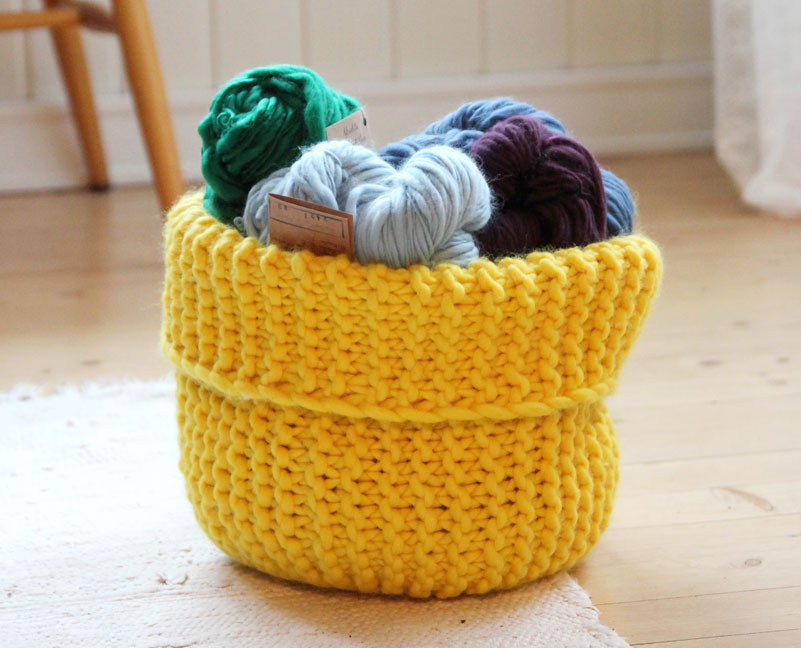
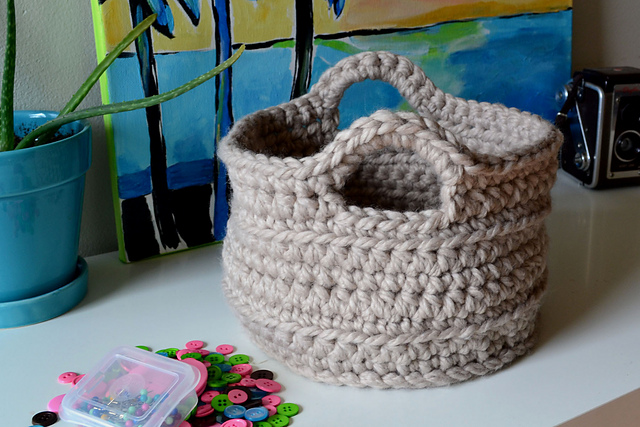
Alright, my beginner crochet buddies, this post is for you. One of the most annoying things about learning to crochet (or to knit or to sew) is endlessly practicing stitches and not really making anything. So, today, I bring you the Quick Little Bowl. It is great for learning to crochet in the round and perfect for holding odds and ends in a drawer or on a desk. Perhaps you can store your stitch markers and yarn needles here. Anyway, I hope you enjoy!
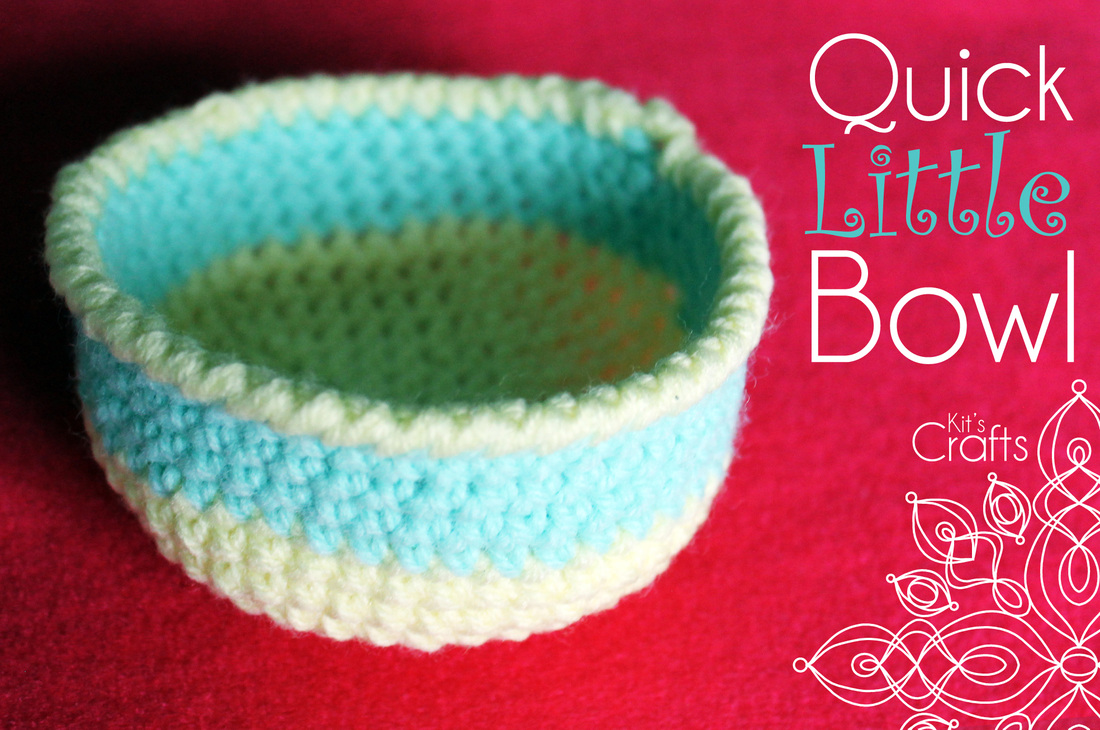
This pattern was written using US standards and worked in the round as a spiral. This bowl is perfect as a beginner project as the gauge isn't that important and the pattern only requires knowledge of a few stitches. The finished product is approximately 4 ¼” in diameter and 2 ¼” high.
Print the pattern.
Gauge:
1” = 4 stitches x 4 rows in single crochet
Materials:
5 – 10 yards worsted weight yarn (Main Color, MC)
5 – 10 yards worsted weight yarn (Contrasting Color, CC)
H/8 (5.00 mm) Hook
Yarn Needle
Abbreviations:
CH = Chain
ST = Stitch
SC = Single Crochet
YO = Yarn Over
MC = Main Color
CC = Contrasting Color
RSC = Reverse Single Crochet, (unlike the single crochet, this stitch is worked from the left to the right) insert your hook into the next stitch to the right of your hook, YO and pull up a loop, YO and pull through both loops on your hook.
Pattern:
Pattern is worked in a spiral, do not connect rounds with a slip stitch. Use a stitch marker at the beginning of each round and move it up as you go. With MC, CH2, SC6 in the 2nd ch from the hook
Round 1: SC2 in each st (12 STS)
Round 2: *SC2 in the next st SC1 in the next st, repeat from * around (18 STS)
Round 3: *SC2 in the next st SC1 in the next 2sts, repeat from * around (24 STS)
Round 4: *SC2 in the next st SC1 in the next 3sts, repeat from * around (30 STS)
Round 5: *SC2 in the next st SC1 in the next 4sts, repeat from * around (36 STS)
Round 6: *SC2 in the next st SC1 in the next 5sts, repeat from * around (42 STS)
Round 7: *SC2 in the next st SC1 in the next 6sts, repeat from * around (48 STS)
Rounds 8 & 9: SC around, switching to CC in the last sc of round 9
Rounds 10 - 13: SC around, switching to MC in the last sc of round 13
Round 14: RSC around, Slip Stitch into 1st rsc and fasten off. Weave in loose ends.
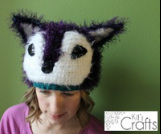
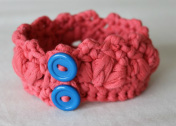
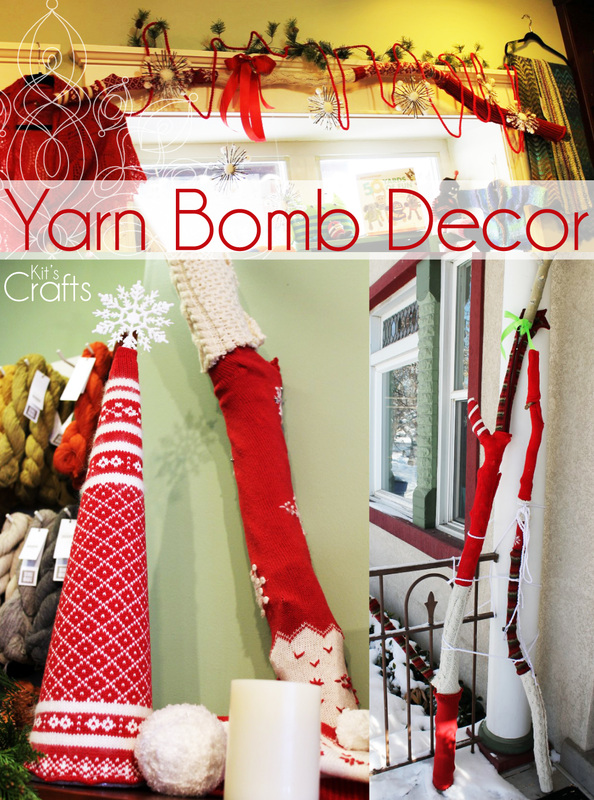
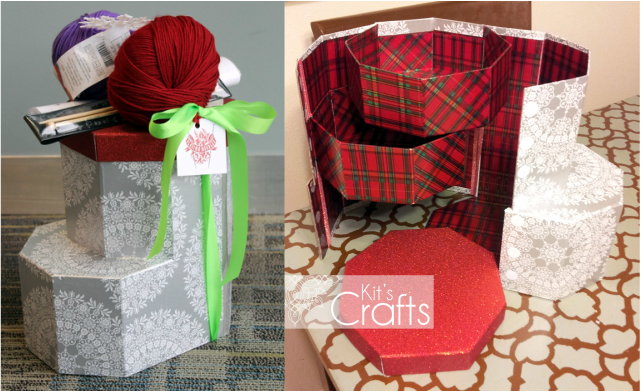
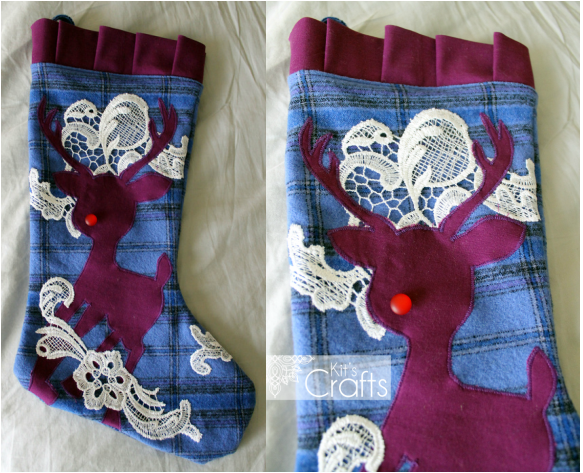
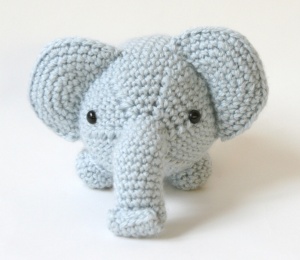
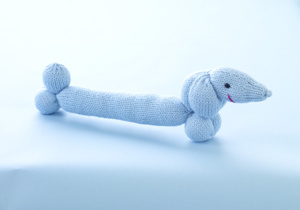
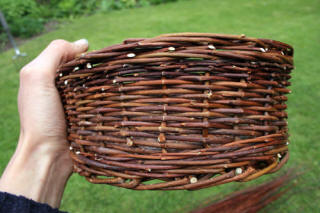
You might also like:
 |  |  |  |


 RSS Feed


