
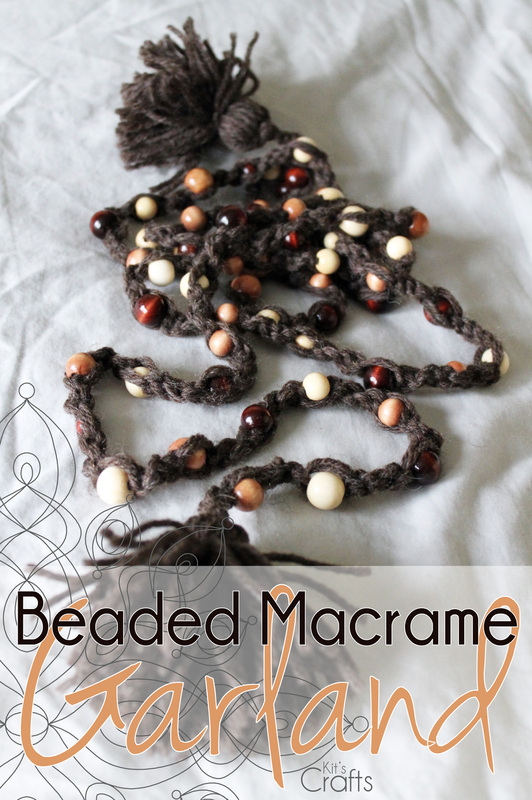
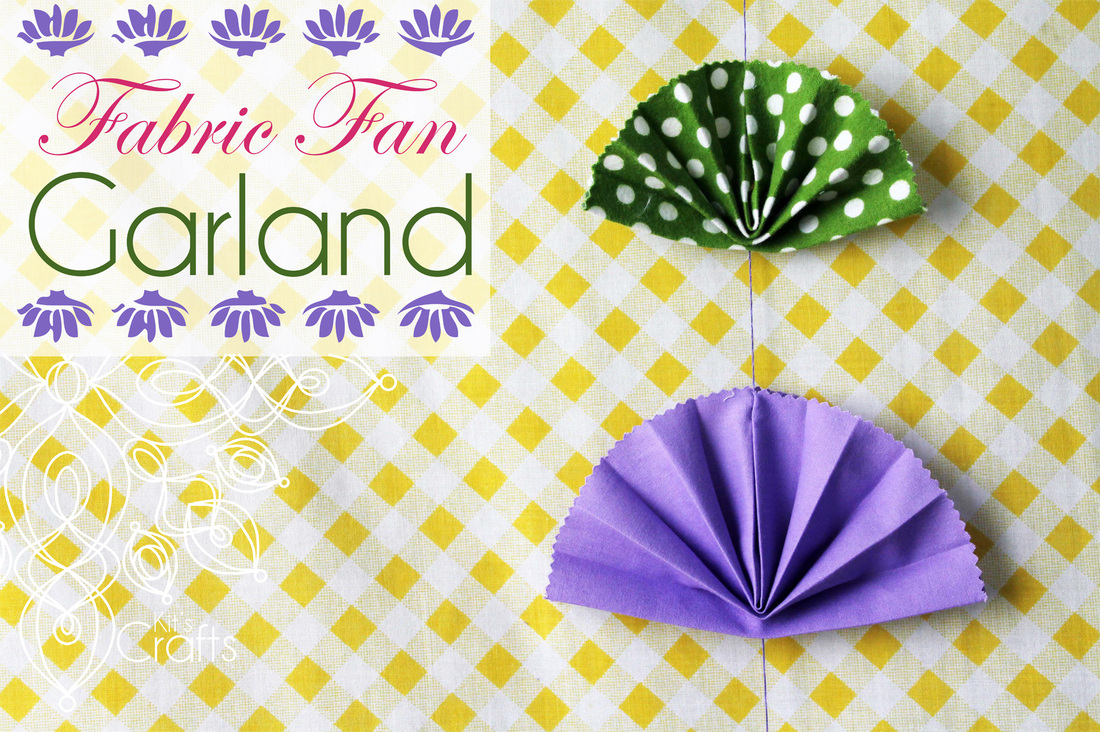
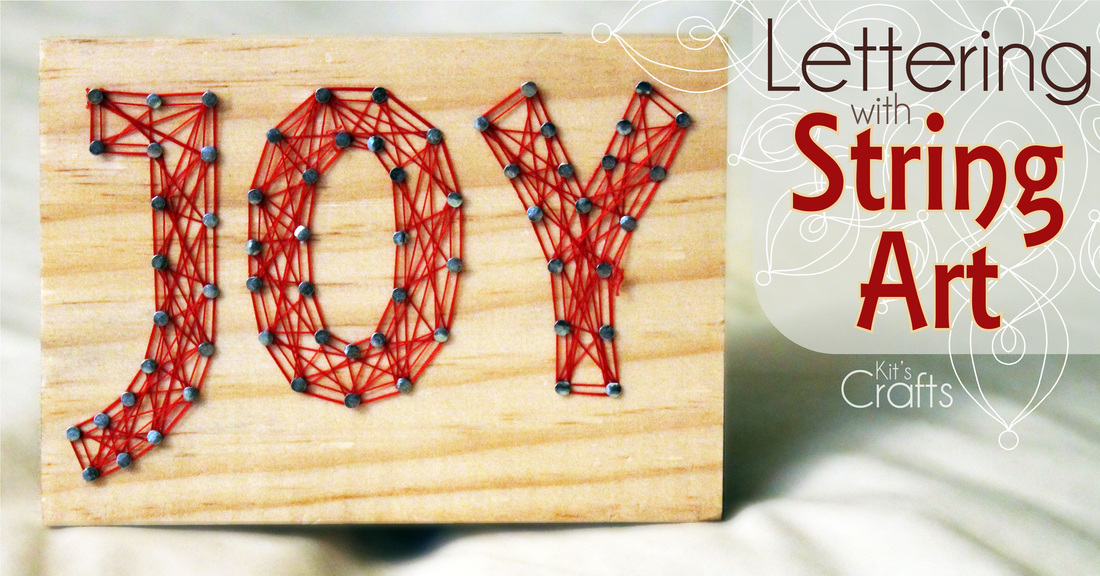
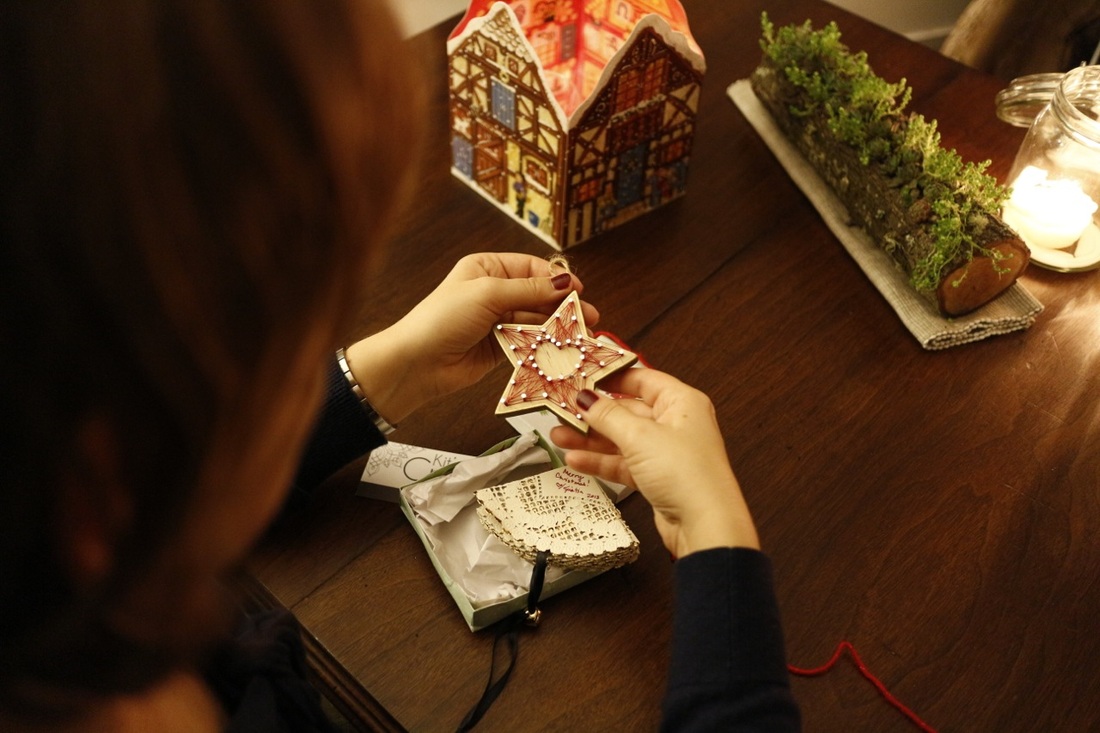
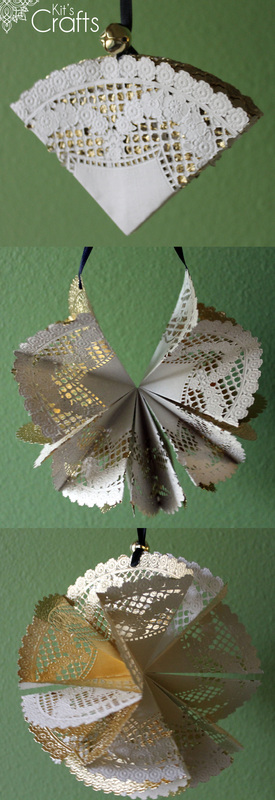
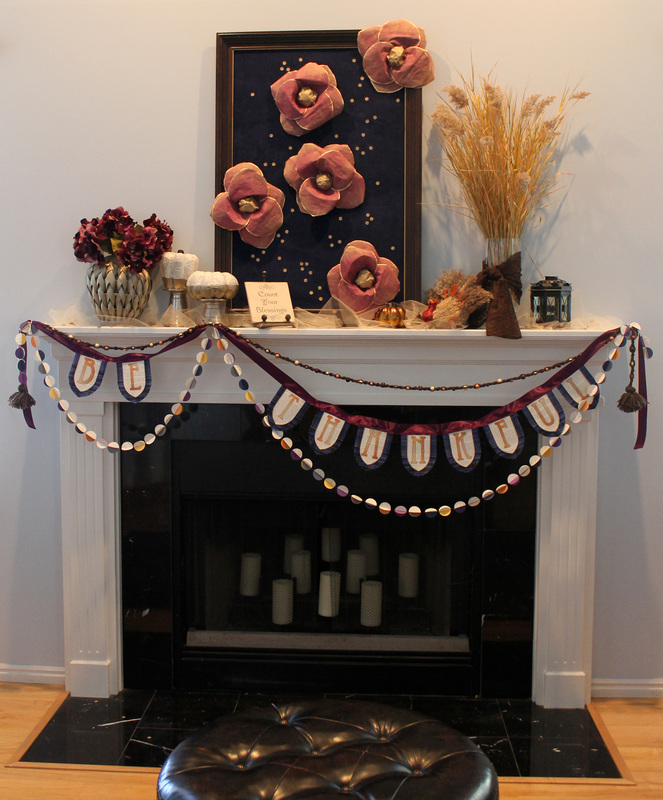
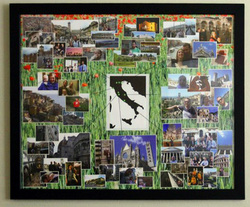
Here is the last garland involved with the Thanksgiving decor I mentioned in the Beaded Macrame Garland post. This is a pretty easy project that is great for beginners to learn how to sew straight using a sewing machine.

Materials:
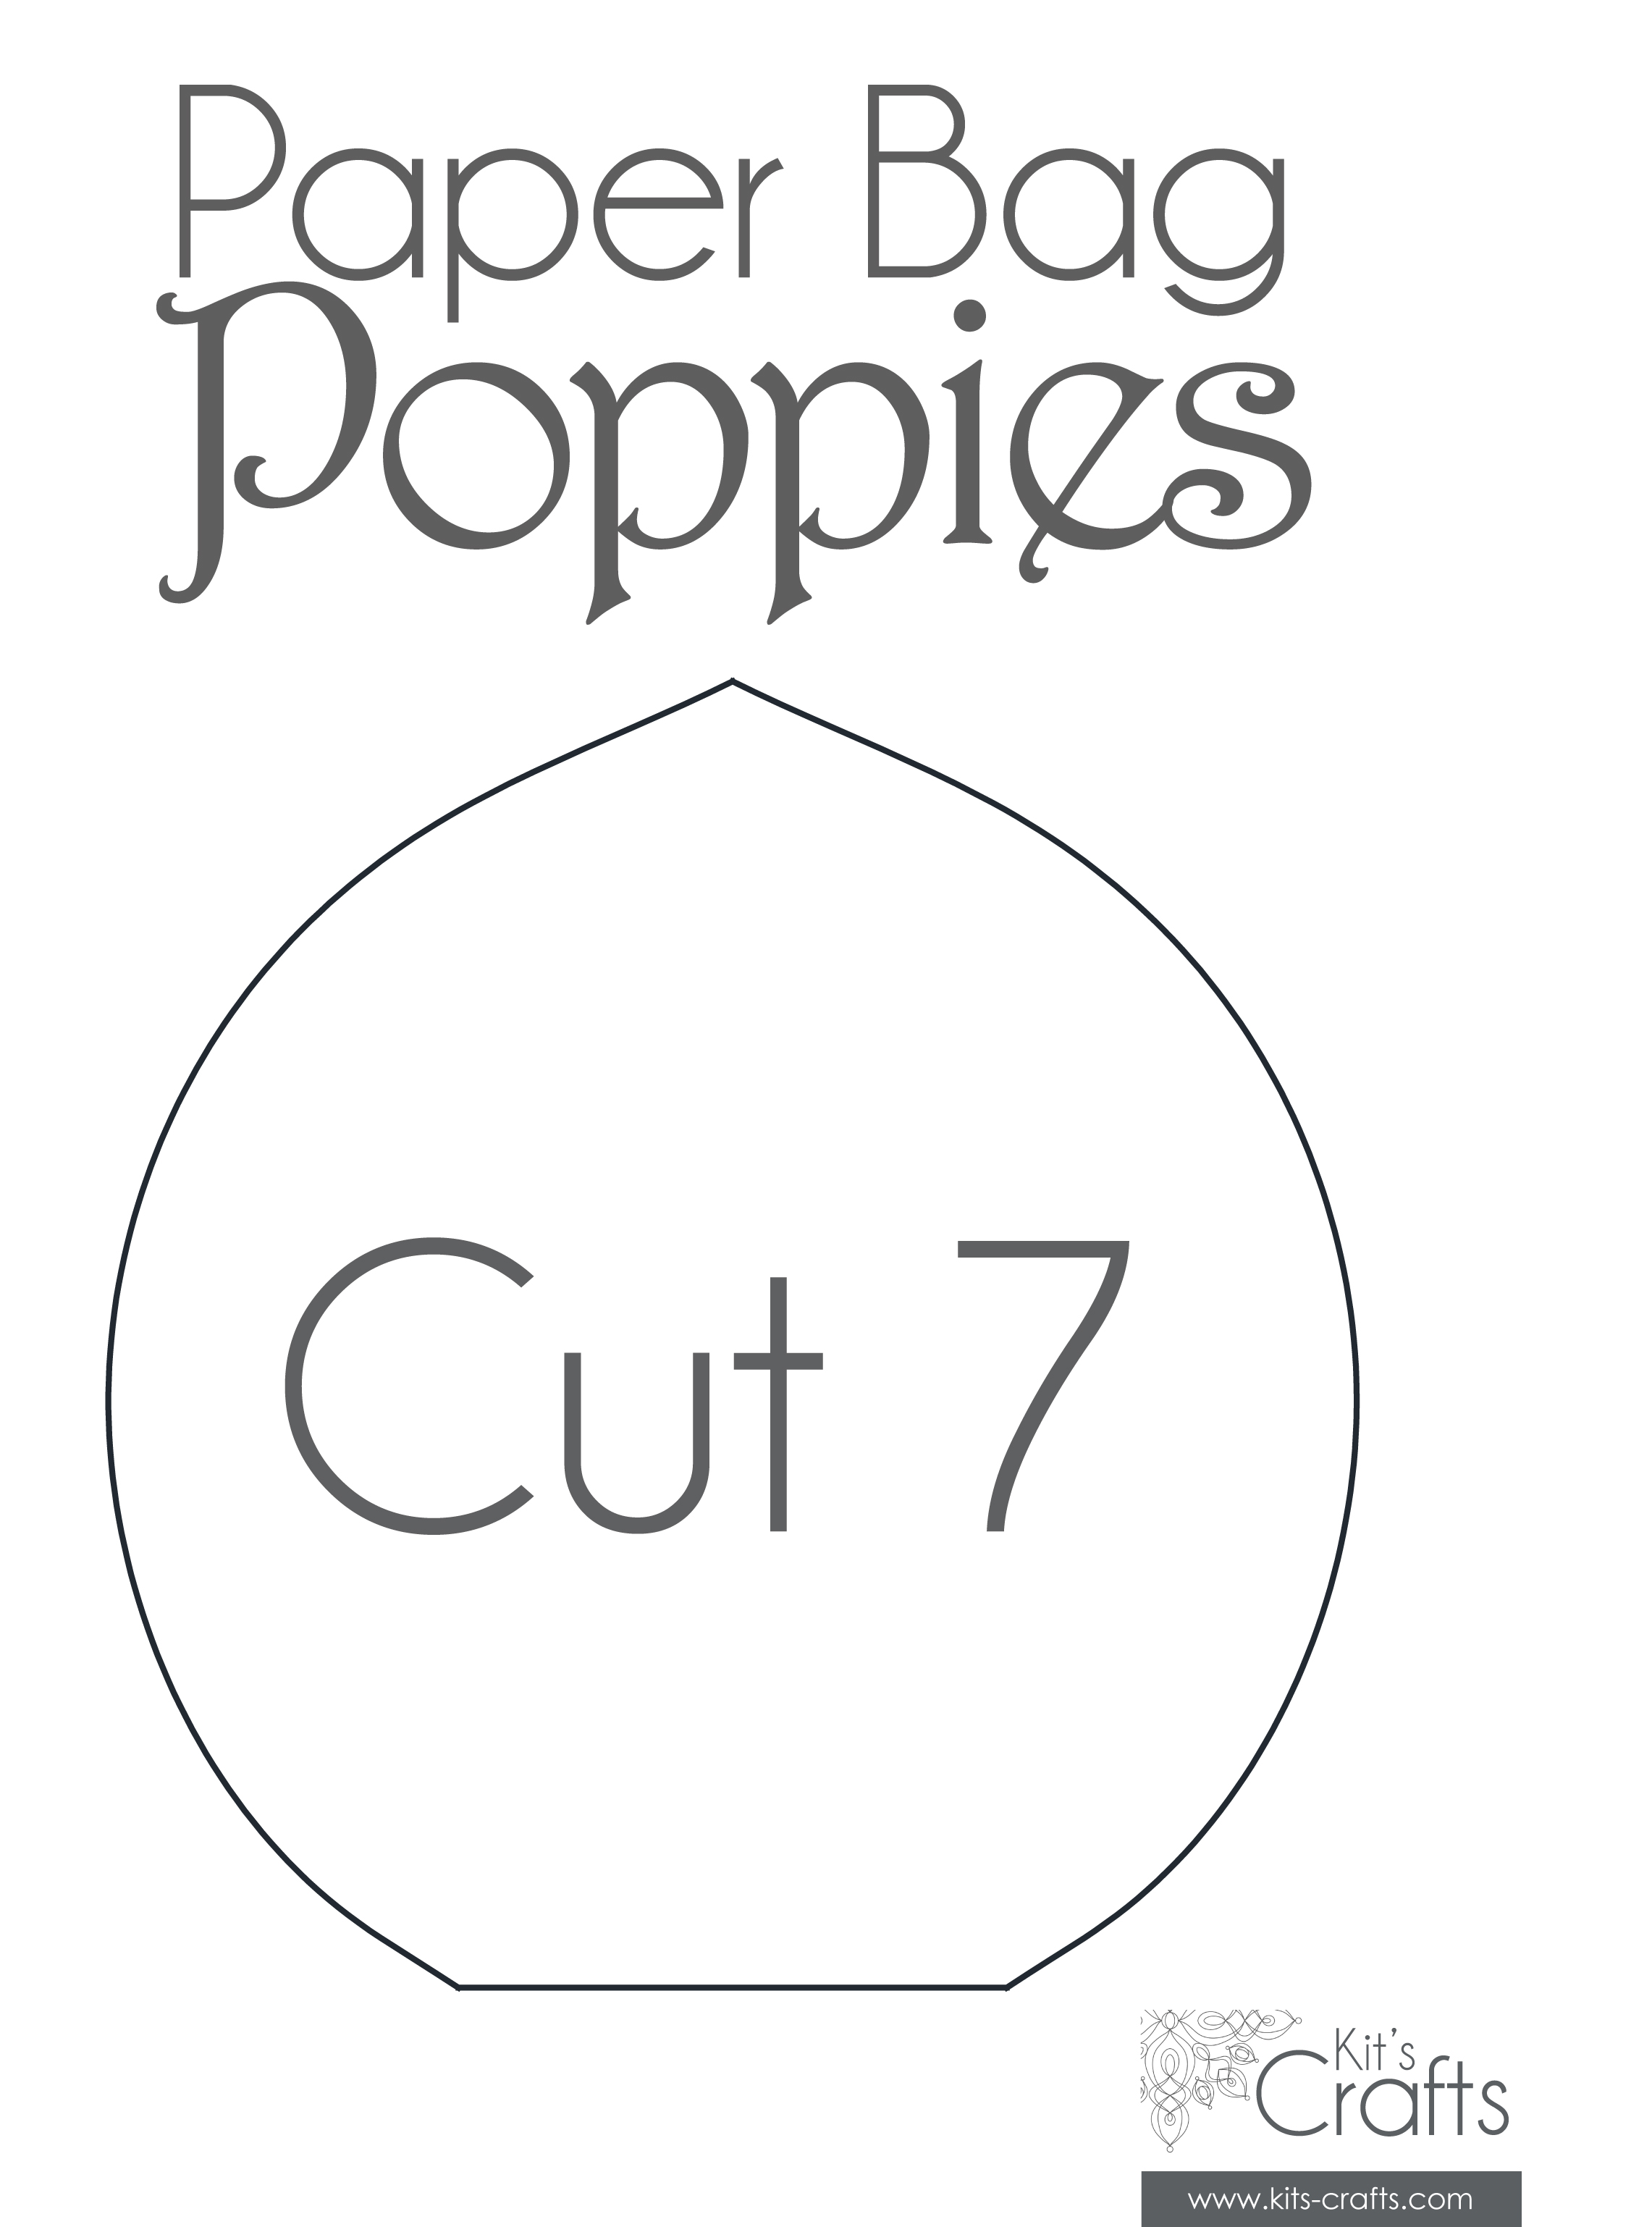
Cardstock
Book Pages (optional)
Circle Cutter or Punch
Tear-Away Stabilizer
Sewing Machine/Thread
Directions:
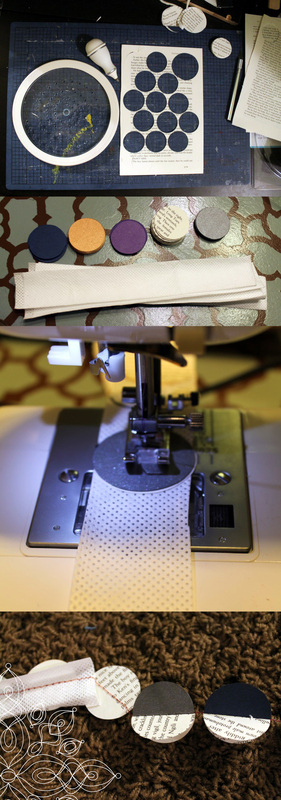
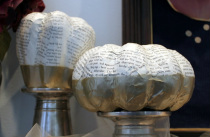
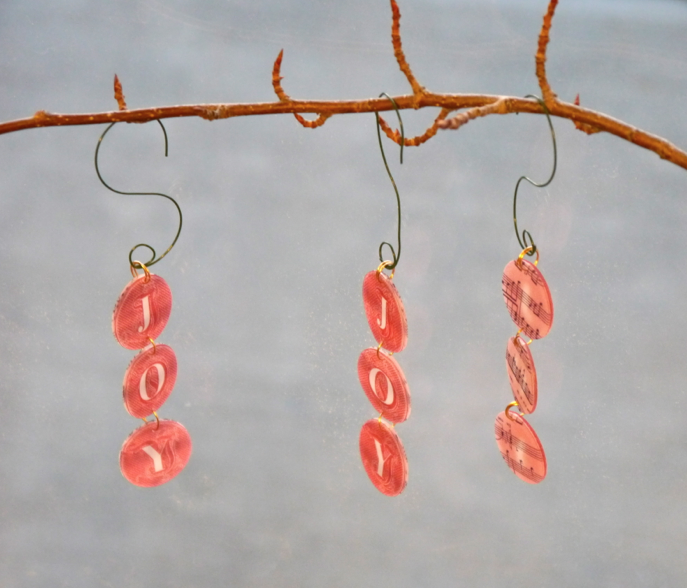
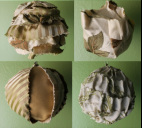
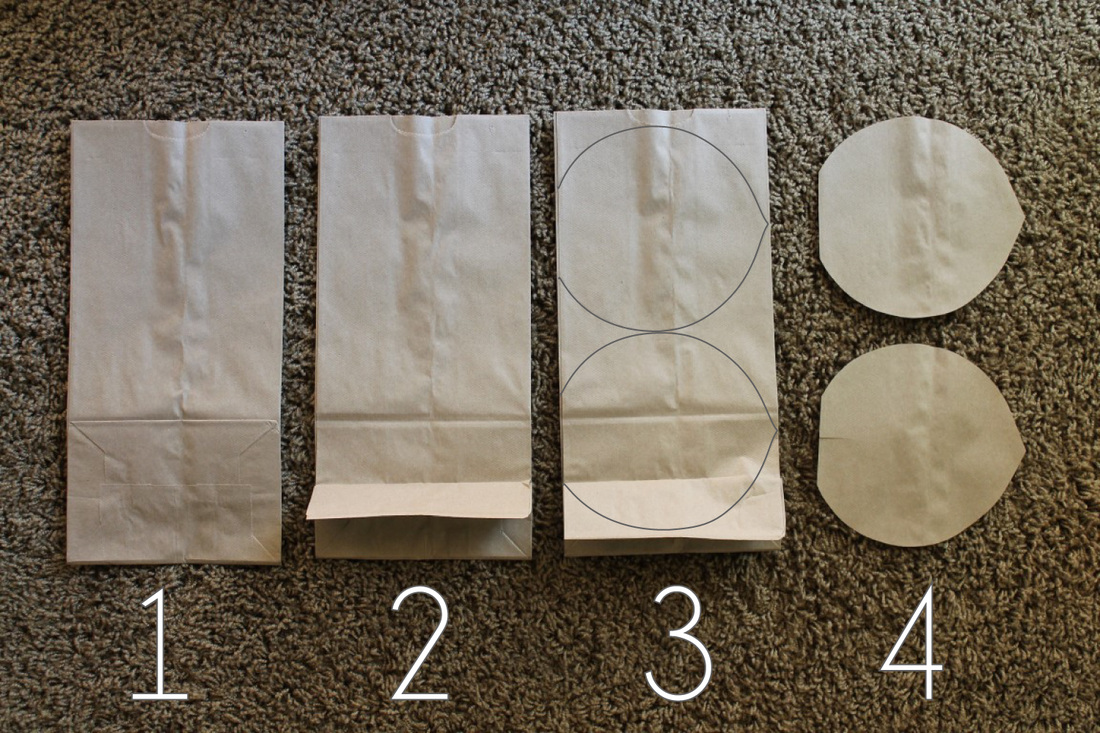
Cut your cardstock and book pages into circles. Cut your stabilizer into strips about the same width of your circles.
Stack 2 circles on top of one of your stabilizer strips, then center your pile under the presser foot of your machine. Do a basting stitch (straight stitch at the longest length) through the circles, then continue for about 1/2" - 1" on the stabilizer. Next, place 2 more circles under the presser foot. Continue on in this manner, replacing the strips as needed, until you reach the length you would like or run out of circles.
Once you are all done sewing, tie the loose ends and tear the stabilizer away. Fold the circles along the sewn line to create a more 3 dimensional look.
Cardstock
Book Pages (optional)
Circle Cutter or Punch
Tear-Away Stabilizer
Sewing Machine/Thread
Directions:
Cut your cardstock and book pages into circles. Cut your stabilizer into strips about the same width of your circles.
Stack 2 circles on top of one of your stabilizer strips, then center your pile under the presser foot of your machine. Do a basting stitch (straight stitch at the longest length) through the circles, then continue for about 1/2" - 1" on the stabilizer. Next, place 2 more circles under the presser foot. Continue on in this manner, replacing the strips as needed, until you reach the length you would like or run out of circles.
Once you are all done sewing, tie the loose ends and tear the stabilizer away. Fold the circles along the sewn line to create a more 3 dimensional look.


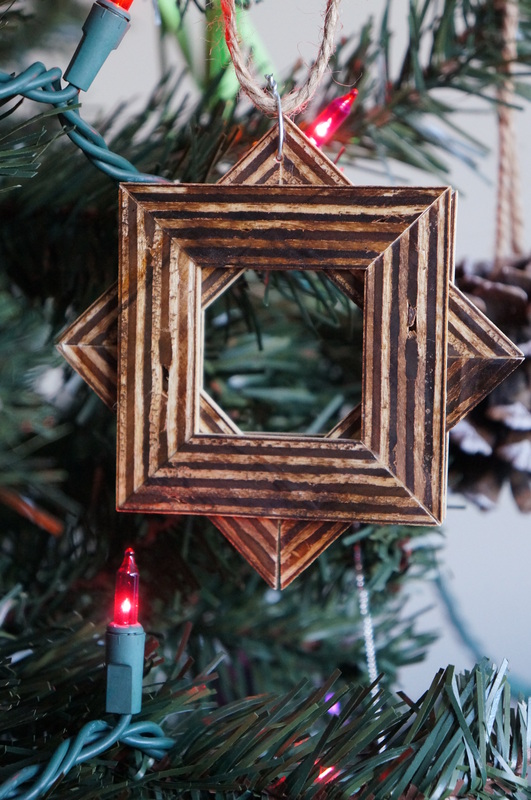
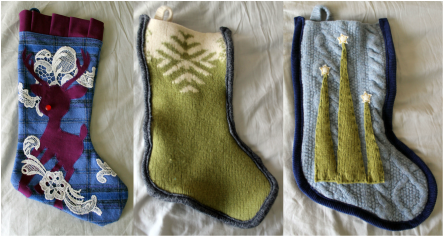
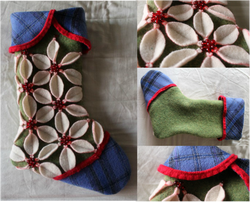
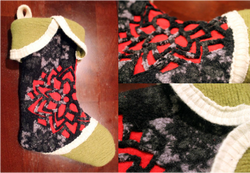
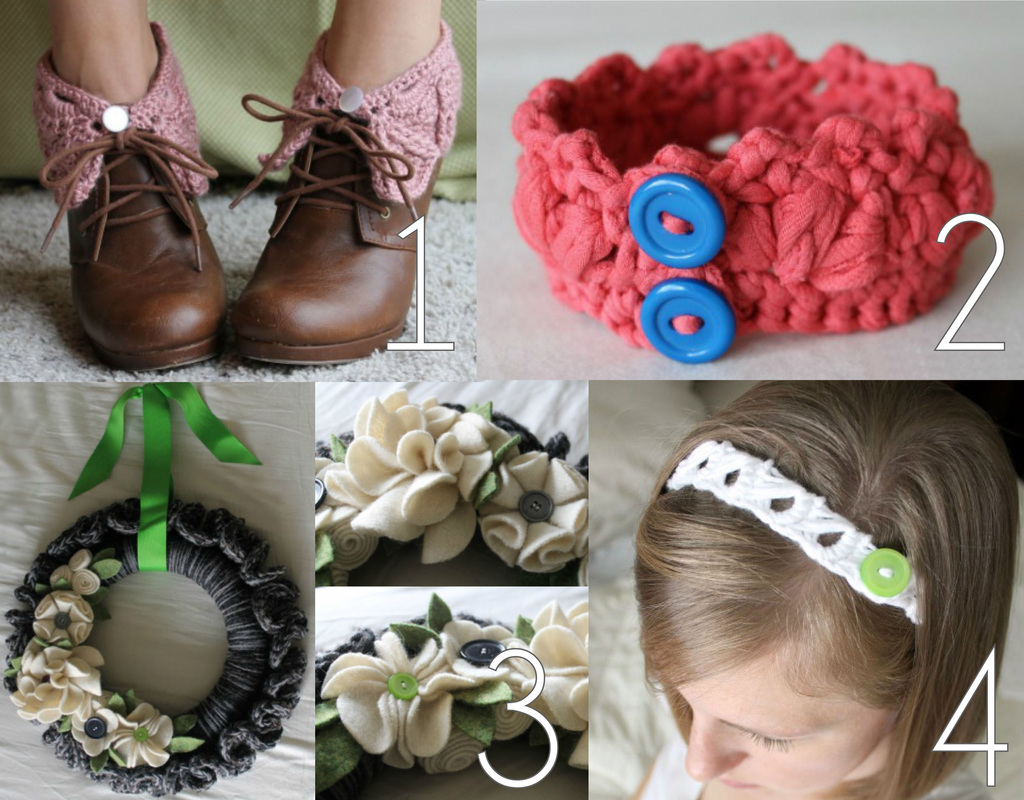
You might also like:
 |  |  |  |


 RSS Feed


