
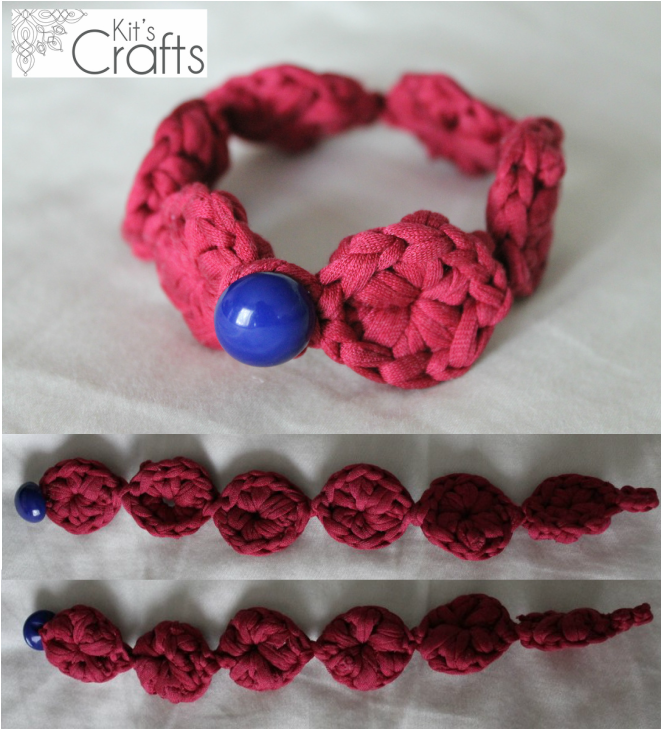
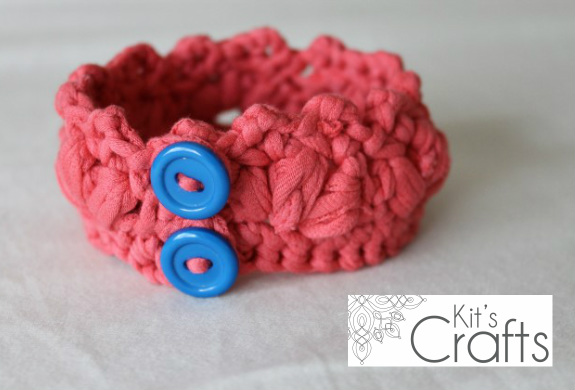
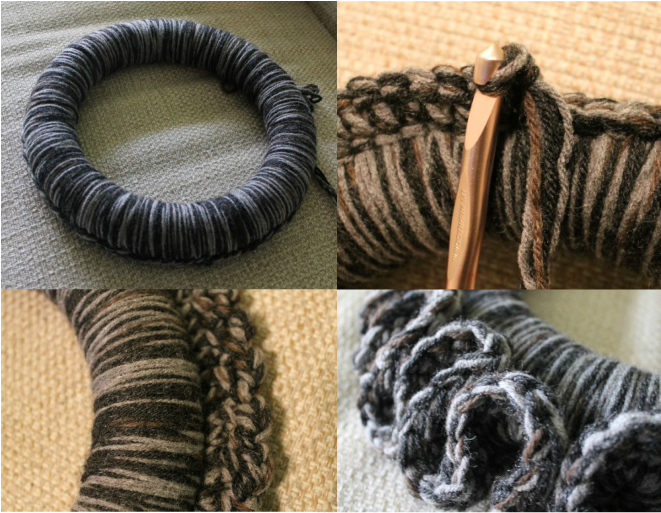
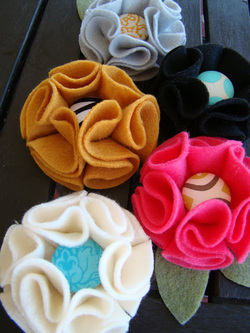
Here is another lovely crochet bracelet made from T-shirt yarn. The pattern is available on Ravelry. If you need some T-Shirt yarn/tarn, head over to my tutorial on how to make some.
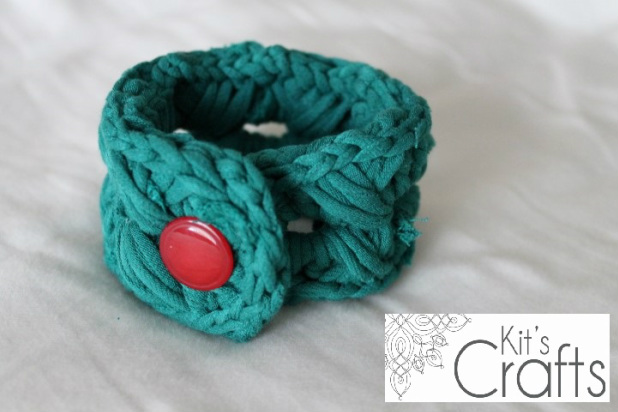
This bracelet is written using US standards. The yarn for this bracelet is made from a T-Shirt cut into one long continuous ½” strip. Just a couple of notes about tarn; not all tarns are made equal and the type of T-Shirt you use can greatly affect the outcome of your bracelet. I originally made this using a thinner shirt that was 60% cotton and 40% synthetic. Generally, I have found that the pure cotton tarns stretch and will give you a greater quantity, but are also harder to work with. That being said, if you are using a typical, run of the mill, 100% cotton T-Shirt, go down a bracelet size and use a G hook. This may still be tough, if you go up another size hook, go down another size for the bracelet. Also, practice a bit to get the hang of the tarn if you have never used it before.
Sizes:
X-Small (Small) (Medium) (Large)
Materials:
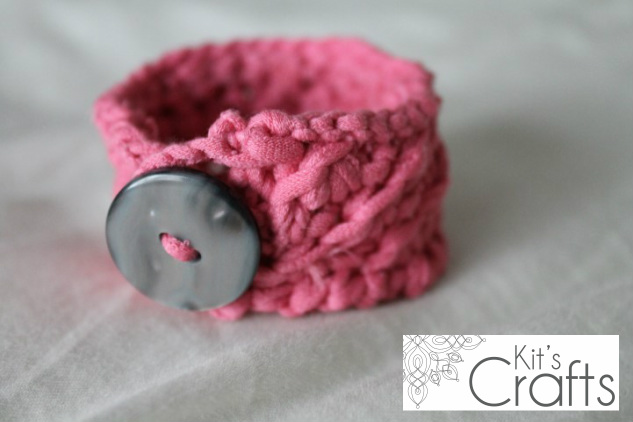
10-15 Yards (10-13 meters) T-Shirt Yarn (WPI = 7)
D (3.25 mm) or G (4.0 mm) Hook
Yarn Needle
1 Button at 1/2” (1.3 cm) diameter
Only $3.00 for a PDF download.
Sizes:
X-Small (Small) (Medium) (Large)
Materials:
10-15 Yards (10-13 meters) T-Shirt Yarn (WPI = 7)
D (3.25 mm) or G (4.0 mm) Hook
Yarn Needle
1 Button at 1/2” (1.3 cm) diameter
Only $3.00 for a PDF download.

You might also like:
 |  |  |  |


 RSS Feed


