
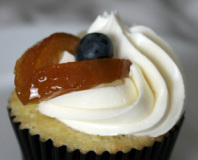
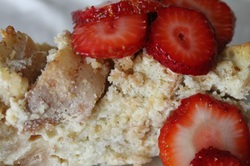
Tres Leches Cake is definitely a dessert that you should not judge just by looking. Twice I have taken this to pot lucks only to find it hardly touched, because on the surface, it looks like your basic white cake and who would choose that over the delicious brownies next door? However, beyond this mask is a decadently, moist and sumptuous cake that needs no ice cream to be delightful. In all honesty, this cake is more like pudding. Give it a try and tell me what you think!
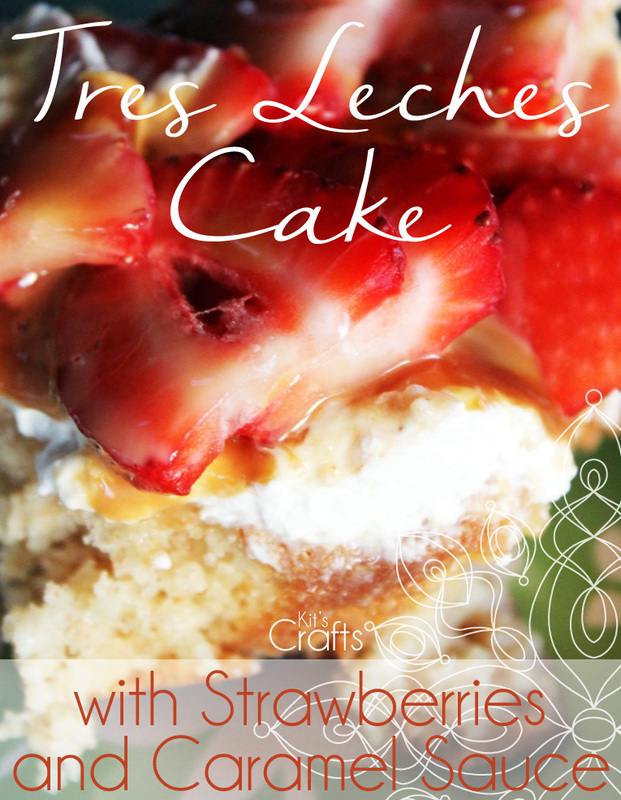
In essence, Tres Leches Cake is a sponge cake that is soaked in three milks; sweetened condensed milk, evaporated milk and heavy cream. I took it a step further and added caramel sauce to the soak just to liven up the flavor a bit. I also bumped up the cinnamon in the sponge cake to hint of horchata.
Cake Ingredients:
8 tablespoons unsalted butter
1 cup Whole Milk
2 cups All-Purpose Flour
2 teaspoons Baking Powder
1 teaspoon Salt
1 teaspoon Cinnamon
4 Large Eggs
2 cups Sugar
2 teaspoons Vanilla Extract
Milk Mixture Ingredients:
1 (14 ounce) Can Sweetened Condensed Milk
2 tablespoons Caramel Sauce*
1 (12 ounce) Can Evaporated Milk
1 cup Heavy Cream
1 teaspoons Vanilla Extract
Frosting Ingredients:
1 cup Heavy Cream
3 tablespoons Corn Syrup
1 teaspoon Vanilla Extract
3/4 to 1 cup Caramel Sauce**
2 pints Fresh Strawberries, hulled and sliced
Directions:
Center a rack in the oven, then preheat to 325F. Grease and flour a 9" x 13" pan.
In a small saucepan, melt the butter and milk together.
In a medium bowl, whisk together flour, baking powder, salt and cinnamon.
In a large bowl with a hand mixer or the bowl of a stand mixer with a whisk attachment, beat the eggs on medium speed for 30 seconds, then slowly incorporate sugar and beat until thick and glossy, 5 - 7 minutes. Reduce speed to low and gradually stir in the melted butter mixture and vanilla. Continuing on low or switching to a rubber spatula, incorporate the flour combination in 3 batches. Once fully incorporated, scrap the batter into the prepared pan and bake for 30 - 35 minutes or until slightly browned and a toothpick entered into the center comes out clean. Transfer pan to a wire rack and cool for 10 minutes.
While the cake is baking, combine the sweetened condensed milk and caramel sauce in a small saucepan and heat over low heat, stirring until combined. In a medium bowl, stir together the caramel sauce mixture with evaporated milk, heavy cream and vanilla. Set aside until cake is ready.
After 10 minutes of cooling time, poke holes in the top of the cake with a skewer at 1/2" intervals, trying not to puncture the bottom of the cake. Slowly pour the milk mixture over the cake, then let stand for 15 minutes. Refrigerate for at least 3 hours or overnight.
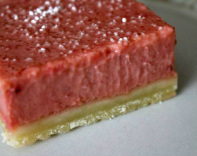
Remove the cake from the fridge 30 minutes before frosting the cake. To make the frosting, in a medium bowl, beat the heavy cream, corn syrup and vanilla on medium speed with a hand mixer until soft peaks form, 1 - 2 minutes. Spread over cake. Drizzle about 2/3 of the caramel sauce over the cake, then arrange the sliced strawberries and drizzle the rest of the caramel sauce over the strawberries. Cut cake into 3" slices. Cake can be kept for up to 3 days refrigerated in an air tight container.
*I used the ice cream topping caramel sauce, however, you could melt 4-5 caramels instead.
** If using caramels or a thicker sauce, you may want to melt it a bit and mix in some milk to thin the sauce out. Let the sauce come to room temperature before drizzling over the cake.
This recipe was adapted from Cook's Country.
Cake Ingredients:
8 tablespoons unsalted butter
1 cup Whole Milk
2 cups All-Purpose Flour
2 teaspoons Baking Powder
1 teaspoon Salt
1 teaspoon Cinnamon
4 Large Eggs
2 cups Sugar
2 teaspoons Vanilla Extract
Milk Mixture Ingredients:
1 (14 ounce) Can Sweetened Condensed Milk
2 tablespoons Caramel Sauce*
1 (12 ounce) Can Evaporated Milk
1 cup Heavy Cream
1 teaspoons Vanilla Extract
Frosting Ingredients:
1 cup Heavy Cream
3 tablespoons Corn Syrup
1 teaspoon Vanilla Extract
3/4 to 1 cup Caramel Sauce**
2 pints Fresh Strawberries, hulled and sliced
Directions:
Center a rack in the oven, then preheat to 325F. Grease and flour a 9" x 13" pan.
In a small saucepan, melt the butter and milk together.
In a medium bowl, whisk together flour, baking powder, salt and cinnamon.
In a large bowl with a hand mixer or the bowl of a stand mixer with a whisk attachment, beat the eggs on medium speed for 30 seconds, then slowly incorporate sugar and beat until thick and glossy, 5 - 7 minutes. Reduce speed to low and gradually stir in the melted butter mixture and vanilla. Continuing on low or switching to a rubber spatula, incorporate the flour combination in 3 batches. Once fully incorporated, scrap the batter into the prepared pan and bake for 30 - 35 minutes or until slightly browned and a toothpick entered into the center comes out clean. Transfer pan to a wire rack and cool for 10 minutes.
While the cake is baking, combine the sweetened condensed milk and caramel sauce in a small saucepan and heat over low heat, stirring until combined. In a medium bowl, stir together the caramel sauce mixture with evaporated milk, heavy cream and vanilla. Set aside until cake is ready.
After 10 minutes of cooling time, poke holes in the top of the cake with a skewer at 1/2" intervals, trying not to puncture the bottom of the cake. Slowly pour the milk mixture over the cake, then let stand for 15 minutes. Refrigerate for at least 3 hours or overnight.
Remove the cake from the fridge 30 minutes before frosting the cake. To make the frosting, in a medium bowl, beat the heavy cream, corn syrup and vanilla on medium speed with a hand mixer until soft peaks form, 1 - 2 minutes. Spread over cake. Drizzle about 2/3 of the caramel sauce over the cake, then arrange the sliced strawberries and drizzle the rest of the caramel sauce over the strawberries. Cut cake into 3" slices. Cake can be kept for up to 3 days refrigerated in an air tight container.
*I used the ice cream topping caramel sauce, however, you could melt 4-5 caramels instead.
** If using caramels or a thicker sauce, you may want to melt it a bit and mix in some milk to thin the sauce out. Let the sauce come to room temperature before drizzling over the cake.
This recipe was adapted from Cook's Country.
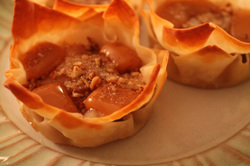
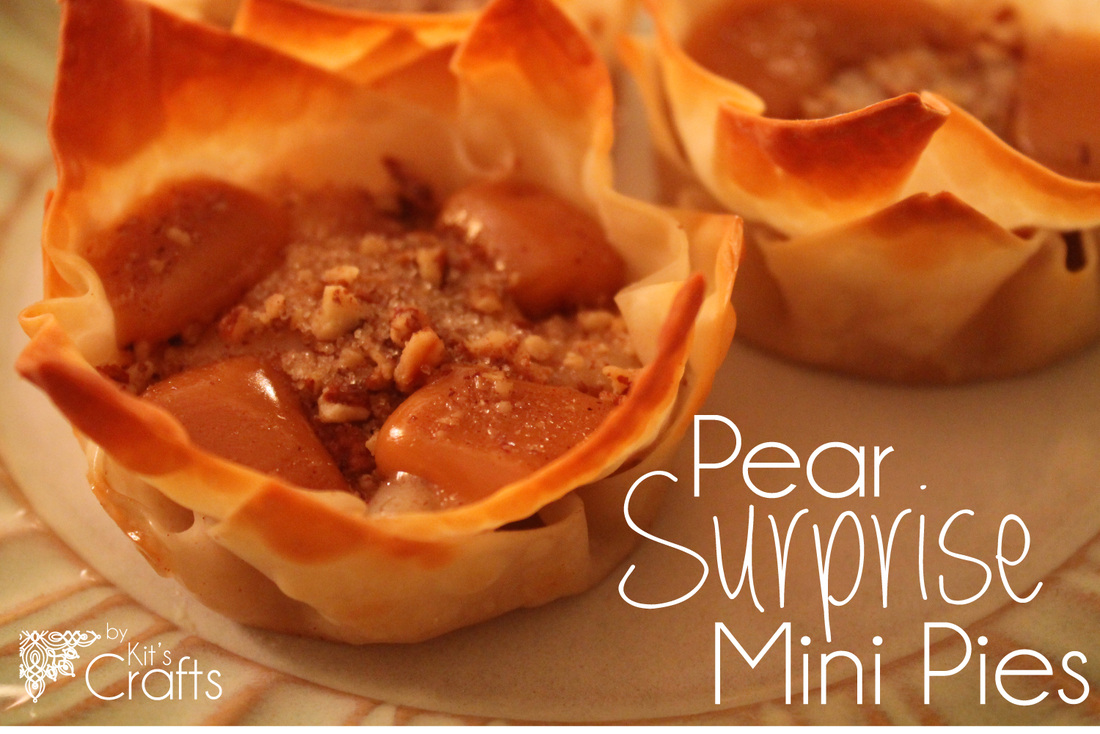
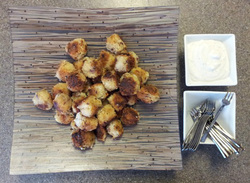
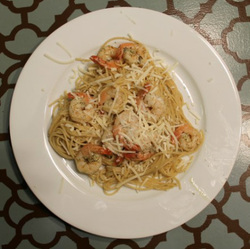
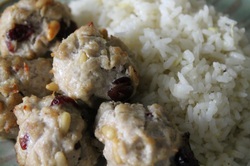
You might also like:
 |  |  |  |


 RSS Feed


