
I'm not entirely sure what came over me about a month ago, but I became obsessed with making little kiss clasp purses. I have made about 20 tiny key chain, change purses and I have 9 larger metal frame purses in the works right now. Drafting up patterns for these is a cinch and sewing them up is even easier, so I just can't help myself, I keep making more!
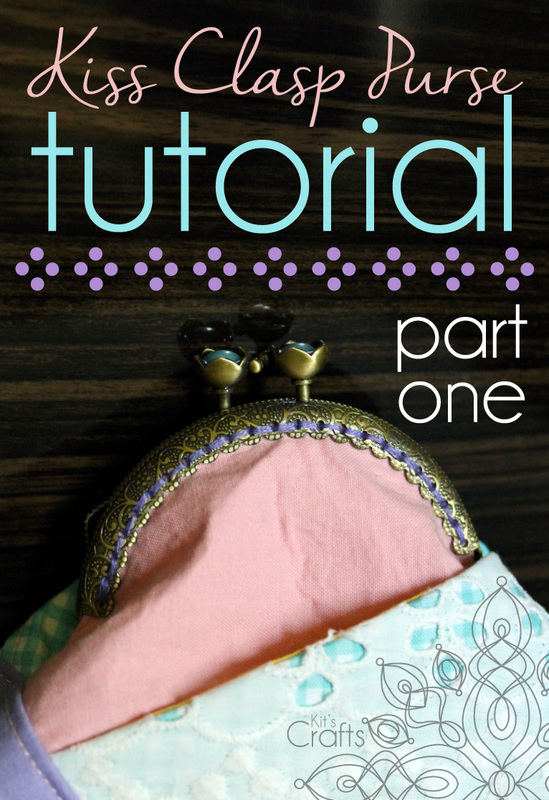
I have broken this tutorial into two parts as it would be pretty long otherwise. This first part is all about drafting up a pattern. I will post part two on Thursday and it will feature how to sew everything together.
Materials:
Metal Kiss Clasp Purse Frame
Paper/Pencil/Scissors
Sewing Gauge or Ruler
Directions:
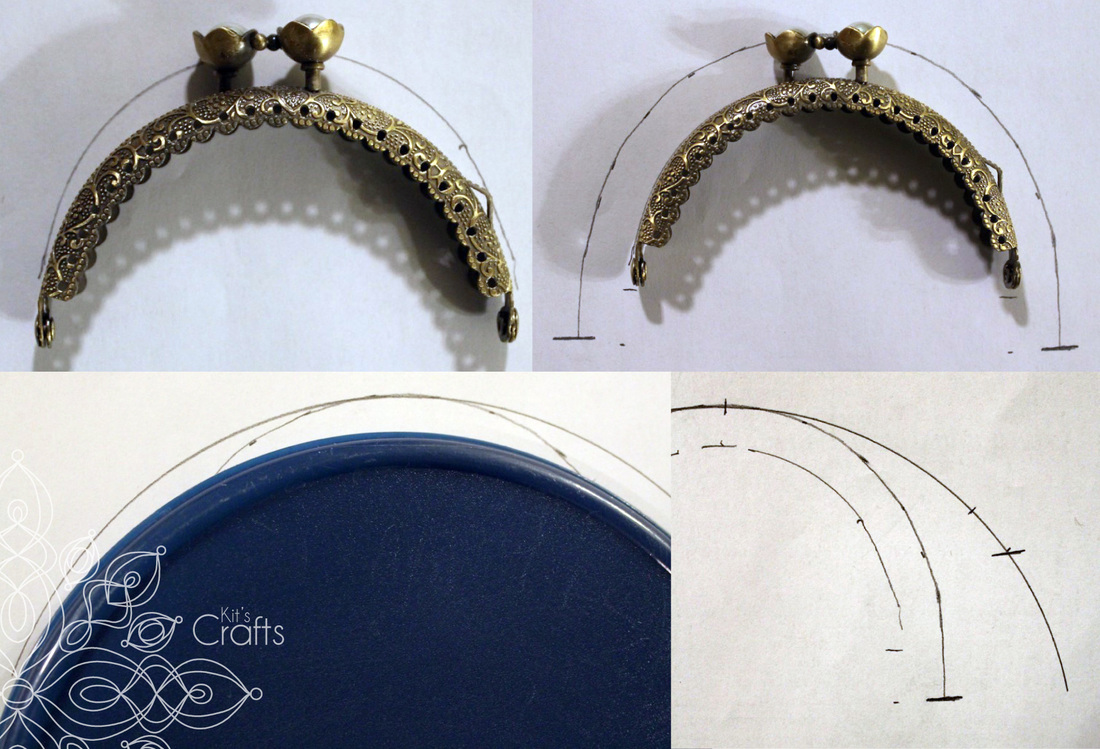
Start by tracing your frame and marking where the hinges are. Next, using a sewing gauge or a ruler, add the seam allowance (I always do 3/8"). To give your hinges some space, extend the arch about 1/2" to 1" beyond where your hinges hit. If you want a more flat purse, you can stop here and move onto the next step. However, if you want your purse to be a bit on the puffy side, you will want to create a larger arch. To do this, use a bowl or lid and center it on the arch, then trace the ouside. The next thing is to center up the frame , then rotate it along the new arch and mark where the hinge hits. Add about 1/2" to 1" to that length to give the hinges room.
Materials:
Metal Kiss Clasp Purse Frame
Paper/Pencil/Scissors
Sewing Gauge or Ruler
Directions:
Start by tracing your frame and marking where the hinges are. Next, using a sewing gauge or a ruler, add the seam allowance (I always do 3/8"). To give your hinges some space, extend the arch about 1/2" to 1" beyond where your hinges hit. If you want a more flat purse, you can stop here and move onto the next step. However, if you want your purse to be a bit on the puffy side, you will want to create a larger arch. To do this, use a bowl or lid and center it on the arch, then trace the ouside. The next thing is to center up the frame , then rotate it along the new arch and mark where the hinge hits. Add about 1/2" to 1" to that length to give the hinges room.
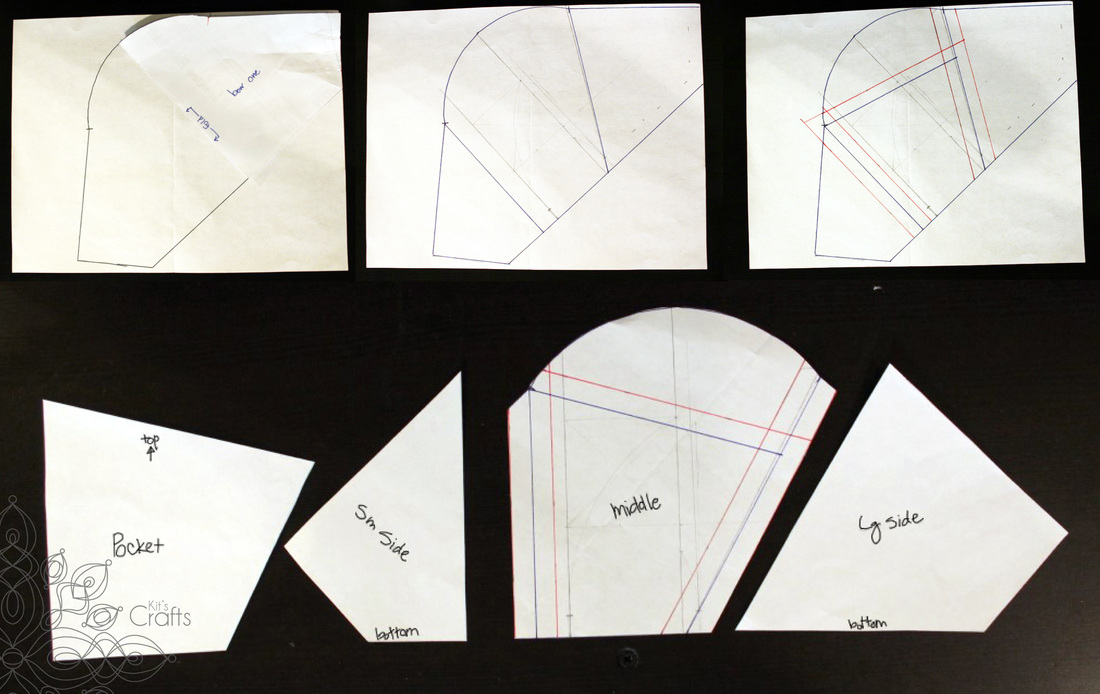
Now comes the fun part, deciding what you want your purse to actually look like. The arch you just created sets up the "no touchy" zone, as in, do whatever you want with the bottom, but if you mess with the arch your purse may not fit into the frame. I will give you directions for how I make my patterns, however there are endless methods and designs.
To start with, I create the basic outline, then I cut it in half so that I have a template for my lining. Next, I trace my outline onto another sheet of paper and draw my design onto that paper (the blue lines). Then, I add in my seam allowances for each cut (the red lines). Then I trace each piece onto another sheet of paper. Cut and label those pieces and you are ready to move onto part two.
To start with, I create the basic outline, then I cut it in half so that I have a template for my lining. Next, I trace my outline onto another sheet of paper and draw my design onto that paper (the blue lines). Then, I add in my seam allowances for each cut (the red lines). Then I trace each piece onto another sheet of paper. Cut and label those pieces and you are ready to move onto part two.
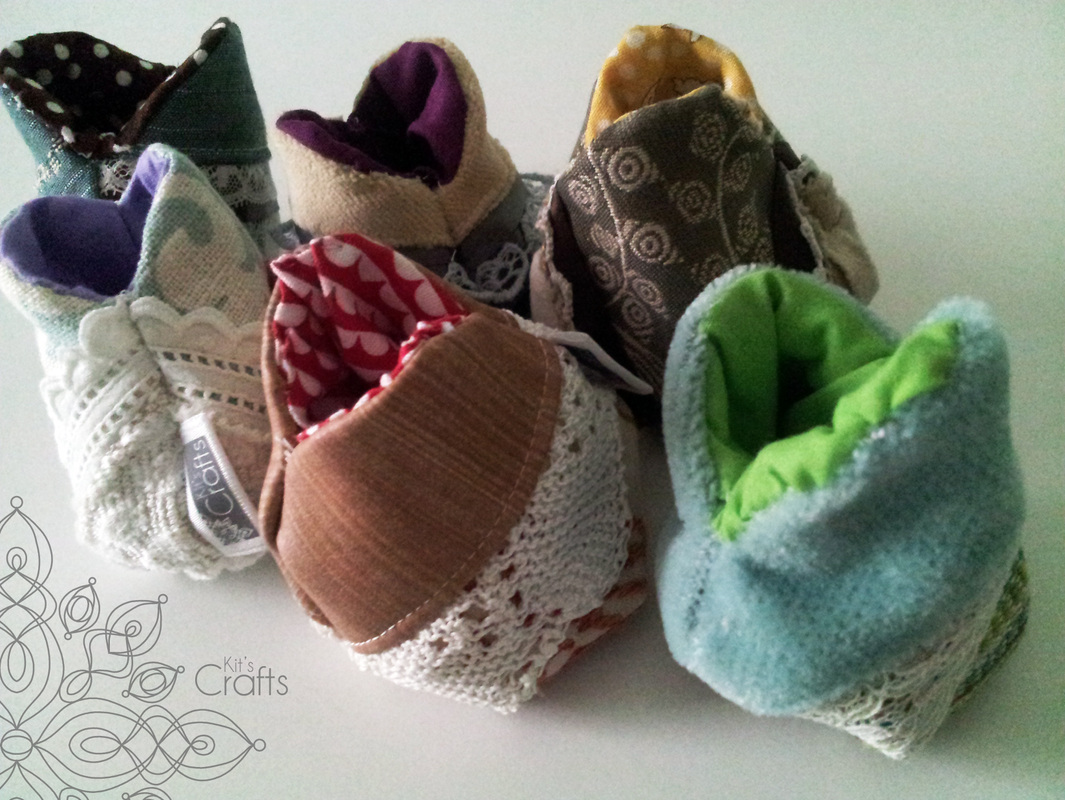
Here are some of the little key chain purses I made a couple of weeks ago; pre-frame of course.
You might also like:
 |  |  |  |


 RSS Feed


